30 Cheesecake Baking Tips for Perfect, Creamy Cheesecake Every Time
If you’ve ever pulled a cheesecake from the oven only to discover a giant crack across the top, an over-browned surface, a soggy crust, or a center that simply refuses to set, you are definitely not alone. Cheesecake is one of those desserts that looks simple but has a few very important rules.
After baking plenty of cheesecakes, I’ve learned that the difference between a good cheesecake and an incredibly creamy, bakery-style cheesecake usually comes down to the little details.
Room-temperature ingredients matter. How you mix the eggs matters. Your water bath matters. And perhaps most importantly, what you do after the cheesecake finishes baking matters.
That is exactly why I put together my favorite cheesecake baking tips in one place.
These 30 tips will walk you through everything from preparing your springform pan and making the perfect crust to knowing when cheesecake is done, preventing cracks, cooling it correctly, and getting those beautiful clean slices.
Whether this is your very first homemade cheesecake or you’ve baked dozens, save this guide. You’ll want to come back to it every time cheesecake is on the menu.
Why Is Cheesecake So Tricky to Bake?
Cheesecake is technically a custard-style dessert. Unlike a traditional cake, you aren’t trying to create a light, fluffy crumb. Instead, the goal is a dense yet incredibly smooth and creamy filling.
That means cheesecake loves three things:
- Gentle heat
- Moisture
- Patience
Too much heat can cause the eggs to overcook. Too much air incorporated into the batter can make the cheesecake rise and fall. Rapid temperature changes can cause cracking.
Once you understand that cheesecake likes everything low, slow, smooth, and gentle, the entire baking process becomes much easier.
My 30 Best Cheesecake Baking Tips
1. Always Use a Water Bath
If there is one cheesecake tip I recommend above everything else, it is this: use a water bath.
A water bath, also called a bain-marie, surrounds your cheesecake with gentle, moist heat while it bakes.
Instead of the outside of the cheesecake baking significantly faster than the center, the hot water helps regulate the temperature around the pan.
This can help create:
- A creamier cheesecake
- More even baking
- Less browning
- Softer edges
- Fewer cracks
For traditional baked cheesecakes, I consider the water bath one of my most important steps.
2. Use Room-Temperature Cream Cheese
Cold cream cheese and smooth cheesecake batter do not mix.
If your cream cheese is too cold, you can end up with tiny lumps throughout the filling. Then you may be tempted to beat the batter longer to remove them, which can introduce too much air.
Let your cream cheese soften to room temperature before you begin.
It should be soft enough to mix smoothly but not melted or overly warm.
3. Bring Your Eggs to Room Temperature
Cream cheese isn’t the only ingredient that benefits from losing its refrigerator chill.
Room-temperature eggs incorporate more easily into the cheesecake mixture, meaning you don’t have to mix the batter excessively.
For an ultra-smooth batter, I like my main cheesecake ingredients to be close to the same temperature before mixing.
4. Use Full-Fat Cream Cheese
If you want that rich, decadent, classic cheesecake texture, full-fat cream cheese is usually the best choice.
Reduced-fat products contain different amounts of moisture and can alter both the consistency and structure of your cheesecake.
Unless a recipe has specifically been developed using a lower-fat cream cheese, stick with the full-fat version.
5. Beat the Cream Cheese Until Smooth First
Before adding eggs, sugar, sour cream, or other ingredients, give your cream cheese a chance to become completely smooth.
This is one of the easiest ways to prevent lumps.
Once the eggs are added, you want to minimize mixing, so getting your cream cheese smooth in the beginning makes a huge difference.
6. Scrape the Bowl Frequently
That sneaky little layer of cream cheese hiding along the bottom of your mixing bowl can become a lump in your finished cheesecake.
Stop periodically and scrape:
- The sides
- The bottom
- Your mixer attachment
This helps make sure everything is evenly incorporated without unnecessarily overmixing the batter.
7. Don’t Overmix Your Cheesecake Batter
Cheesecake isn’t a dessert where more mixing equals better results.
Overmixing incorporates air into the filling. Those tiny air bubbles expand in the oven, which can cause the cheesecake to puff dramatically while baking and then collapse as it cools.
That collapse is one of the ways cracks can develop.
Mix until everything is smooth and combined, then stop.
8. Add Eggs One at a Time
Once your base mixture is smooth, add your eggs one at a time.
Mix each egg just until incorporated before adding the next.
I also recommend using a low mixer speed once the eggs go in. You’re looking for incorporation—not volume.
9. Make an Even Cheesecake Crust
A beautiful cheesecake starts at the bottom.
Whether you’re making a graham cracker, Oreo, cookie, or another crumb crust, try to keep its thickness consistent throughout the pan.
An uneven crust can result in sections that are overly thick, crumbly, or difficult to slice.
10. Use a Measuring Cup to Press the Crust
You don’t need any special cheesecake equipment to get a beautifully compact crust.
The flat bottom of a measuring cup or drinking glass works perfectly.
Press the crumbs firmly into the bottom of the pan, paying special attention to the edges.
Firm is good. You don’t need to crush the crust into concrete!
11. Pre-Bake the Crust When the Recipe Calls for It
Pre-baking your cheesecake crust for a few minutes helps set the crumbs and can create a sturdier base underneath the creamy filling.
This is particularly useful for traditional graham cracker crusts.
Allow the crust to cool slightly before pouring in your cheesecake batter.
12. Line the Bottom of Your Springform Pan
A circle of parchment paper on the bottom of your springform pan can make transferring and serving your cheesecake considerably easier.
It can also help prevent the crust from sticking directly to the metal.
13. Wrap Your Springform Pan Carefully
Springform pans are convenient, but they aren’t always completely watertight.
Before placing your cheesecake into its water bath, securely wrap the outside of the springform pan to help keep water away from your crust.
I like to make sure the wrapping comes well up the sides of the pan.
14. Use Hot Water for Your Cheesecake Water Bath
Don’t start your cheesecake in a bath of cold water.
Using hot water allows the water bath to begin regulating the baking environment right away.
I typically place the cheesecake and roasting pan into position first and then carefully add hot water around the cheesecake.
15. Don’t Pour Water Directly Over Your Cheesecake
This sounds obvious—until you’re carrying a roasting pan filled with boiling water across the kitchen!
An easier approach is to place the roasting pan containing your cheesecake onto the oven rack and then carefully pour the hot water into the roasting pan.
This minimizes spills and splashes.
16. Bake Cheesecake on the Center Rack
For most traditional cheesecake recipes, the center rack provides the most balanced environment.
You don’t want your cheesecake sitting extremely close to the bottom heating element or the top of the oven.
Gentle, even heat is the goal.
17. Stop Opening the Oven Door
I know. It’s tempting.
You want to see what’s happening in there!
But every time you open the oven door, the temperature changes. Cheesecake does much better in a stable baking environment.
Check it toward the end of the baking time rather than constantly opening the oven.
18. Watch the Color Around the 45-Minute Mark
This is one of my favorite cheesecake tricks.
Around 45 minutes into baking, take a look at the top of your cheesecake.
If it’s beginning to develop more color than you’d like, loosely tent the top with foil.
The foil helps prevent excessive browning while allowing the cheesecake to continue baking.
You don’t want the foil touching the cheesecake—just create a loose tent above it.
19. Don’t Wait for the Entire Cheesecake to Look Firm
One of the biggest cheesecake mistakes is waiting until the center looks completely solid before removing it from active heat.
By that point, the cheesecake may already be overbaked.
The outer portion should look set, while the center should still have a gentle wobble.
20. Learn the Cheesecake Jiggle Test
So, how do you know when cheesecake is done?
Give the pan a very gentle nudge.
The outside few inches should appear set, but the center should have a small, controlled jiggle.
Think Jell-O-like wobble, not liquid sloshing underneath the surface.
The residual heat will continue cooking and setting the center as the cheesecake cools.
21. Don’t Overbake Your Cheesecake
Overbaking is one of the most common reasons cheesecake becomes dry, grainy, browned, or cracked.
Remember that cheesecake continues to set after the oven is turned off.
You aren’t trying to bake it until it feels like a traditional cake.
Creamy cheesecake requires knowing when to stop.
How to Cool Cheesecake Without Cracks
The cooling process is just as important as baking.
A perfectly baked cheesecake can still crack if it experiences a dramatic temperature change.
Here’s where patience really pays off.
22. Turn Off the Oven and Crack the Door
When your cheesecake has finished baking, turn the oven off.
Then crack the oven door open slightly.
Don’t immediately pull the cheesecake from a hot oven and place it onto a cool countertop.
The goal is to gradually reduce the temperature.
23. Let the Cheesecake Cool in the Oven for About One Hour
This is another one of my non-negotiable cheesecake habits.
After turning off the oven and cracking the door, I allow the cheesecake to sit inside for approximately one hour.
That gradual cooling period helps the cheesecake finish setting while reducing the dramatic temperature change that can contribute to cracks.
24. Don’t Put Hot Cheesecake Into the Refrigerator
After the initial oven cooling period, continue following your recipe’s cooling instructions before refrigeration.
Putting a very hot cheesecake directly into a cold refrigerator creates exactly the kind of rapid temperature shift we’re trying to avoid.
It can also create condensation.
Cheesecake rewards patience.
25. Chill Your Cheesecake Overnight
Can you eat cheesecake after a few hours of refrigeration?
Depending on the recipe, potentially.
Is it usually better the next day?
Absolutely.
I love making cheesecake the day before I plan to serve it.
An overnight chill gives the filling plenty of time to completely set and allows the flavors to develop.
It also makes slicing much easier.
Cheesecake Serving Tips
You made it through the water bath, baking and cooling. Now let’s make those slices look as good as they taste.
26. Add Fresh Toppings Shortly Before Serving
Some toppings can release moisture if they sit on cheesecake for too long.
Fresh berries, whipped cream, sauces, cookie pieces, and other decorative toppings often look their best when added closer to serving.
If you’re making cheesecake ahead, you can usually refrigerate it plain and decorate later.
27. Use a Warm Knife for Clean Cheesecake Slices
Want those gorgeous bakery-style cheesecake slices?
Use a warm knife.
Run a sharp knife under hot water, dry it, and make your first cut.
The warm blade glides more cleanly through the creamy filling.
28. Clean Your Knife Between Every Slice
This is the secret people often skip.
After every cut:
- Wipe the blade clean.
- Warm it again if necessary.
- Dry it.
- Make the next cut.
Yes, it takes a little longer.
But if presentation matters, it’s worth every extra second.
29. Cheesecake Is an Excellent Make-Ahead Dessert
Cheesecake is actually one of my favorite desserts for entertaining because you don’t have to make it the morning of your party.
Most cheesecakes need substantial chilling time anyway, so preparing dessert ahead works in your favor.
Depending on the recipe, many cheesecakes can also be frozen for longer storage.
For freezing, I prefer to freeze cheesecake without fresh fruit, whipped cream, or delicate toppings and decorate it after thawing.
30. Don’t Panic If Your Cheesecake Cracks
You followed every rule.
You used the water bath.
You didn’t overmix.
You cooled it slowly.
And there’s still a crack.
Welcome to cheesecake baking!
Cracks happen.
And here’s the best part: a cracked cheesecake can still taste incredible.
Try covering the top with:
- Fresh strawberries
- Mixed berries
- Whipped cream
- Chocolate ganache
- Salted caramel
- Fruit compote
- Lemon curd
- Cookie crumbs
- Cookie butter
Suddenly, that crack becomes an excuse for an extra layer of deliciousness.
Why Does Cheesecake Crack?
If you’re wondering why cheesecake cracks, there isn’t always one single culprit.
The most common causes include:
- Overbaking
- Baking at too high a temperature
- Overmixing the batter
- Incorporating too much air
- Skipping the water bath
- Rapid temperature changes
- Cooling the cheesecake too quickly
- Allowing the cheesecake to stick to the sides as it contracts
Cracking doesn’t necessarily mean you did something terribly wrong. Cheesecake is delicate, and even small differences between ovens, pans, ingredients, and temperatures can affect the finished dessert.
How to Prevent Cheesecake From Browning
A pale, creamy cheesecake top starts with gentle baking.
A water bath can help moderate the heat surrounding the cheesecake, but you should also keep an eye on its color toward the later portion of baking.
If I notice the cheesecake beginning to brown around the 45-minute mark, I loosely tent it with foil.
Also remember that every oven behaves differently. If your cheesecakes consistently brown earlier than expected, an inexpensive oven thermometer can help determine whether your oven is actually running hotter than the temperature displayed.
How to Make Cheesecake Extra Creamy
If you’re chasing that luxurious restaurant-style cheesecake texture, focus less on complicated tricks and more on technique.
Start with quality full-fat cream cheese at room temperature. Beat the cream cheese until smooth before adding your remaining ingredients. Keep mixing gentle once the eggs are introduced, bake slowly in a water bath, and don’t overbake.
Then give your cheesecake plenty of time to cool and chill.
Those seemingly small steps work together to create that dense-yet-creamy cheesecake texture everyone loves.
Water Bath vs. No Water Bath for Cheesecake
Do you absolutely have to bake cheesecake in a water bath?
Not every cheesecake recipe requires one.
There are recipes specifically designed to bake without a water bath, and no-bake cheesecakes obviously don’t need one at all.
But for a classic baked cheesecake where I want an ultra-creamy filling, gentle baking, minimal browning, and the best chance of avoiding cracks, I’m Team Water Bath.
The steam creates a humid oven environment while the surrounding hot water helps protect the cheesecake from harsh, direct heat.
The Biggest Mistakes to Avoid When Making Cheesecake
If you’re new to cheesecake, don’t get overwhelmed by 30 different tips. Concentrate on avoiding these major mistakes:
- Starting with cold cream cheese
- Overmixing after adding eggs
- Skipping the water bath when the recipe calls for one
- Baking until the center is completely firm
- Constantly opening the oven
- Allowing the top to over-brown
- Immediately removing cheesecake from the hot oven
- Refrigerating it while it’s still very hot
- Cutting it before it has fully chilled
Master those basics first and you’re already well on your way to a beautiful cheesecake.
My Cheesecake Rule: Low, Slow and Patient
If I had to sum up everything I’ve learned about baking cheesecake in three words, they would be:
Low. Slow. Patient.
Cheesecake doesn’t like to be rushed.
Let your ingredients warm up. Take your time mixing. Give it gentle heat. Use the water bath. Don’t overbake it. Crack the oven door. Give it that hour to slowly cool. And then give it plenty of refrigerator time before slicing.
The hardest part of making an amazing cheesecake may simply be waiting to eat it.
But that first creamy bite makes the wait worth it.
More Cheesecake Recipes to Try
Once you’ve mastered these cheesecake baking tips, put them to work with your favorite cheesecake recipes. This is the perfect place to internally link your classic cheesecake, cottage cheese cheesecake, flavored cheesecakes, seasonal cheesecake recipes, cheesecake bars, and other cheesecake desserts.
You can also bookmark this cheesecake guide and return to it whenever you’re trying a new cheesecake recipe.
Final Cheesecake Tip
If you remember nothing else from this guide, remember this: cheesecake doesn’t like extremes.
Not extremely cold ingredients. Not extremely aggressive mixing. Not extremely high heat. And definitely not an extreme temperature change when it leaves the oven.
Give your cheesecake gentle heat, a little moisture, and plenty of time.
Use your water bath. Watch for browning. Look for that little jiggle. Turn off the oven, crack the door, let it rest for an hour, and resist the temptation to slice it too soon.
That’s how you get the creamy, dreamy cheesecake you’ve been waiting for.
More Cheesecake Recipes to Try
Now that you know my favorite cheesecake baking tips, put them to the test with some of my favorite cheesecake recipes on Sugar Face Bakes! From a creamy New York-style classic to chocolate, Oreo, Biscoff, and even a cheesecake that intentionally gets beautifully burnt on top, there is something here for every cheesecake craving. And if you don’t feel like turning on the oven, I’ve got you covered there, too. Save this cheesecake guide to reference while you bake, then try one of these next:
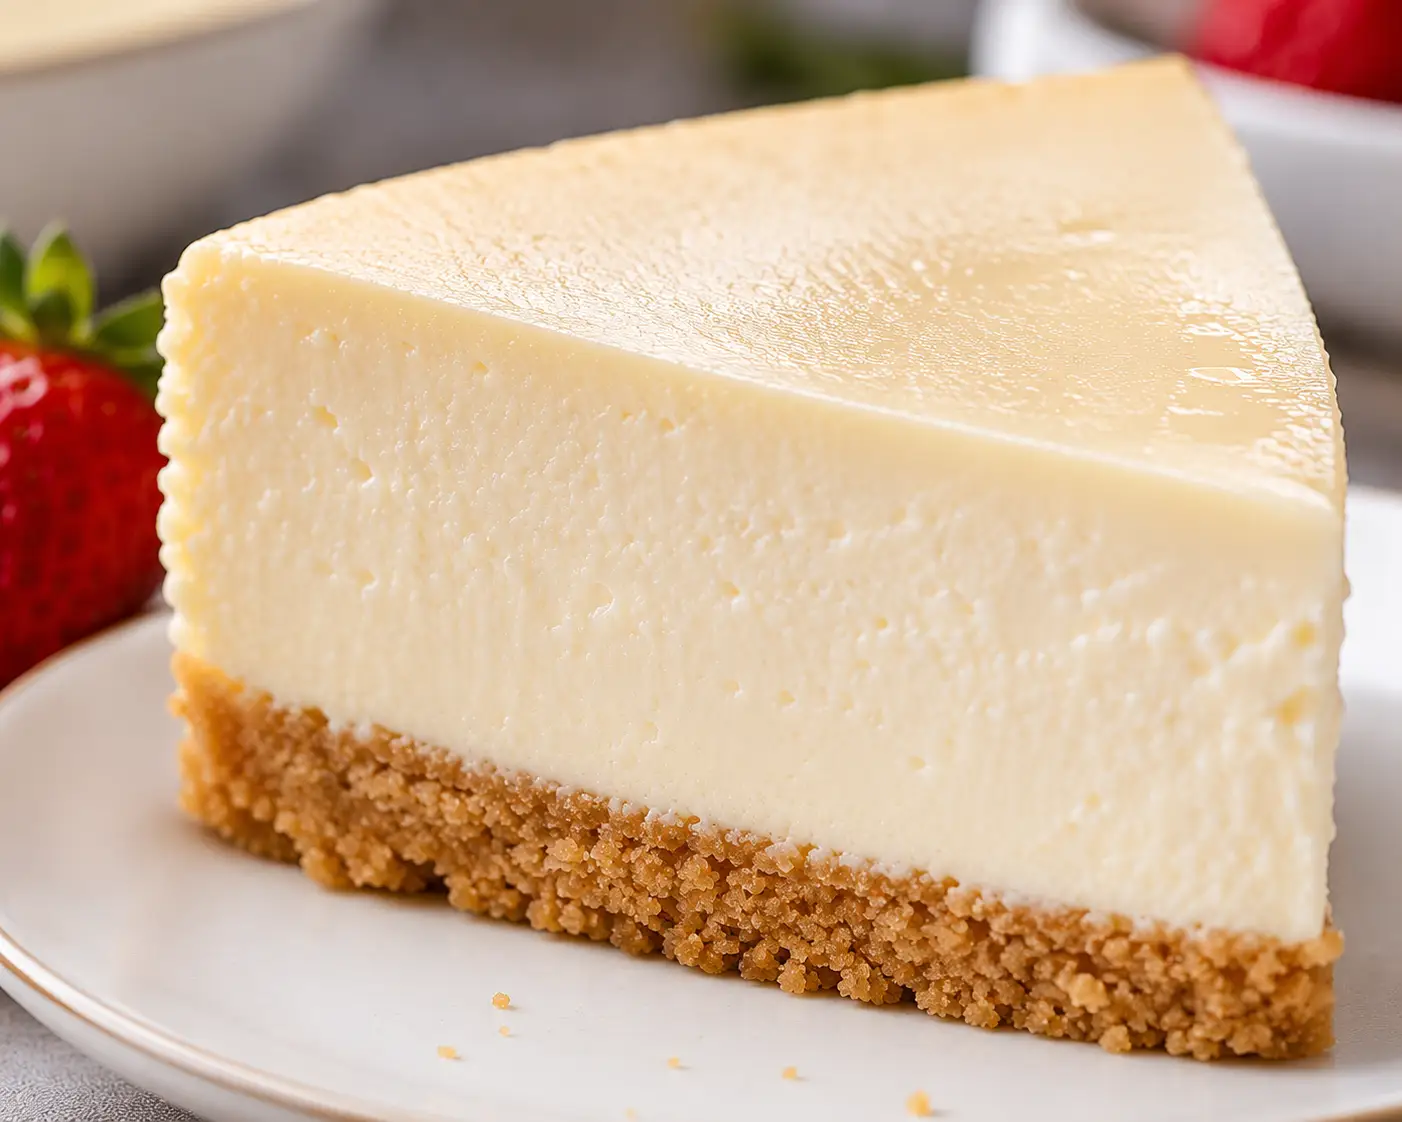
- Creamy Classic New York-Style Cheesecake – Start here if you want to master a traditional baked cheesecake. It’s ultra-creamy, smooth, rich, and uses many of the cheesecake techniques in this guide, including a water bath and gradual cooling.
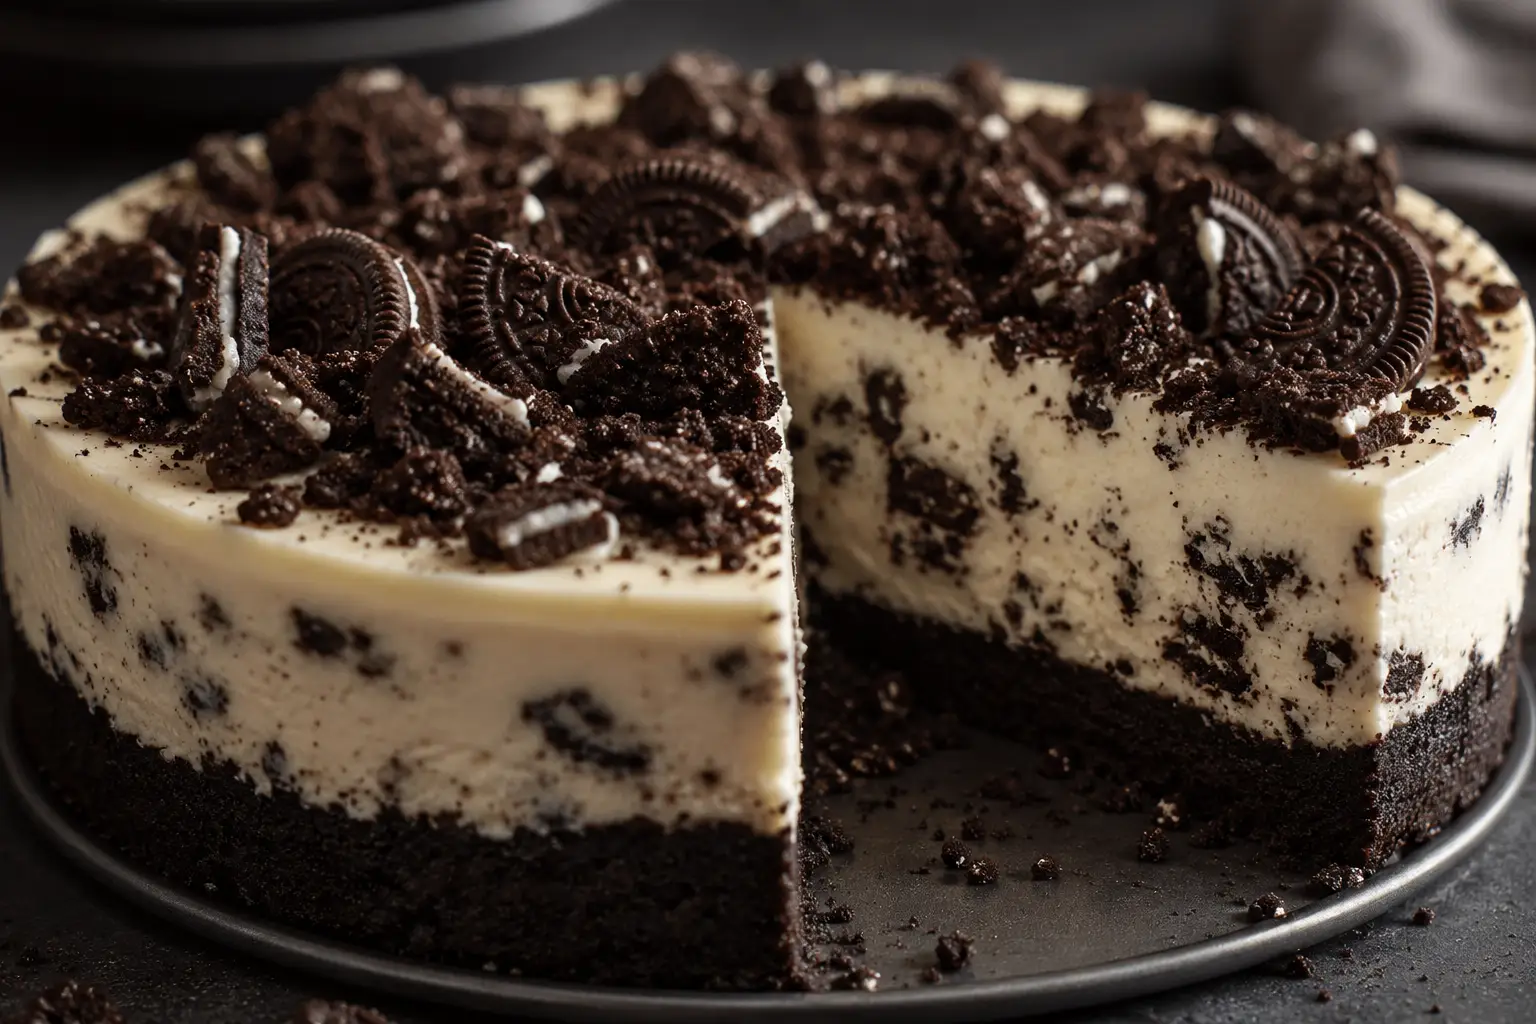
- Best Oreo Cheesecake – A cookies-and-cream lover’s dream with a thick Oreo crust, creamy cheesecake filling, and plenty of crushed Oreos throughout.
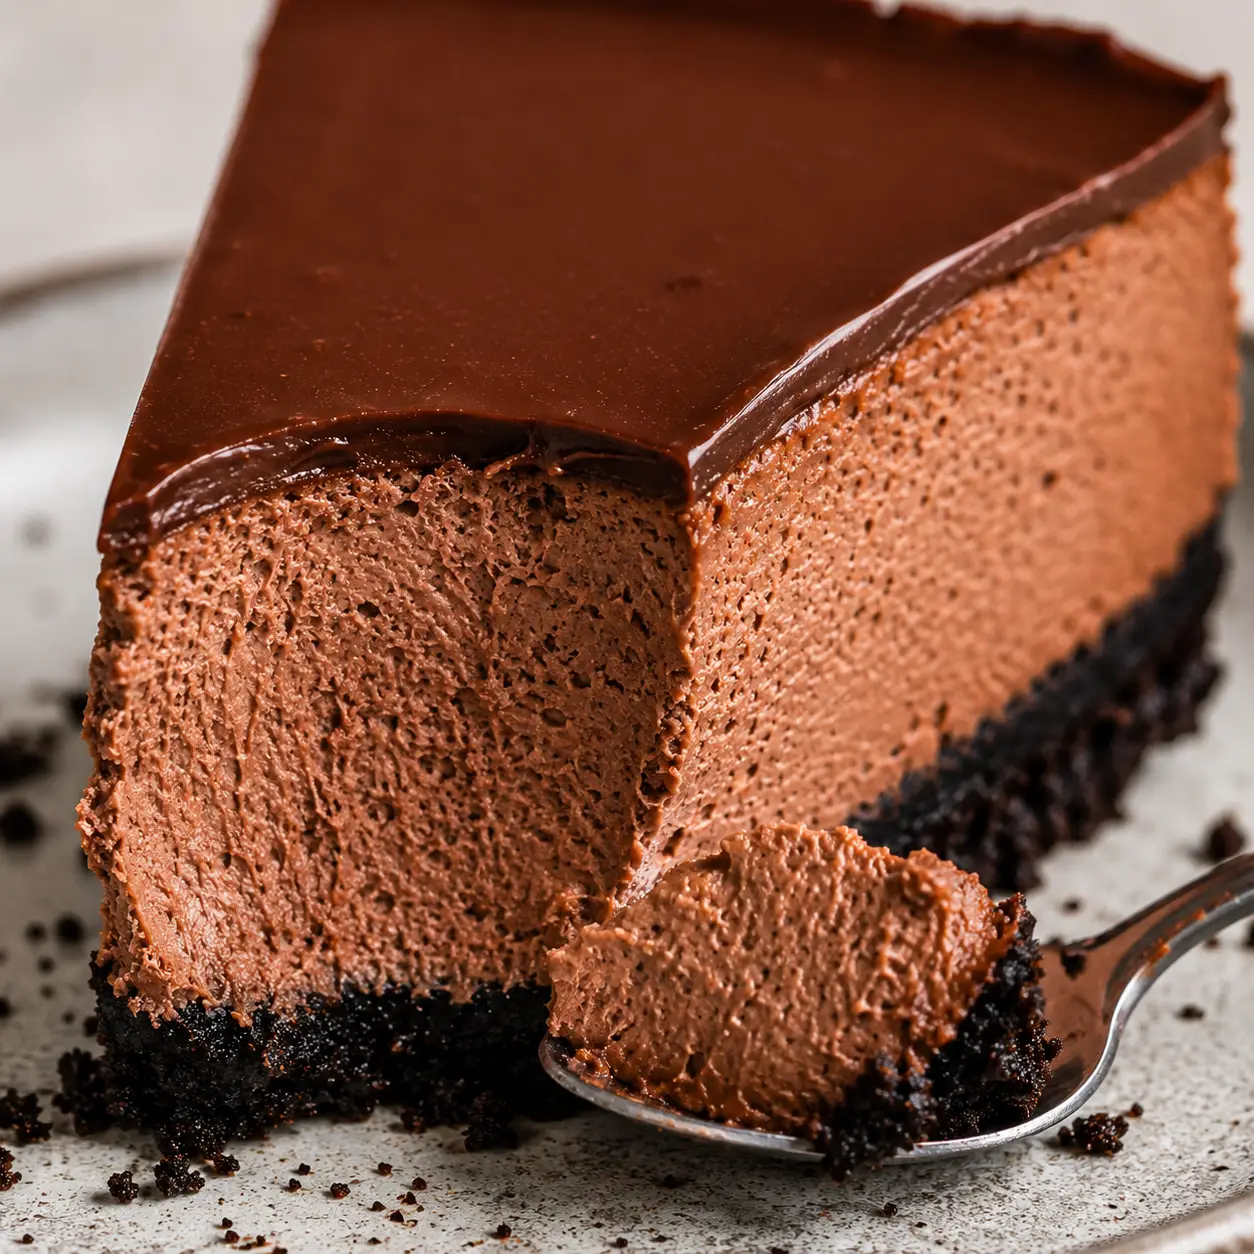
- Chocolate Cheesecake – For serious chocolate lovers! This rich baked cheesecake combines dark chocolate and cocoa powder with an Oreo crust and silky chocolate ganache.
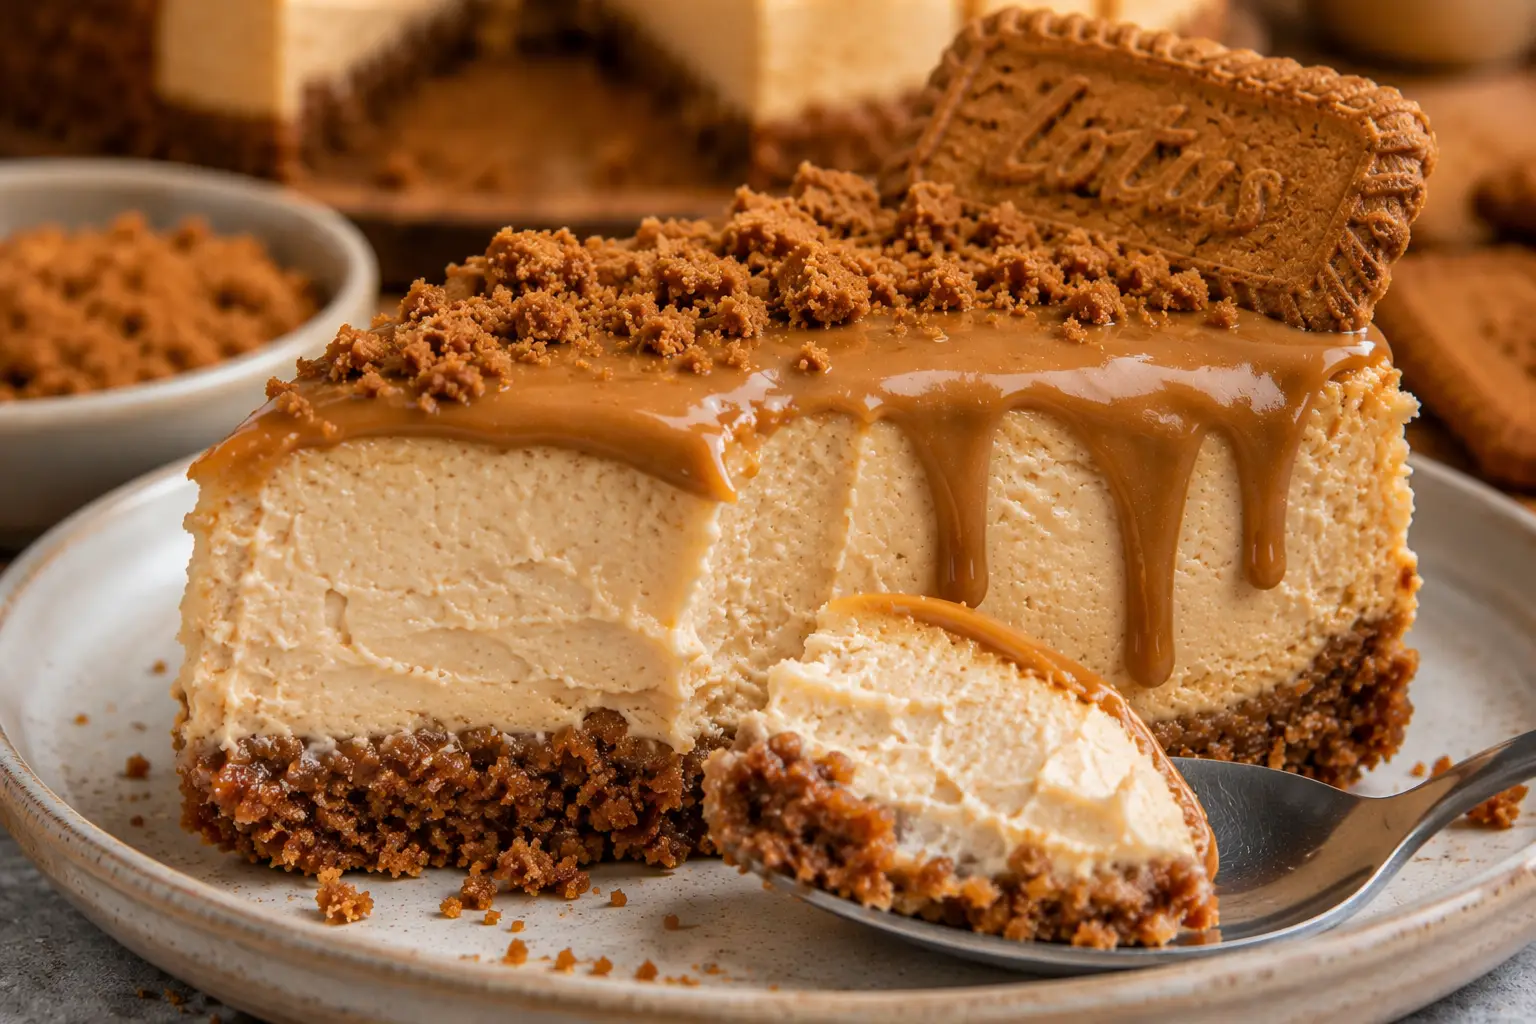
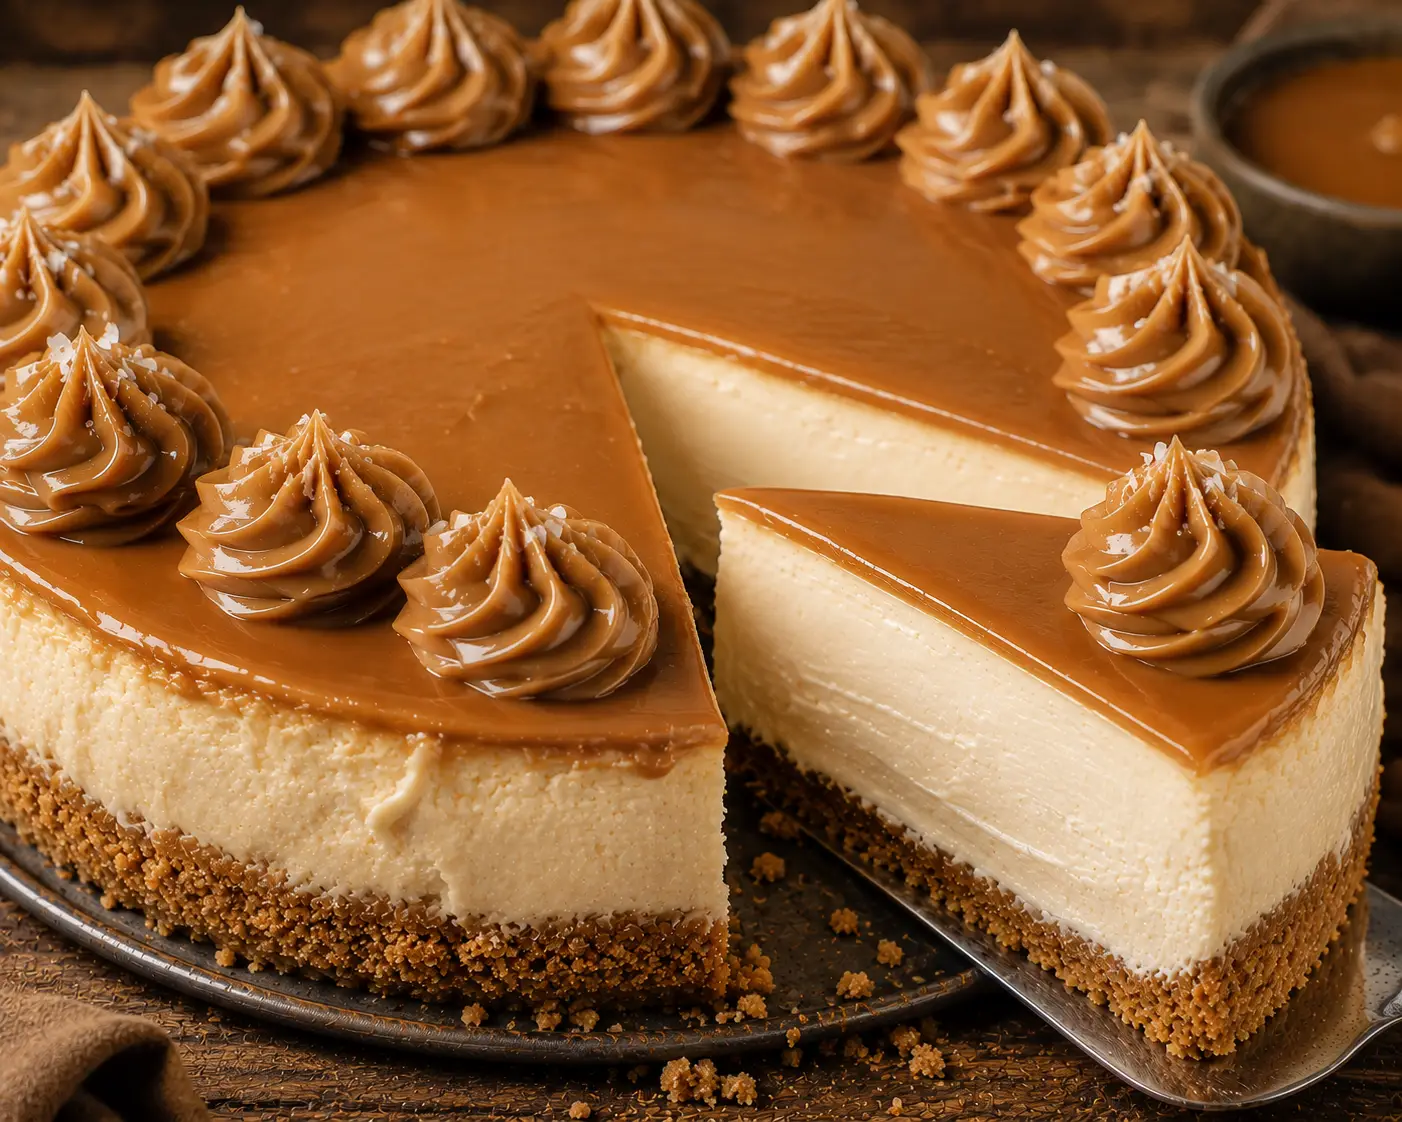
- Biscoff Cheesecake – Cookie butter takes center stage in this bakery-style cheesecake with a Biscoff cookie crust, creamy filling, and silky Biscoff topping.
- Burnt Basque Cheesecake – This is the cheesecake that breaks some of the rules! Its deeply caramelized, intentionally burnt top and ultra-creamy center make it completely different from a traditional New York-style cheesecake.
- No-Bake Cheesecake – No water bath, no eggs, and no oven required. This easy cheesecake has a buttery graham cracker crust and smooth, creamy filling that’s perfect when you want cheesecake without baking.
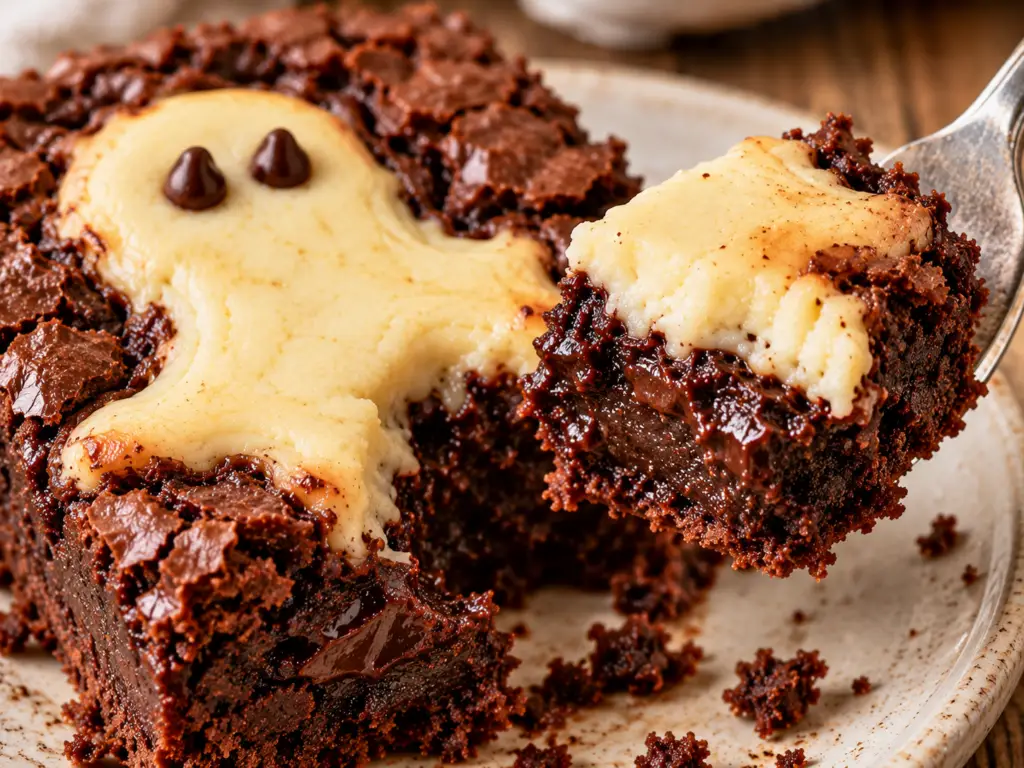
- Fudgy Cheesecake Brownies – Can’t decide between cheesecake and brownies? Don’t! These bakery-style brownies combine an ultra-fudgy chocolate brownie with a creamy cheesecake swirl.
Browse All My Cheesecake Recipes
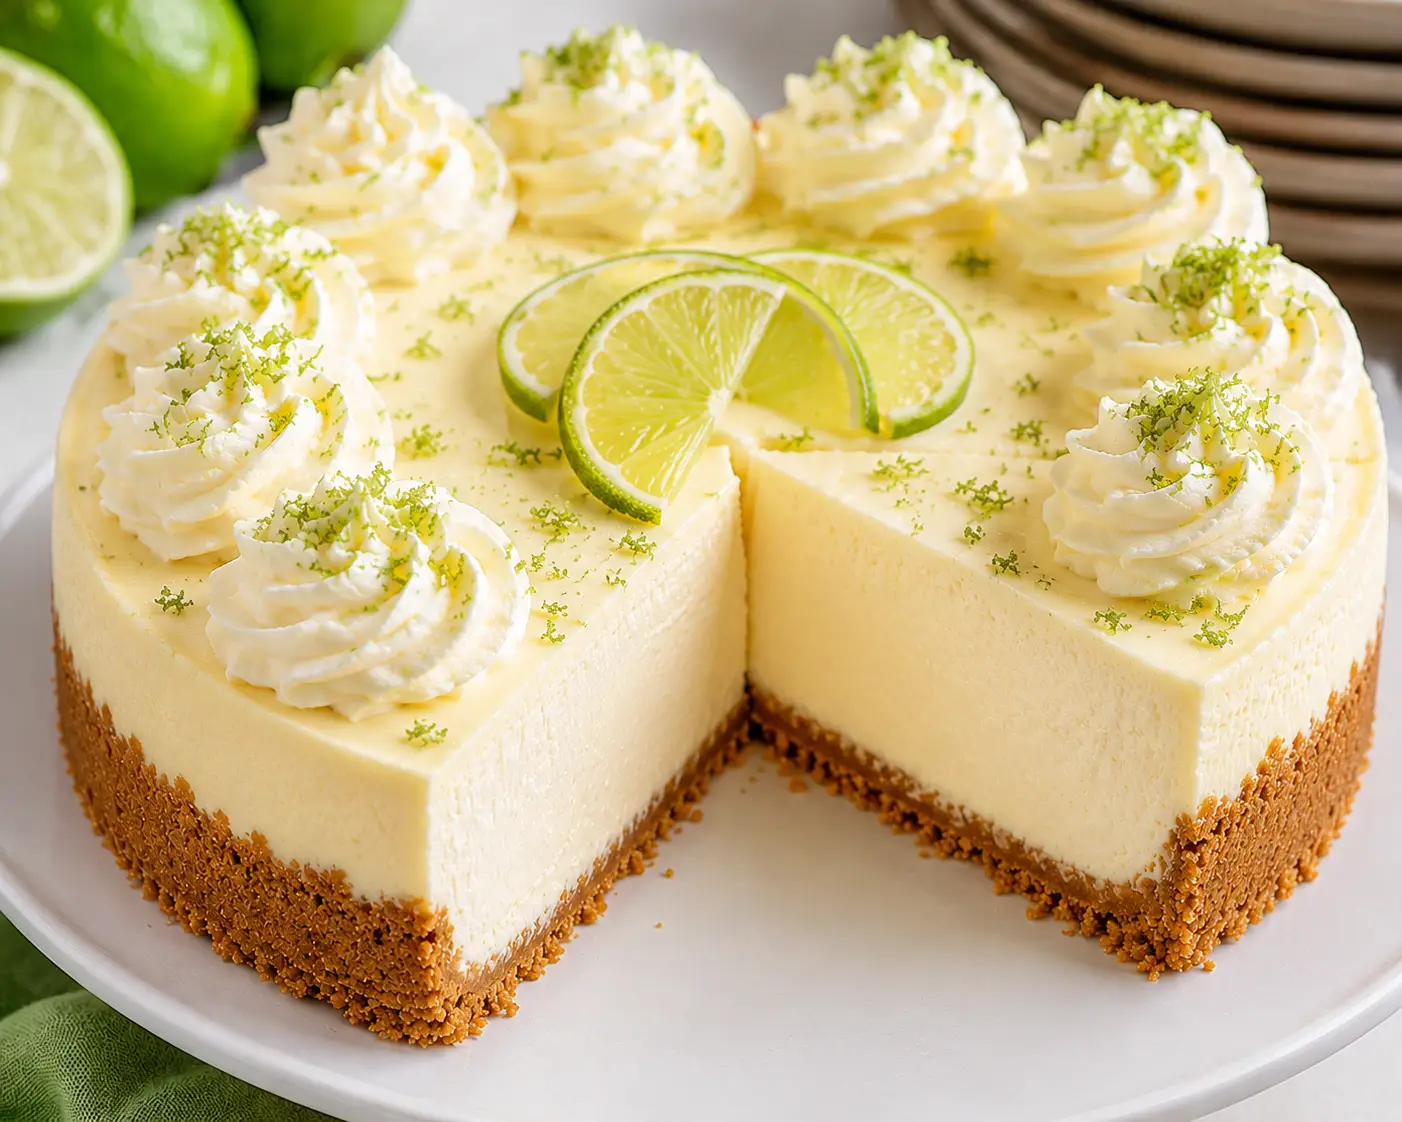
Still looking for something sweet? Browse all of my cheesecake recipes ,like my key lime cheesecake, for even more creamy cheesecake inspiration, new recipes, and seasonal favorites.
Frequently Asked Questions
How do I fix a crack on my baked cheesecake?
If your cheesecake cracks, don’t worry! Once completely chilled, dip an offset spatula or warm knife in hot water, wipe it dry, and gently smooth the top surface. Alternatively, cover the top with sour cream glaze, fruit compote, whipped cream, or chocolate ganache.
How long should cheesecake chill before slicing?
Cheesecake needs at least 4 to 6 hours in the refrigerator—ideally overnight—to fully set its dense, creamy structure and develop its full flavor profile.
Can I bake a cheesecake without a water bath?
Yes! If you want to skip a traditional water bath, place a deep baking pan filled with boiling water on the bottom rack directly beneath your cheesecake. This creates the necessary steam and moisture inside the oven chamber without the risk of water leaking into your crust.
More Cooking Recipes
Looking for more easy and comforting meals? Browse all recipes here: