Viral Burnt Basque Cheesecake
Looking for a dessert that’s equal parts rustic and elegant? This viral dessert recipe: Burnt Basque Cheesecake for dessert lovers has a creamy, custard-like interior with a beautifully caramelized top perfect for captivating your audience. Its brûlée twist takes it to the next level, making it a must-have for your food blog.
If you love easy desserts like this, try this Chocolate Covered Oreo recipe
Why You'll Love This Viral Burnt Basque Cheesecake
- Unique Texture: Creamy, almost molten center with a slightly firm crust.
- Caramelized Brûlée Top: Adds a layer of sophistication and a delightful crunch.
- Simple Yet Elegant: Minimal ingredients, maximum impact.
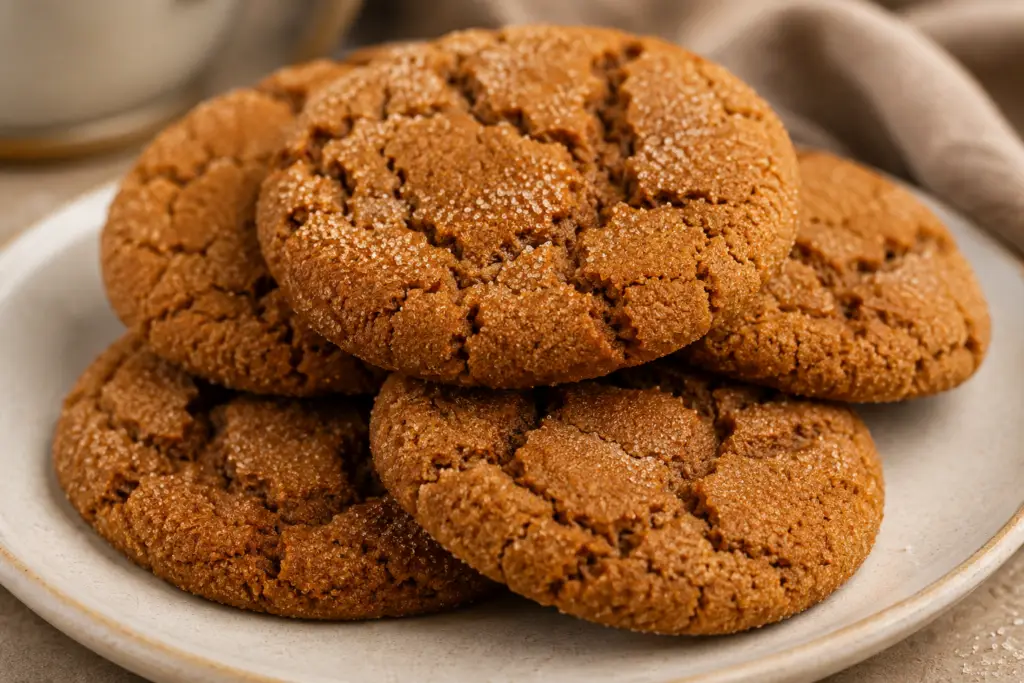
For another indulgent dessert, try this Smores Cookie Bars recipe

Burnt Basque Cheesecake requires no crust. This cheesecake is traditionally served at room temperature!
To achieve that perfect golden-brown finish on all your oven baked recipes, I highly recommend the non-toxic bakeware from Caraway Home—use code STACIE at checkout for a special discount!
Key Ingredients You'll Need
- 4 (8-ounce) blocks cream cheese, room temperature
- 1 1/2 cups granulated sugar
- 5 large eggs, room temperature
- 1 tsp vanilla extract
- 1 3/4 cups heavy cream
- 1 tsp salt
- 1/4 cup all-purpose or gluten-free flour
How to Make Viral Burnt Basque Cheesecake
- Prepare Your Oven and Pan
- Preheat your oven to 400°F (200°C).
- Line a 9-inch springform pan with 2 sheets of parchment paper, ensuring the paper covers the sides and edges to the rim.
- Make The Batter
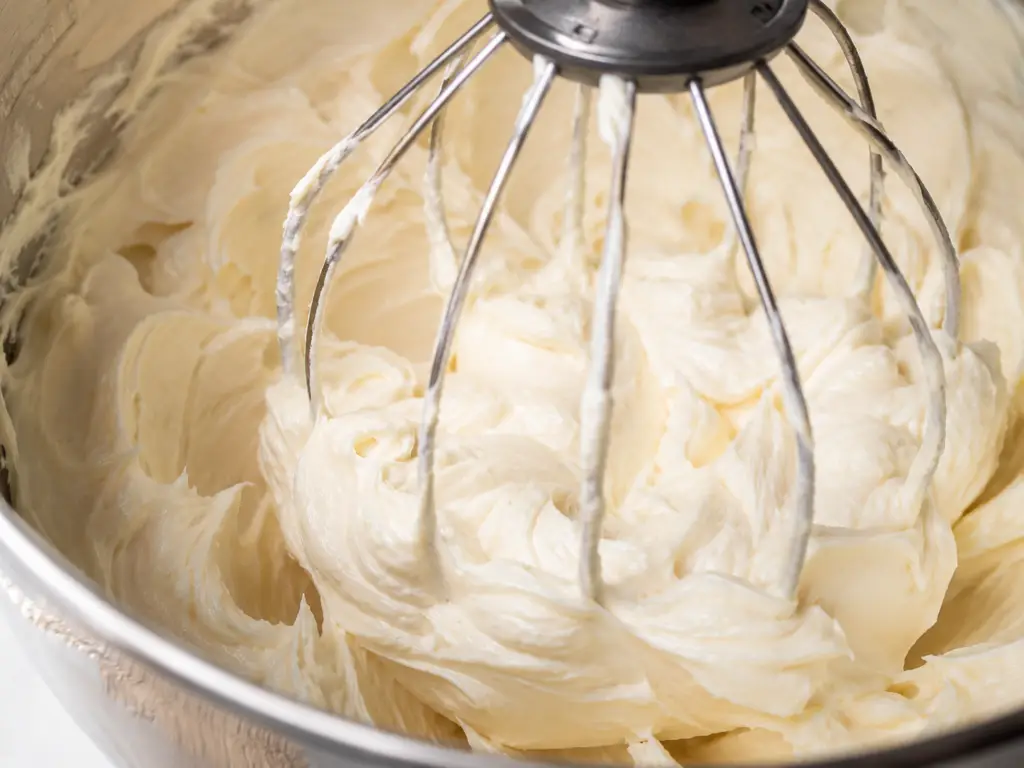
- In a large mixing bowl, cream together the cream cheese and sugar on medium speed for 1 minute, until smooth.
- Add the eggs, one at a time, followed by the vanilla, mixing until fully incorporated.
- With the mixer on low, slowly stream in the heavy cream.
- Continue mixing until the batter is smooth.
- Sift in the flour and salt, then gently fold to combine.
- Bake The Cheesecake
- Pour the batter into the prepared pan.
- Bake for 55-60 minutes, or until the top is deeply golden and the center jiggles slightly when shaken.
- Allow the cheesecake to cool to room temperature in the pan.
- Brûlée the Top
- Once the cheesecake is fully cooled, sprinkle an even layer of granulated sugar over the surface.
- Use a kitchen torch to caramelize the sugar until golden brown.
- Serve And Enjoy
- Let the brûlée topping set for a few minutes before slicing. Serve and enjoy this decadent dessert!
Stacie’s Tricks & Tips
- Photo-Ready Finish: The caramelized top provides a stunning visual contrast—perfect for photos.
- Content Idea: Share a behind-the-scenes reel of the brûlée process to engage your audience.
- Flavor Pairings: Recommend pairing with fresh berries or a dollop of whipped cream for a complete experience
Storage & Meal Prep
Cover and place in the refrigerator. Remove from the refrigerator 30 minutes before serving.
If you loved my Viral Dessert Recipe: Brûlée Burnt Basque Cheesecake for Dessert Lovers, try my:
Apple Cake Layered With Cheesecake And Dulce De Leche
Pumpkin Caramel Cheesecake With Chocolate Graham Cracker Crust
For more baking techniques, explore
Want to see these recipes in action? Follow Stacie on YouTube for step-by-step videos and even more kitchen secrets!
Frequently Asked Questions
What makes basque cheesecake different from regular cheesecake?
Basque cheesecake is different because it is baked at a high temperature, creating a caramelized burnt top and creamy center. Unlike traditional cheesecake, basque cheesecake has no crust and does not require a water bath.
How long does basque cheesecake last in the fridge?
Basque cheesecake lasts up to 4 days in the refrigerator when stored in an airtight container. Keep it chilled and bring it to room temperature for about 20–30 minutes before serving for best texture.
Can I freeze basque cheesecake?
Yes, basque cheesecake freezes well for up to 2 months. Wrap slices tightly and thaw overnight in the refrigerator before serving.
Can I make basque cheesecake ahead of time?
Yes, basque cheesecake is best made ahead because it needs at least 4 hours to chill and set properly. Overnight chilling improves flavor and texture.
Why is my basque cheesecake too runny?
Basque cheesecake can be too runny if it is underbaked or not chilled long enough. Bake until the edges are set and the center slightly jiggles, then chill completely before slicing.
More Dessert Recipes
Looking for more easy and comforting meals? Browse all recipes here:


- Let the brûlée topping set for a few minutes before slicing. Serve and enjoy this decadent dessert!