Homemade Mounds Bar
How can you go wrong with a creamy coconut center smothered in rich chocolate? These Homemade Mounds Bars are inspired by the classic candy bar and my family’s love for coconut macaroons. I love the simplicity of no-bake desserts, and these can be whipped together in minutes for year-round themes like St. Paddy’s Day or Easter. With just 4 to 5 ingredients, you can transform your dessert game!
Why You'll Love This Homemade Mounds Bar
-
Only 4 Ingredients: Simple pantry staples like coconut, condensed milk, chocolate, and coconut oil.
-
No-Bake Simplicity: No need to turn on the oven—perfect for hot summer days or busy holiday prepping.
-
Foolproof Method: The “trust the process” mixture comes together perfectly for easy shaping.
-
Customizable: Add food coloring for festive holidays or a pinch of sea salt for a gourmet touch.
Key Ingredients You'll Need
-
Sweetened Coconut Flakes: Provides the essential chewy texture and sweet tropical flavor that defines a classic Mounds bar.
-
Sweetened Condensed Milk: The “glue” that creates a lush, creamy component and holds the coconut flakes together.
-
Chocolate: I use a mix of milk and dark chocolate to get that perfect balance of sweetness and depth.
-
Coconut Oil: Mixed with the melted chocolate to create a smooth, “pourable” consistency that drapes beautifully over the bars.
-
Optional Food Coloring: A fun way to tint the coconut centers for pastel Easter treats or bright green St. Patrick’s Day snacks.
How to Make Homemade Mounds Bar
-
Mix: In a large bowl, combine the entire bag of coconut flakes and the sweetened condensed milk. Stir until the mixture is tight and fully incorporated.
-
Color (Optional): If you want festive colors, separate a portion of the mixture into a small bowl and stir in a few drops of food coloring.
-
Shape: Spoon a heaping tablespoon of the mixture into your hands and mold it into a log shape. Place on a baking sheet lined with parchment paper.
-
Freeze: Place the logs in the freezer for 45 minutes. This step is crucial for easy dipping!
-
Melt: Melt your chocolate using a double boiler or in 30-second microwave intervals. Stir in the coconut oil until it reaches a “drizzle” consistency.
-
Dunk: Using a fork, dunk each frozen coconut log into the chocolate. Give it one quick turn, lift, and let the excess chocolate drip off.
-
Set: Place the bars back on the parchment paper and freeze for another 15–30 minutes until the chocolate is set.
Stacie’s Tricks & Tips
-
The Perfect Melt: Always melt chocolate “low and slow.” If the chocolate is too thick to dunk, add coconut oil one teaspoon at a time until it flows easily off your spoon.
-
Shape it Up: Don’t worry if your logs aren’t perfect at first! After they freeze for 45 minutes, you can gently reshape or smooth out any rough edges before dipping.
-
Add a Nut: If you prefer Almond Joy bars, simply press a whole almond into the top of the coconut log before you freeze and dip them!
-
Non-Toxic Set: I love setting my candies on my Caraway baking sheets—the non-stick surface ensures the chocolate doesn’t stick, even without parchment paper! Use code STACIE for a discount on your set.
Storage & Meal Prep
-
Storage: These bars are best stored in an airtight container in the freezer.
-
Shelf Life: They stay delicious for up to 3 months—if they even last that long!
-
Serving: Enjoy them straight from the freezer for a firm, cold treat, or let them sit at room temperature for 5 minutes for a softer bite.
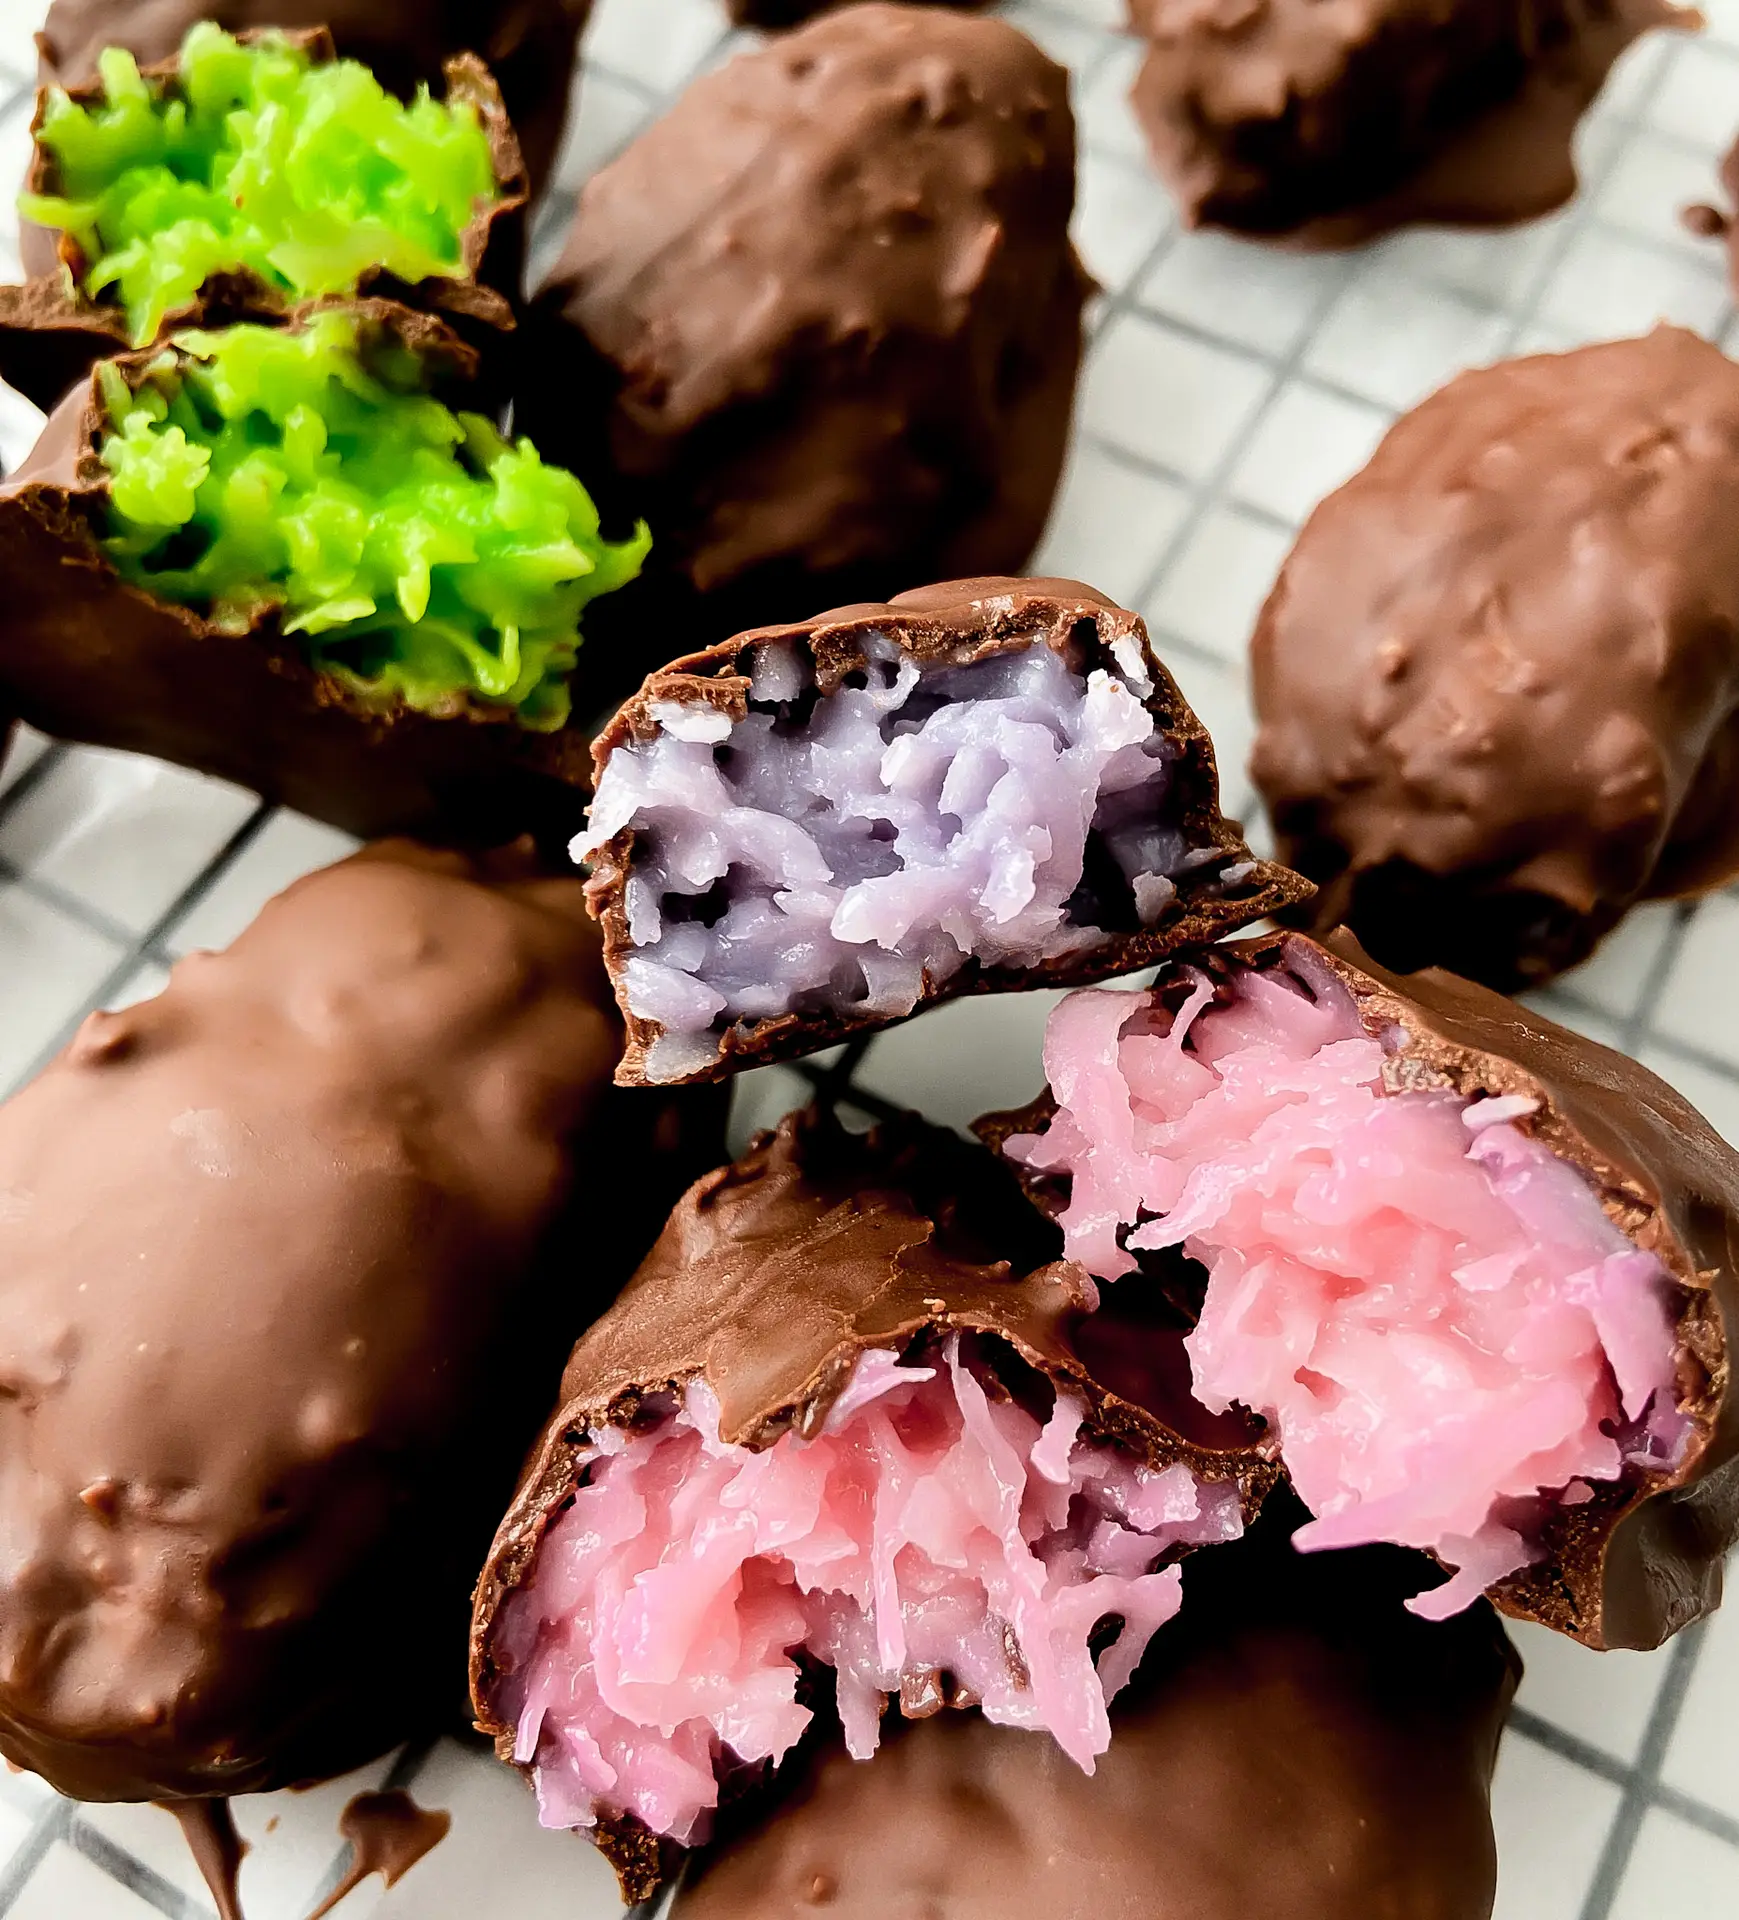
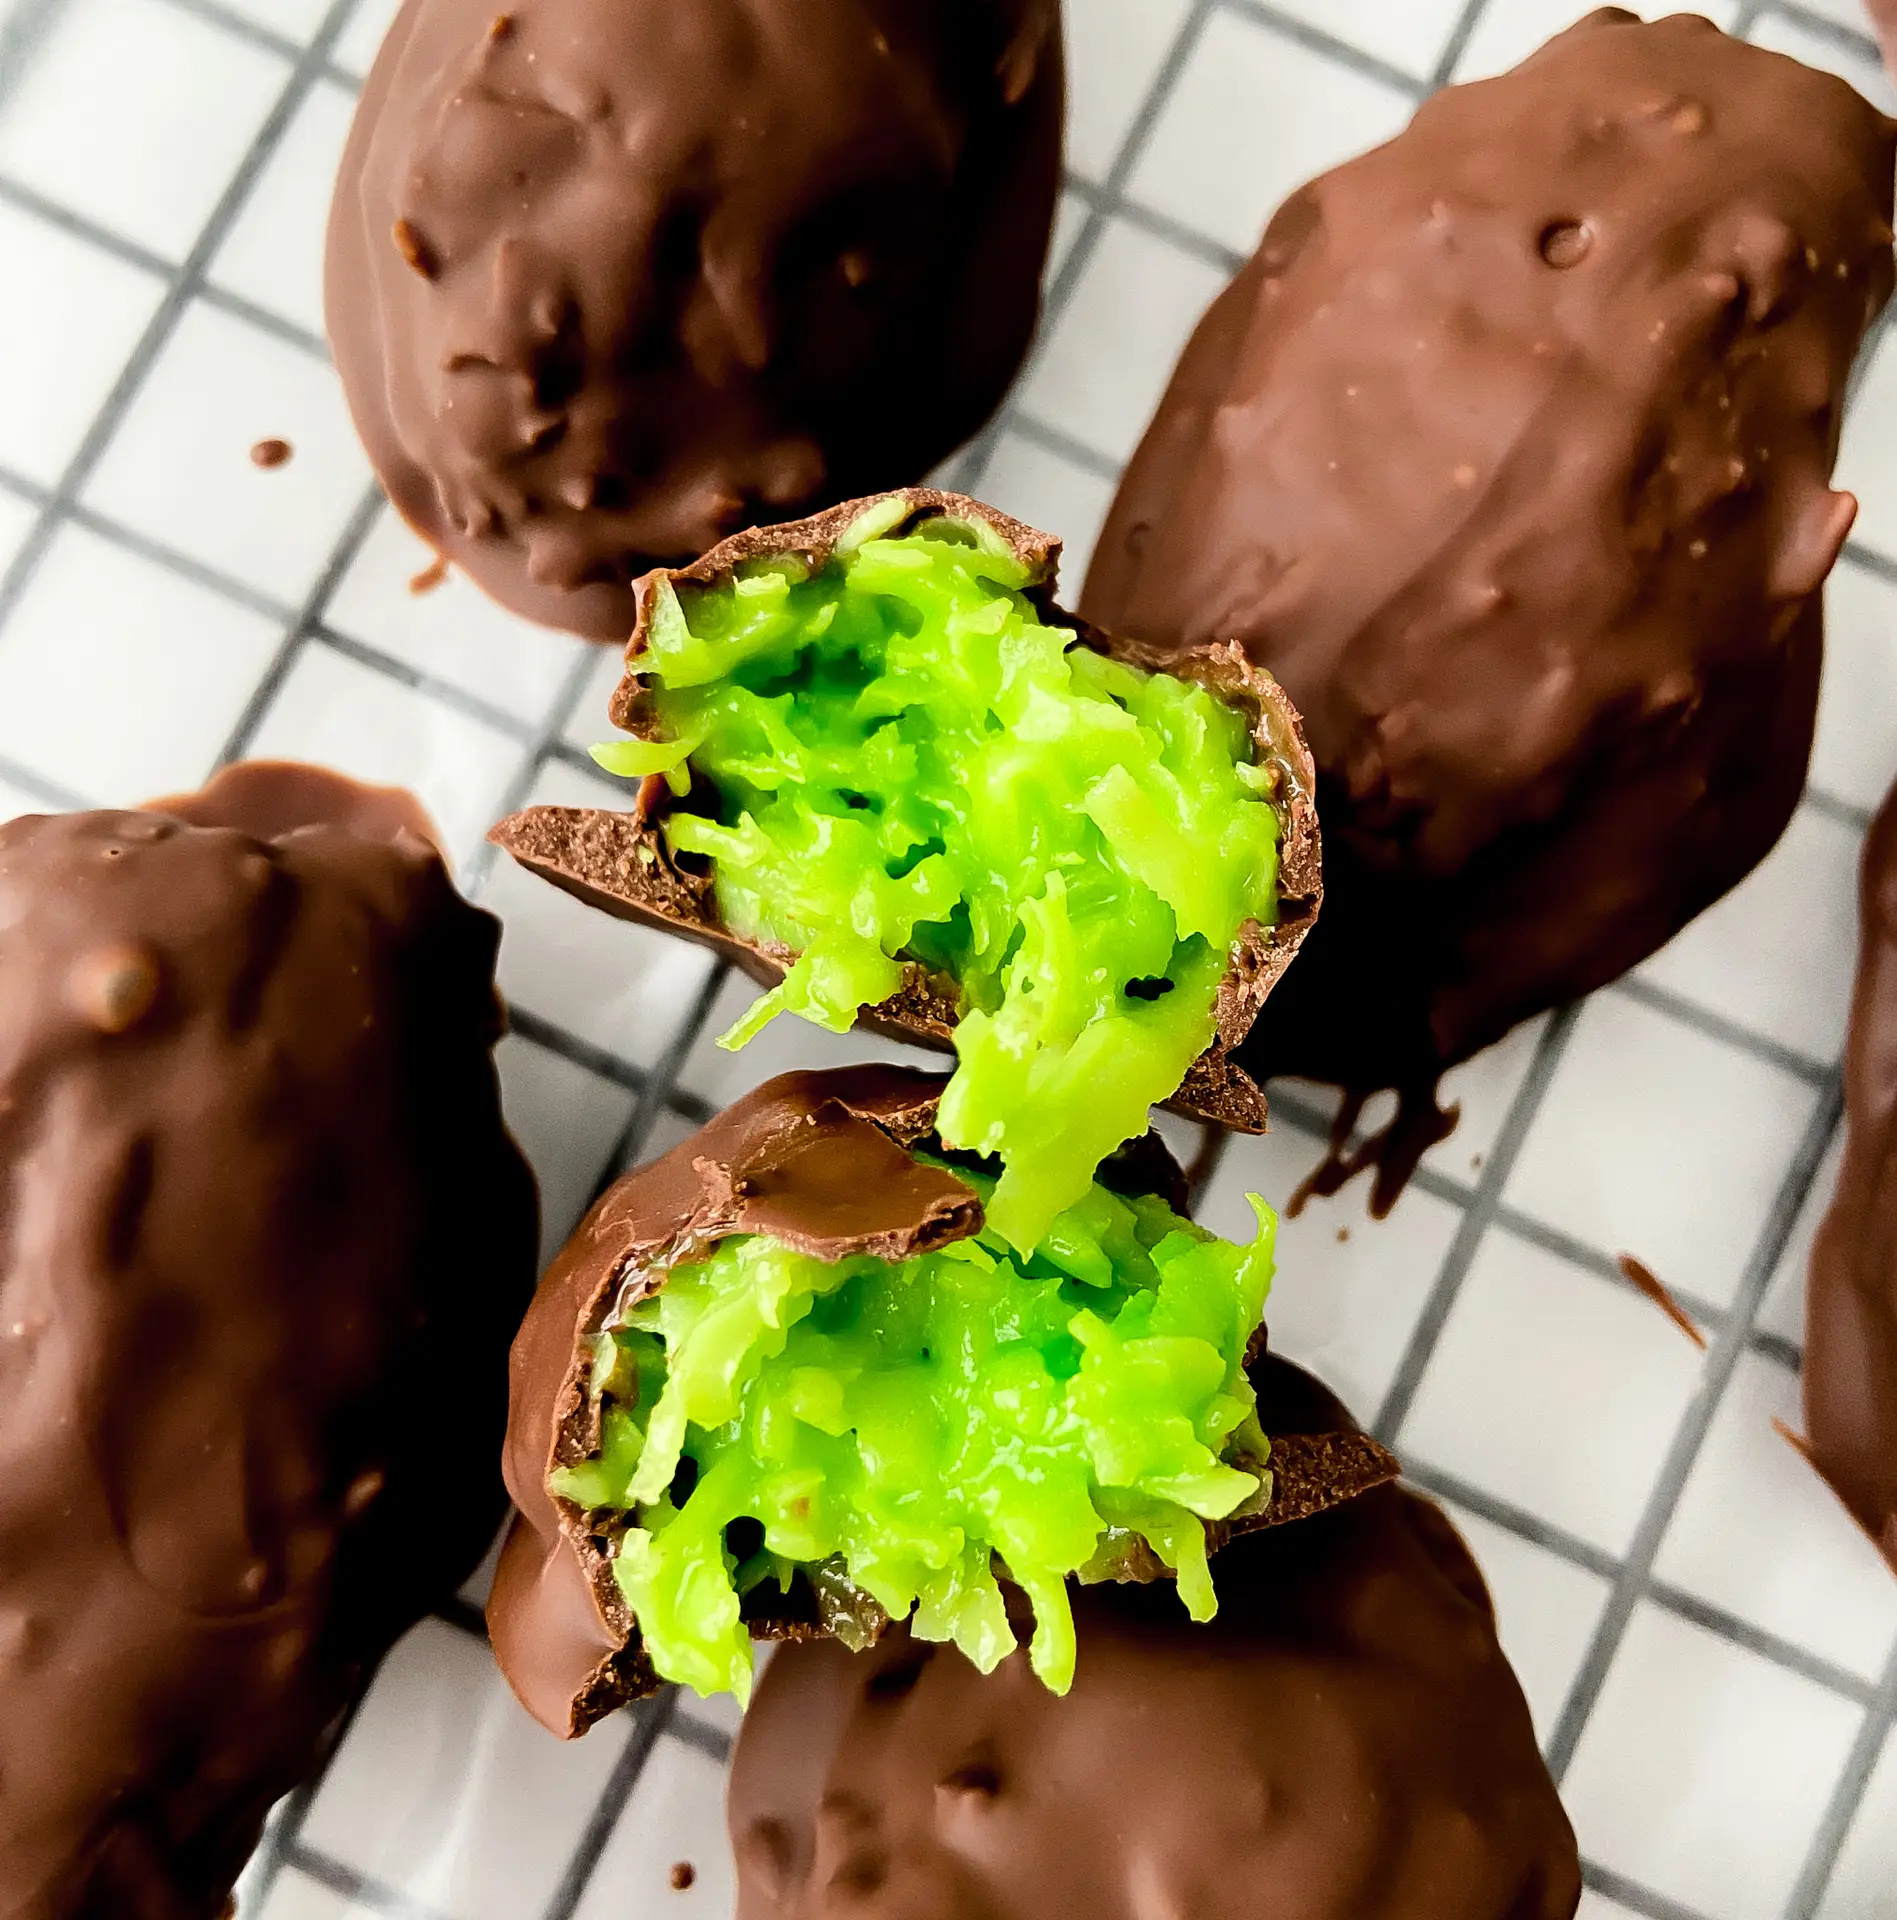
Copycat Mounds with Coconut and Chocolate
Equipment
- large bowl
- Wax paper or parchment paper
- Spatula
- Baking sheet fitted to fit into freezer
Ingredients
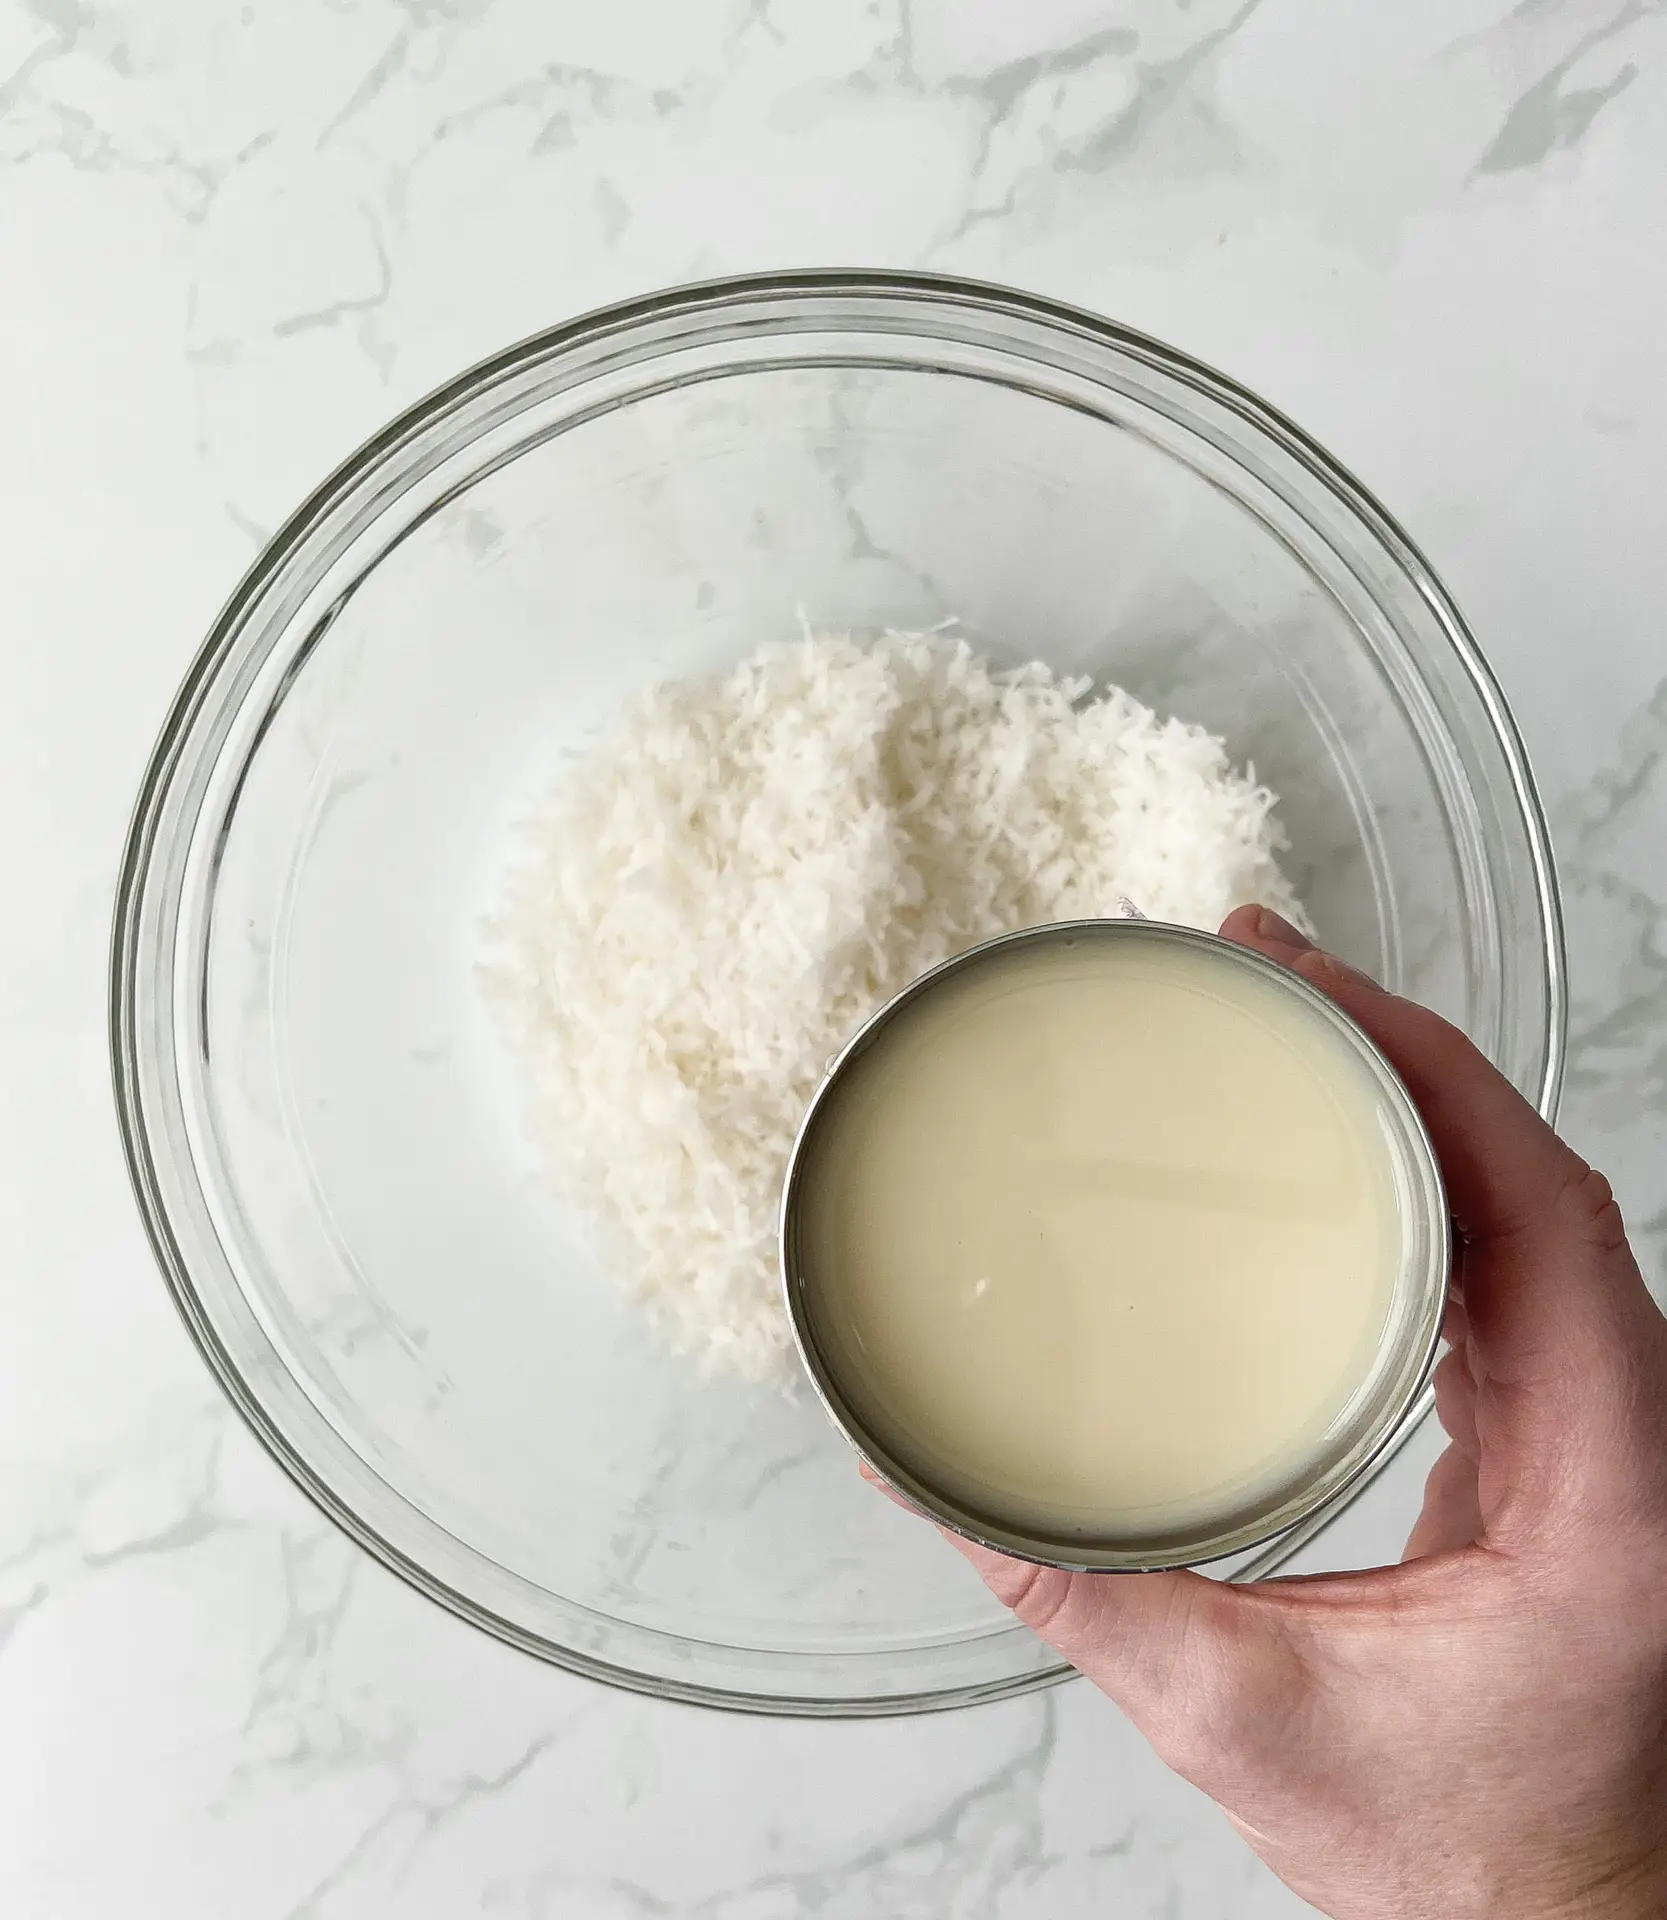
- 4 cups sweetened coconut flakes
- 1 can sweetened condensed milk
- 2 cups chocolate milk or dark or both
- 1-2 teaspoons coconut oil 1-2 tablespoons for all milk chocolate
- Food coloring optional
Instructions
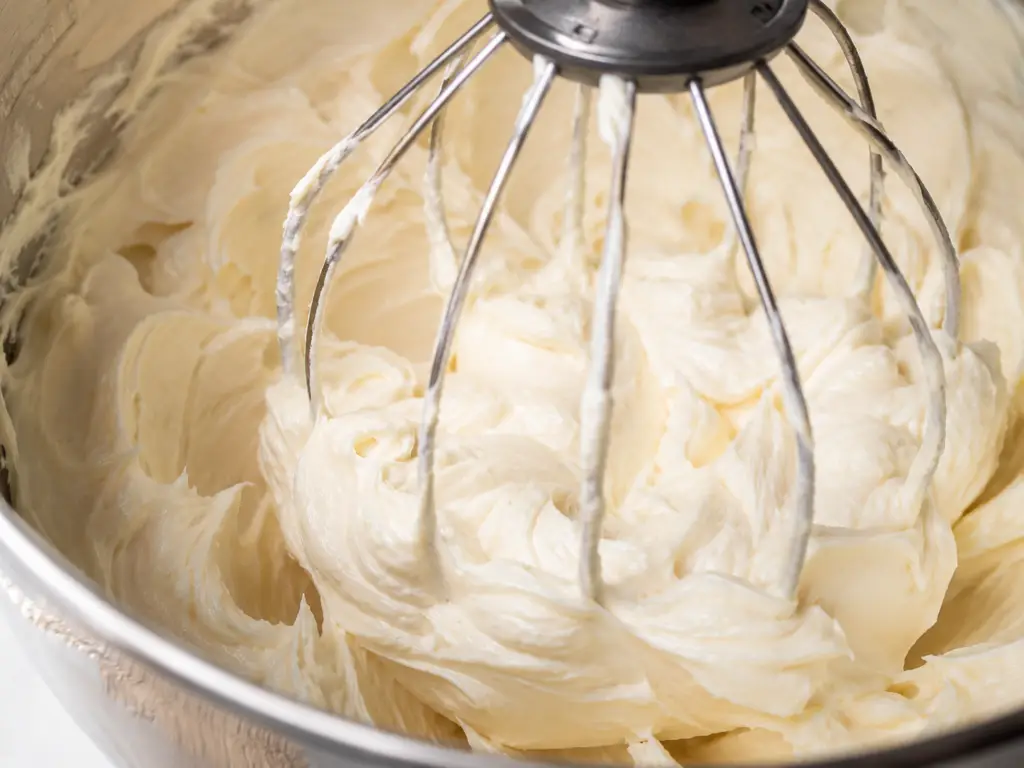
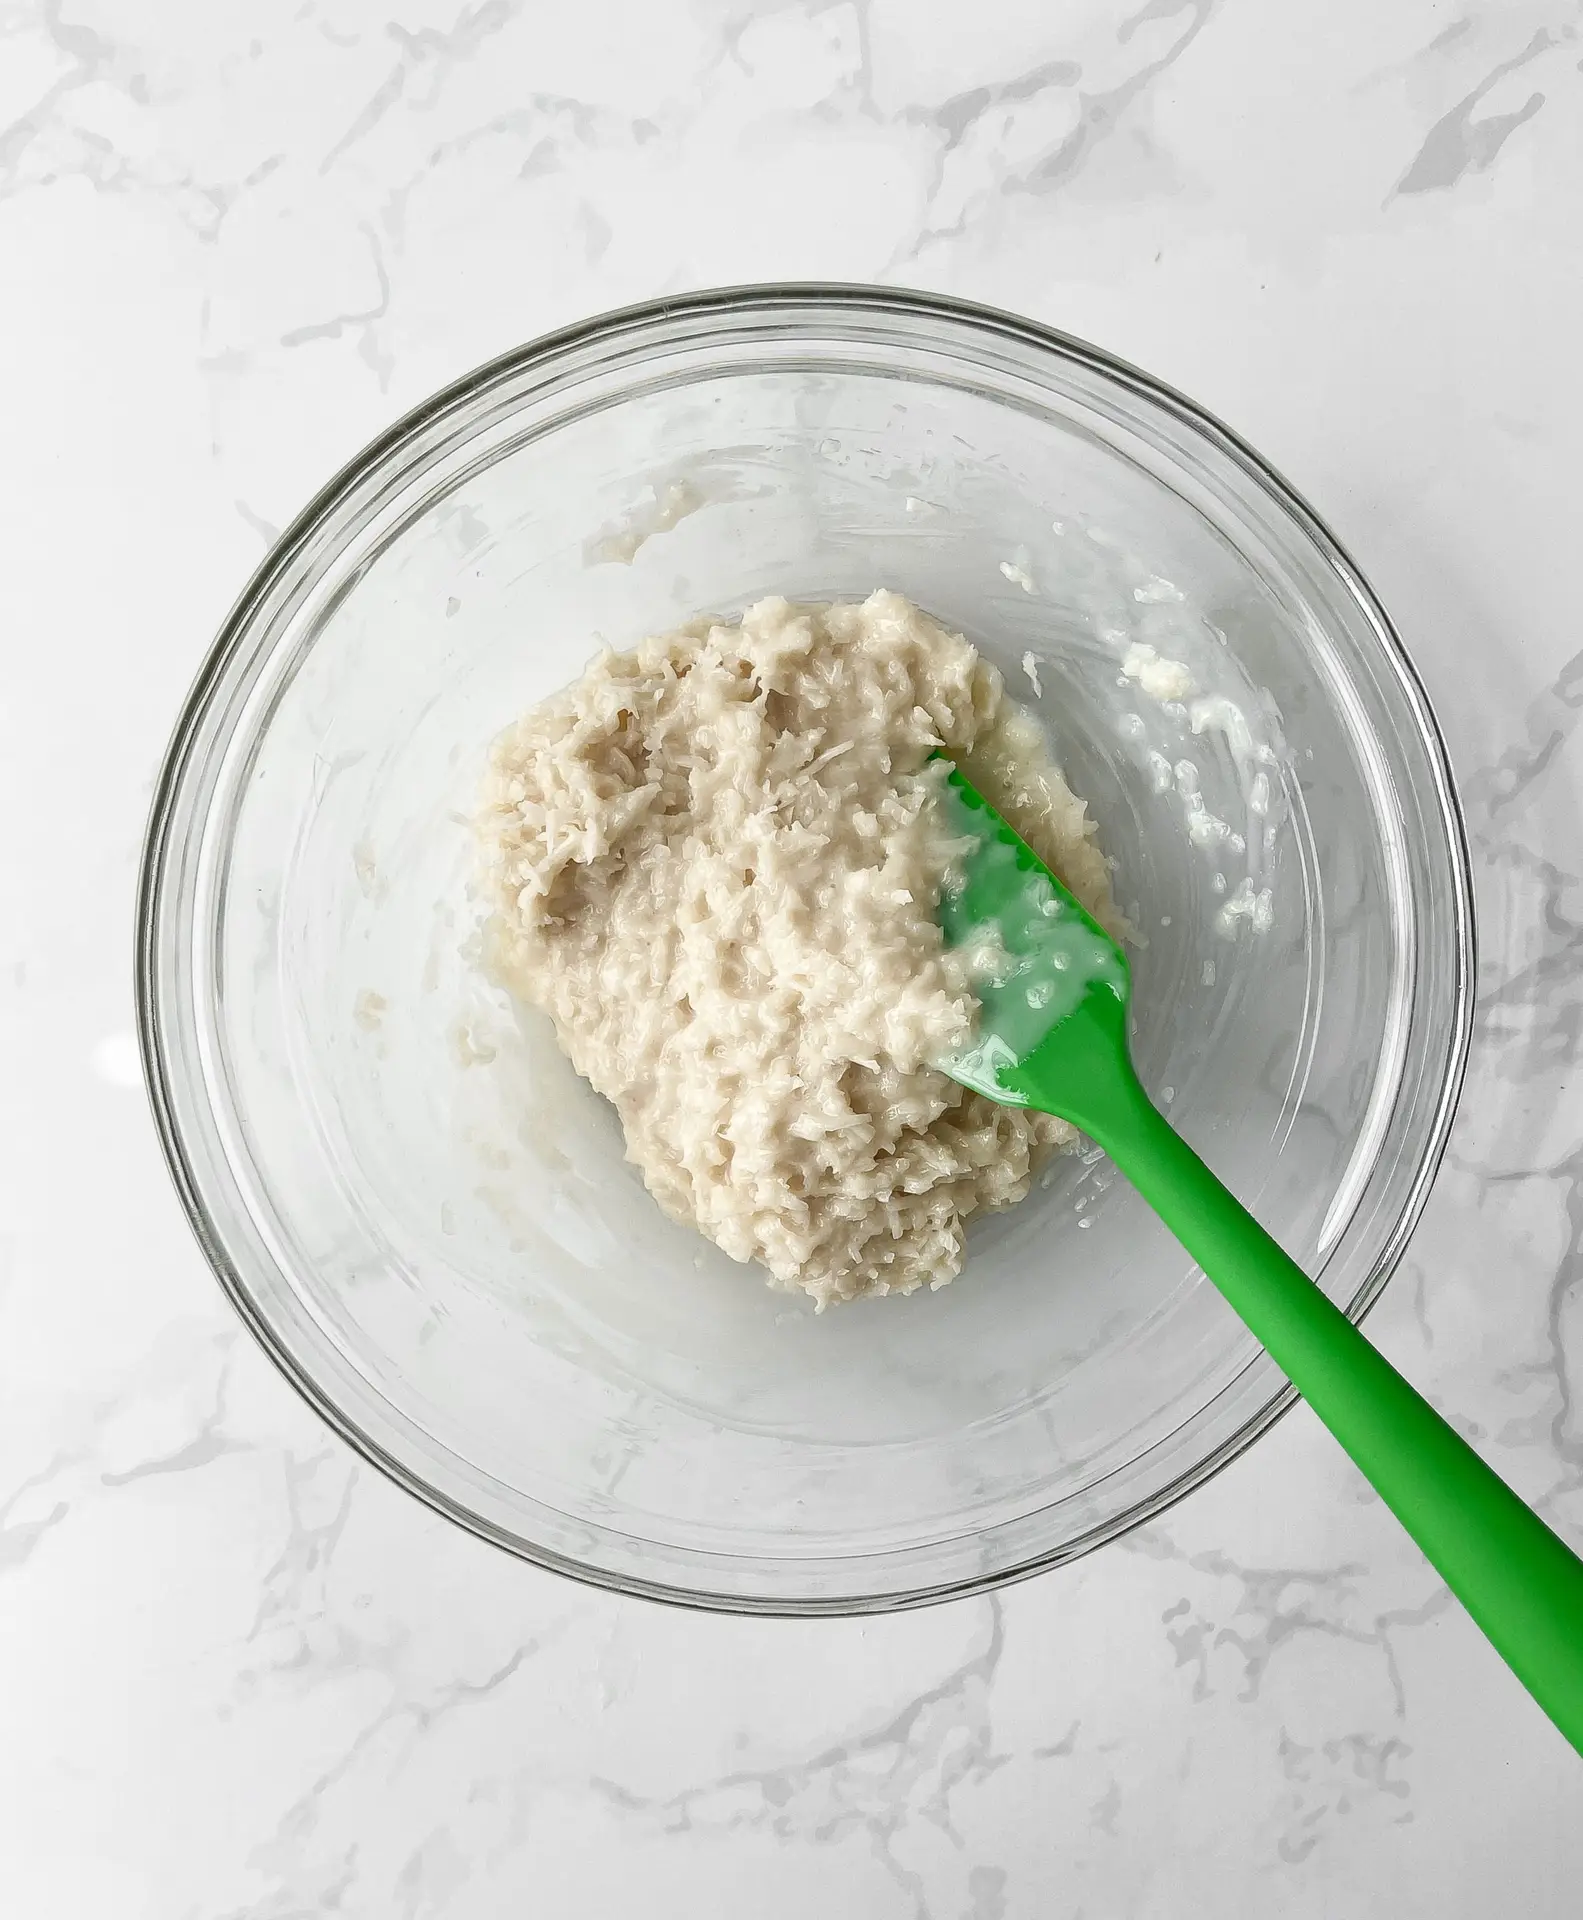
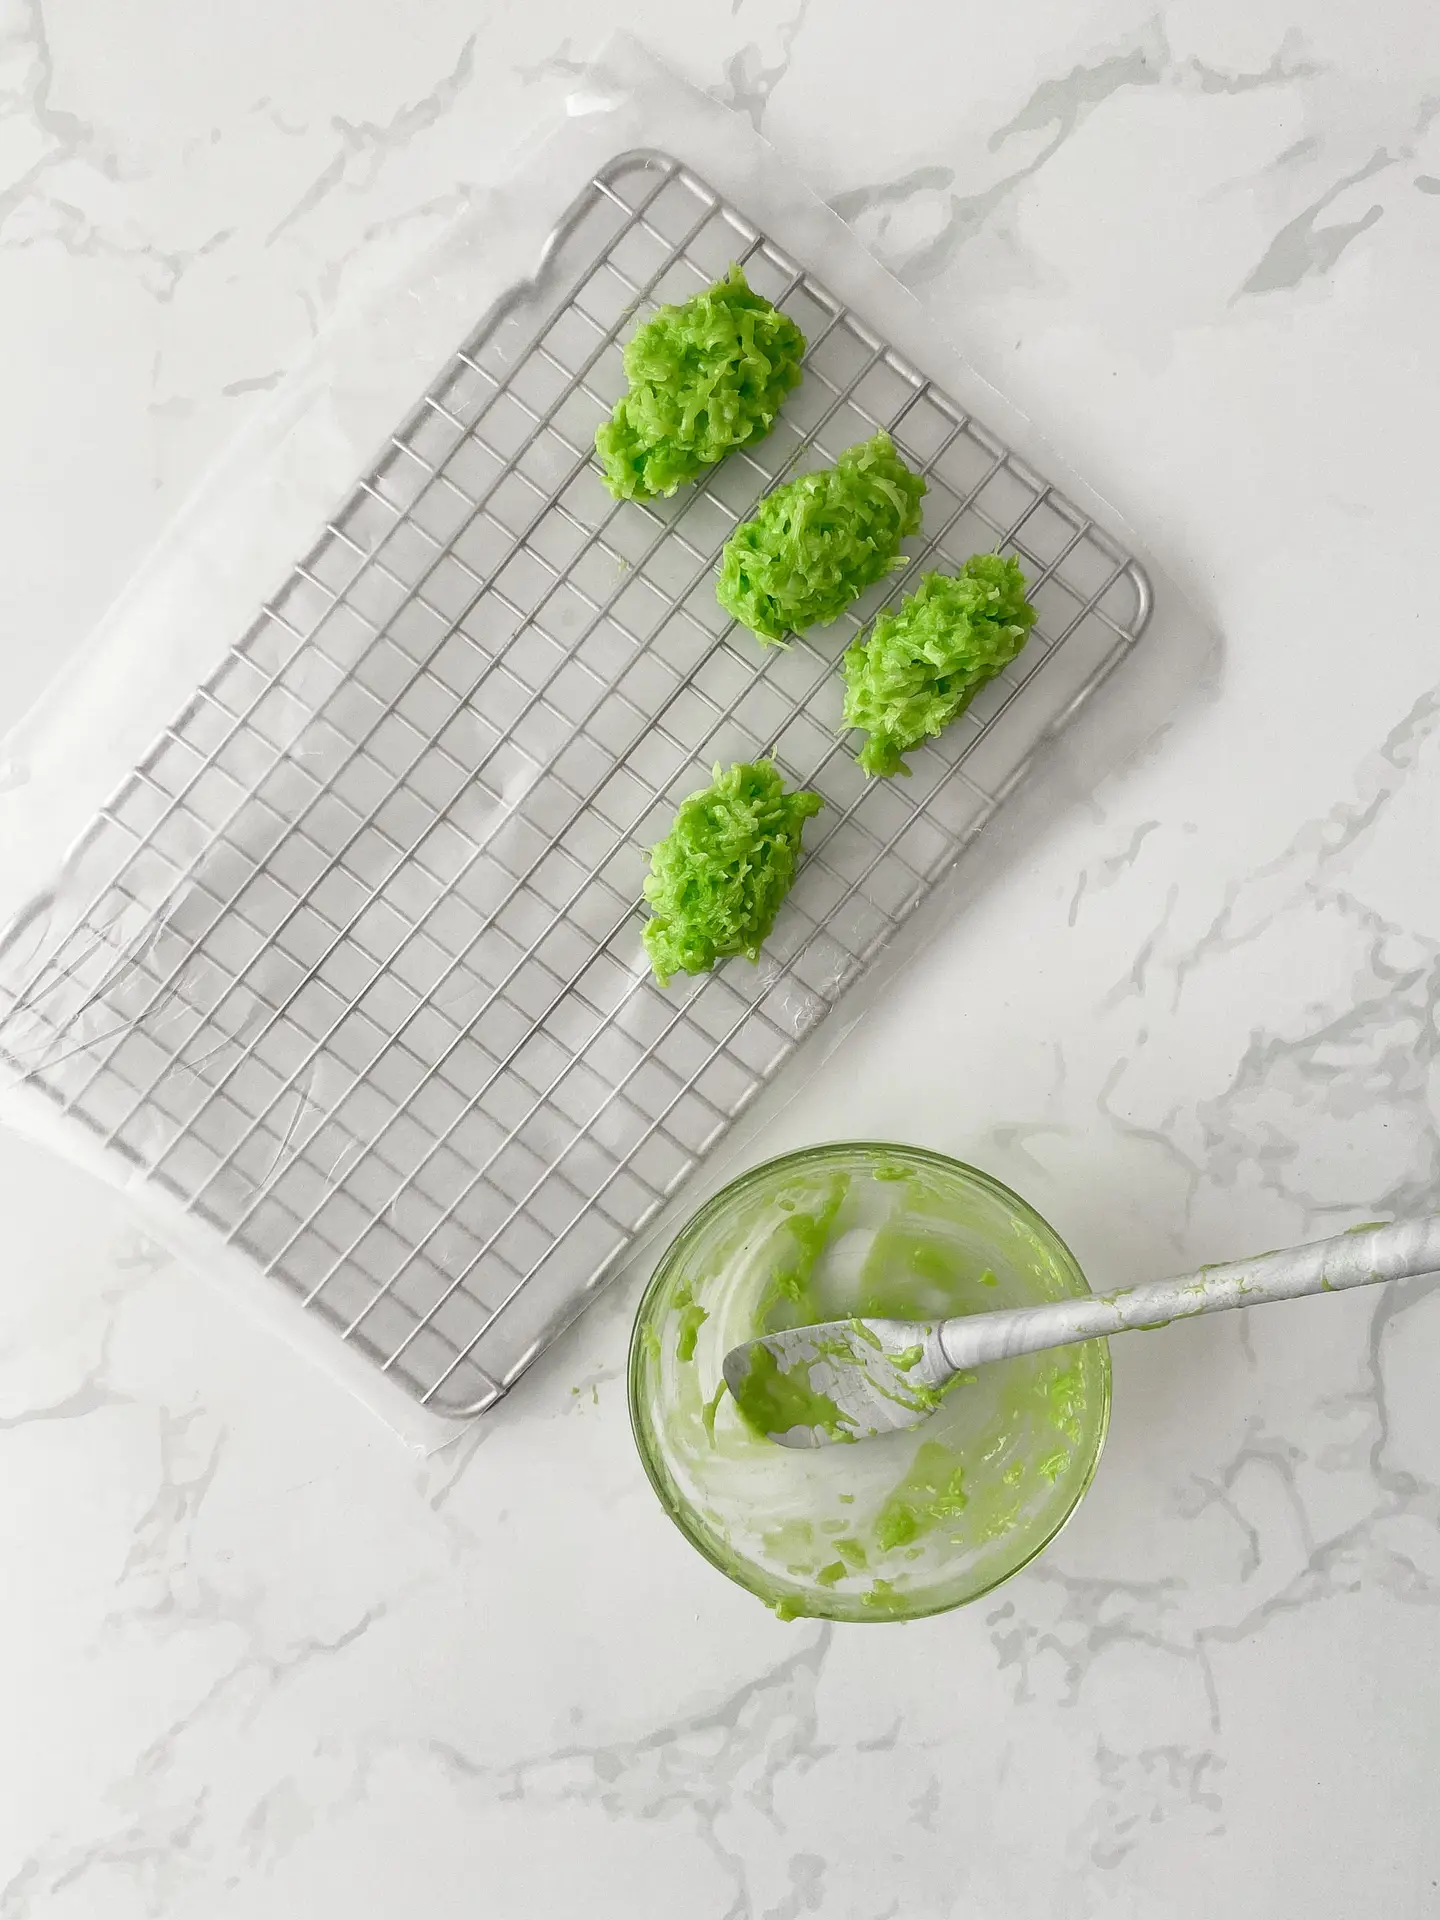
- In a large bowl, mix together coconut flakes and condensed milk.
- If using food coloring, add drops to smaller, individual bowls and mix together.
- Spoon a heaping spoonful of mixture into your hands and shape into a log. Place on a piece of wax paper or parchment paper.
- Freeze 45 minutes.
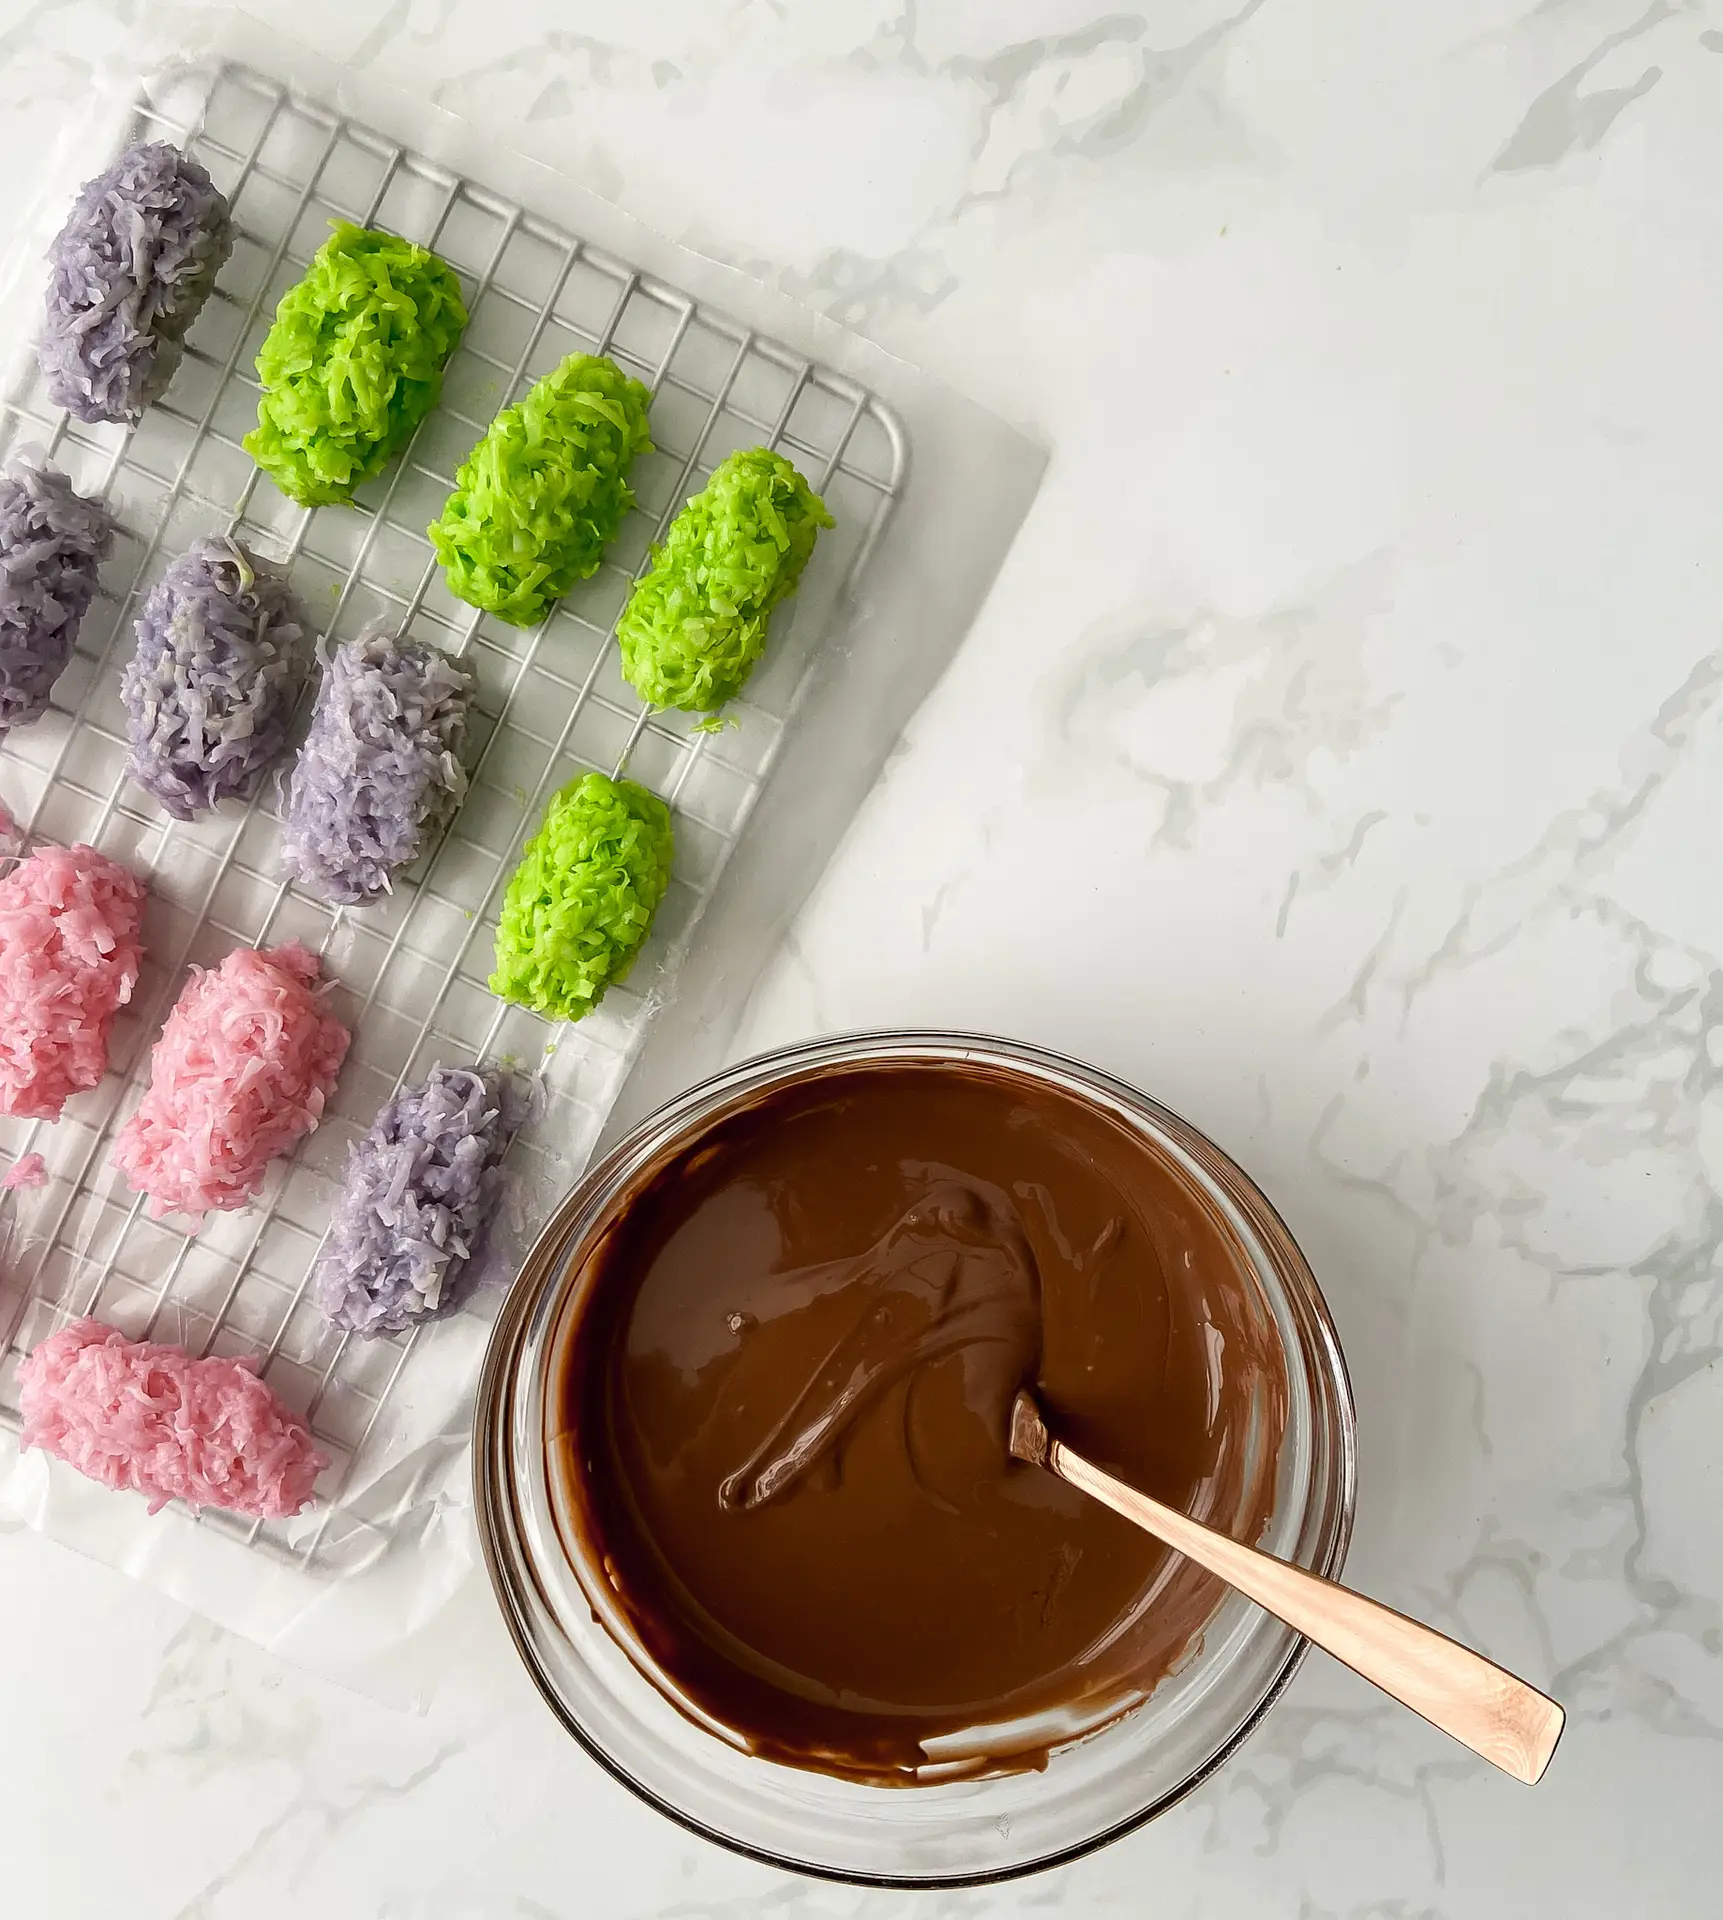
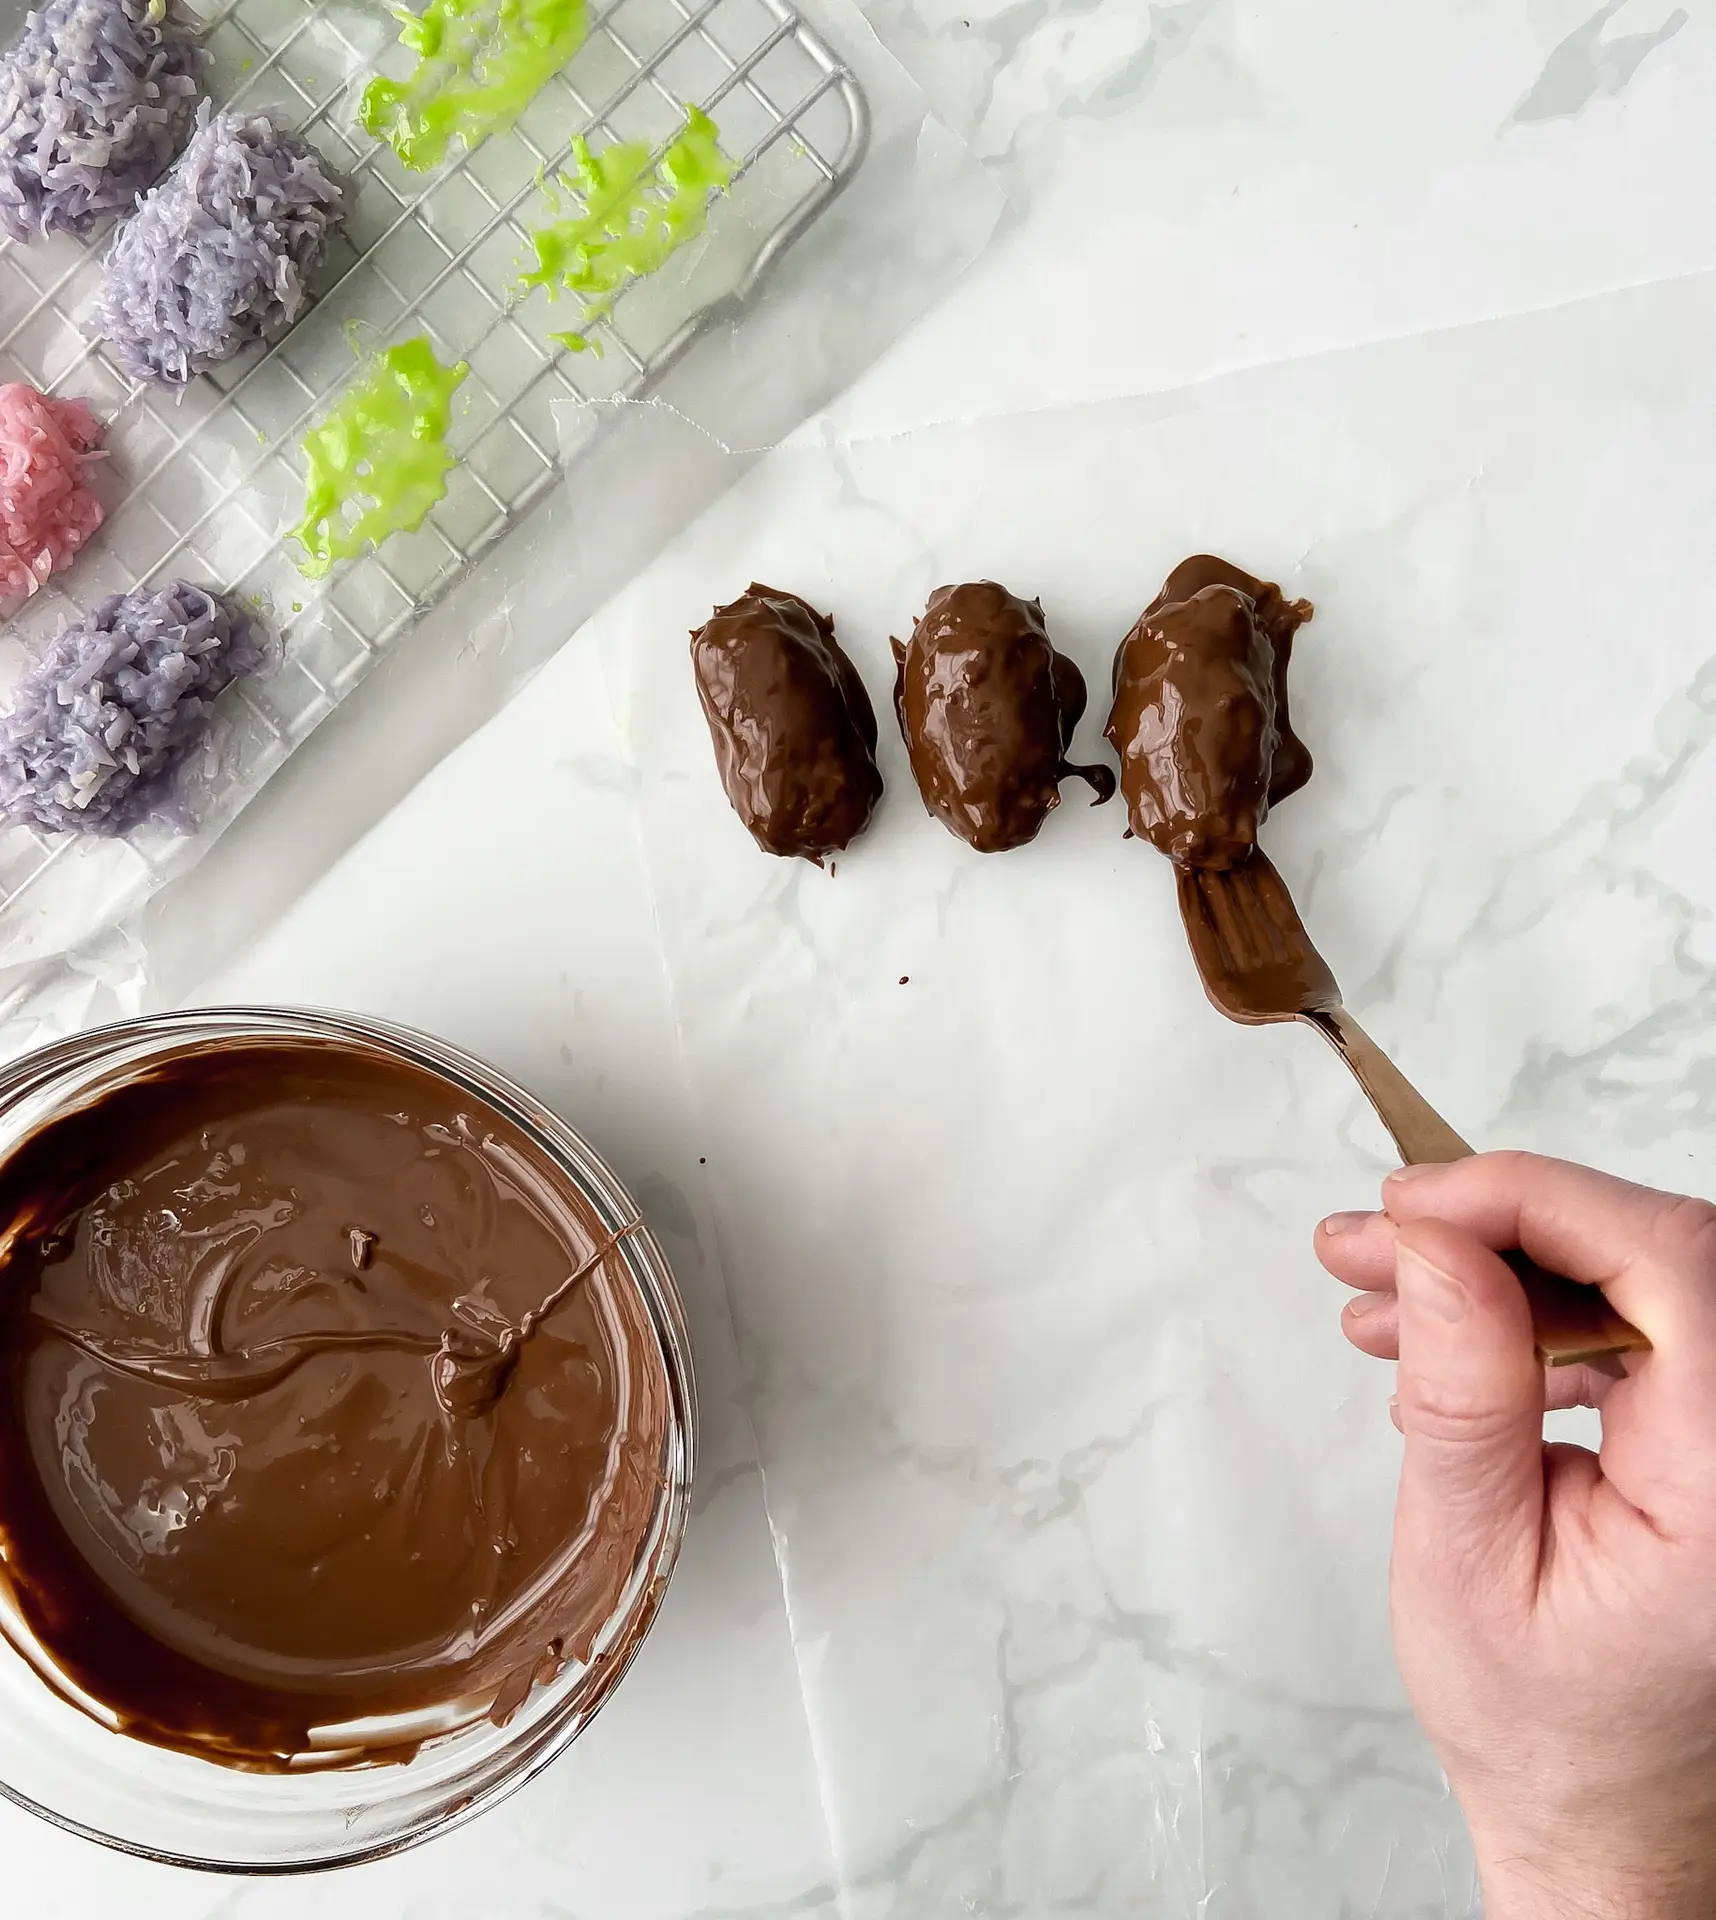
- In a small bowl or double boiler. Melt your chocolate. Stir in coconut oil.
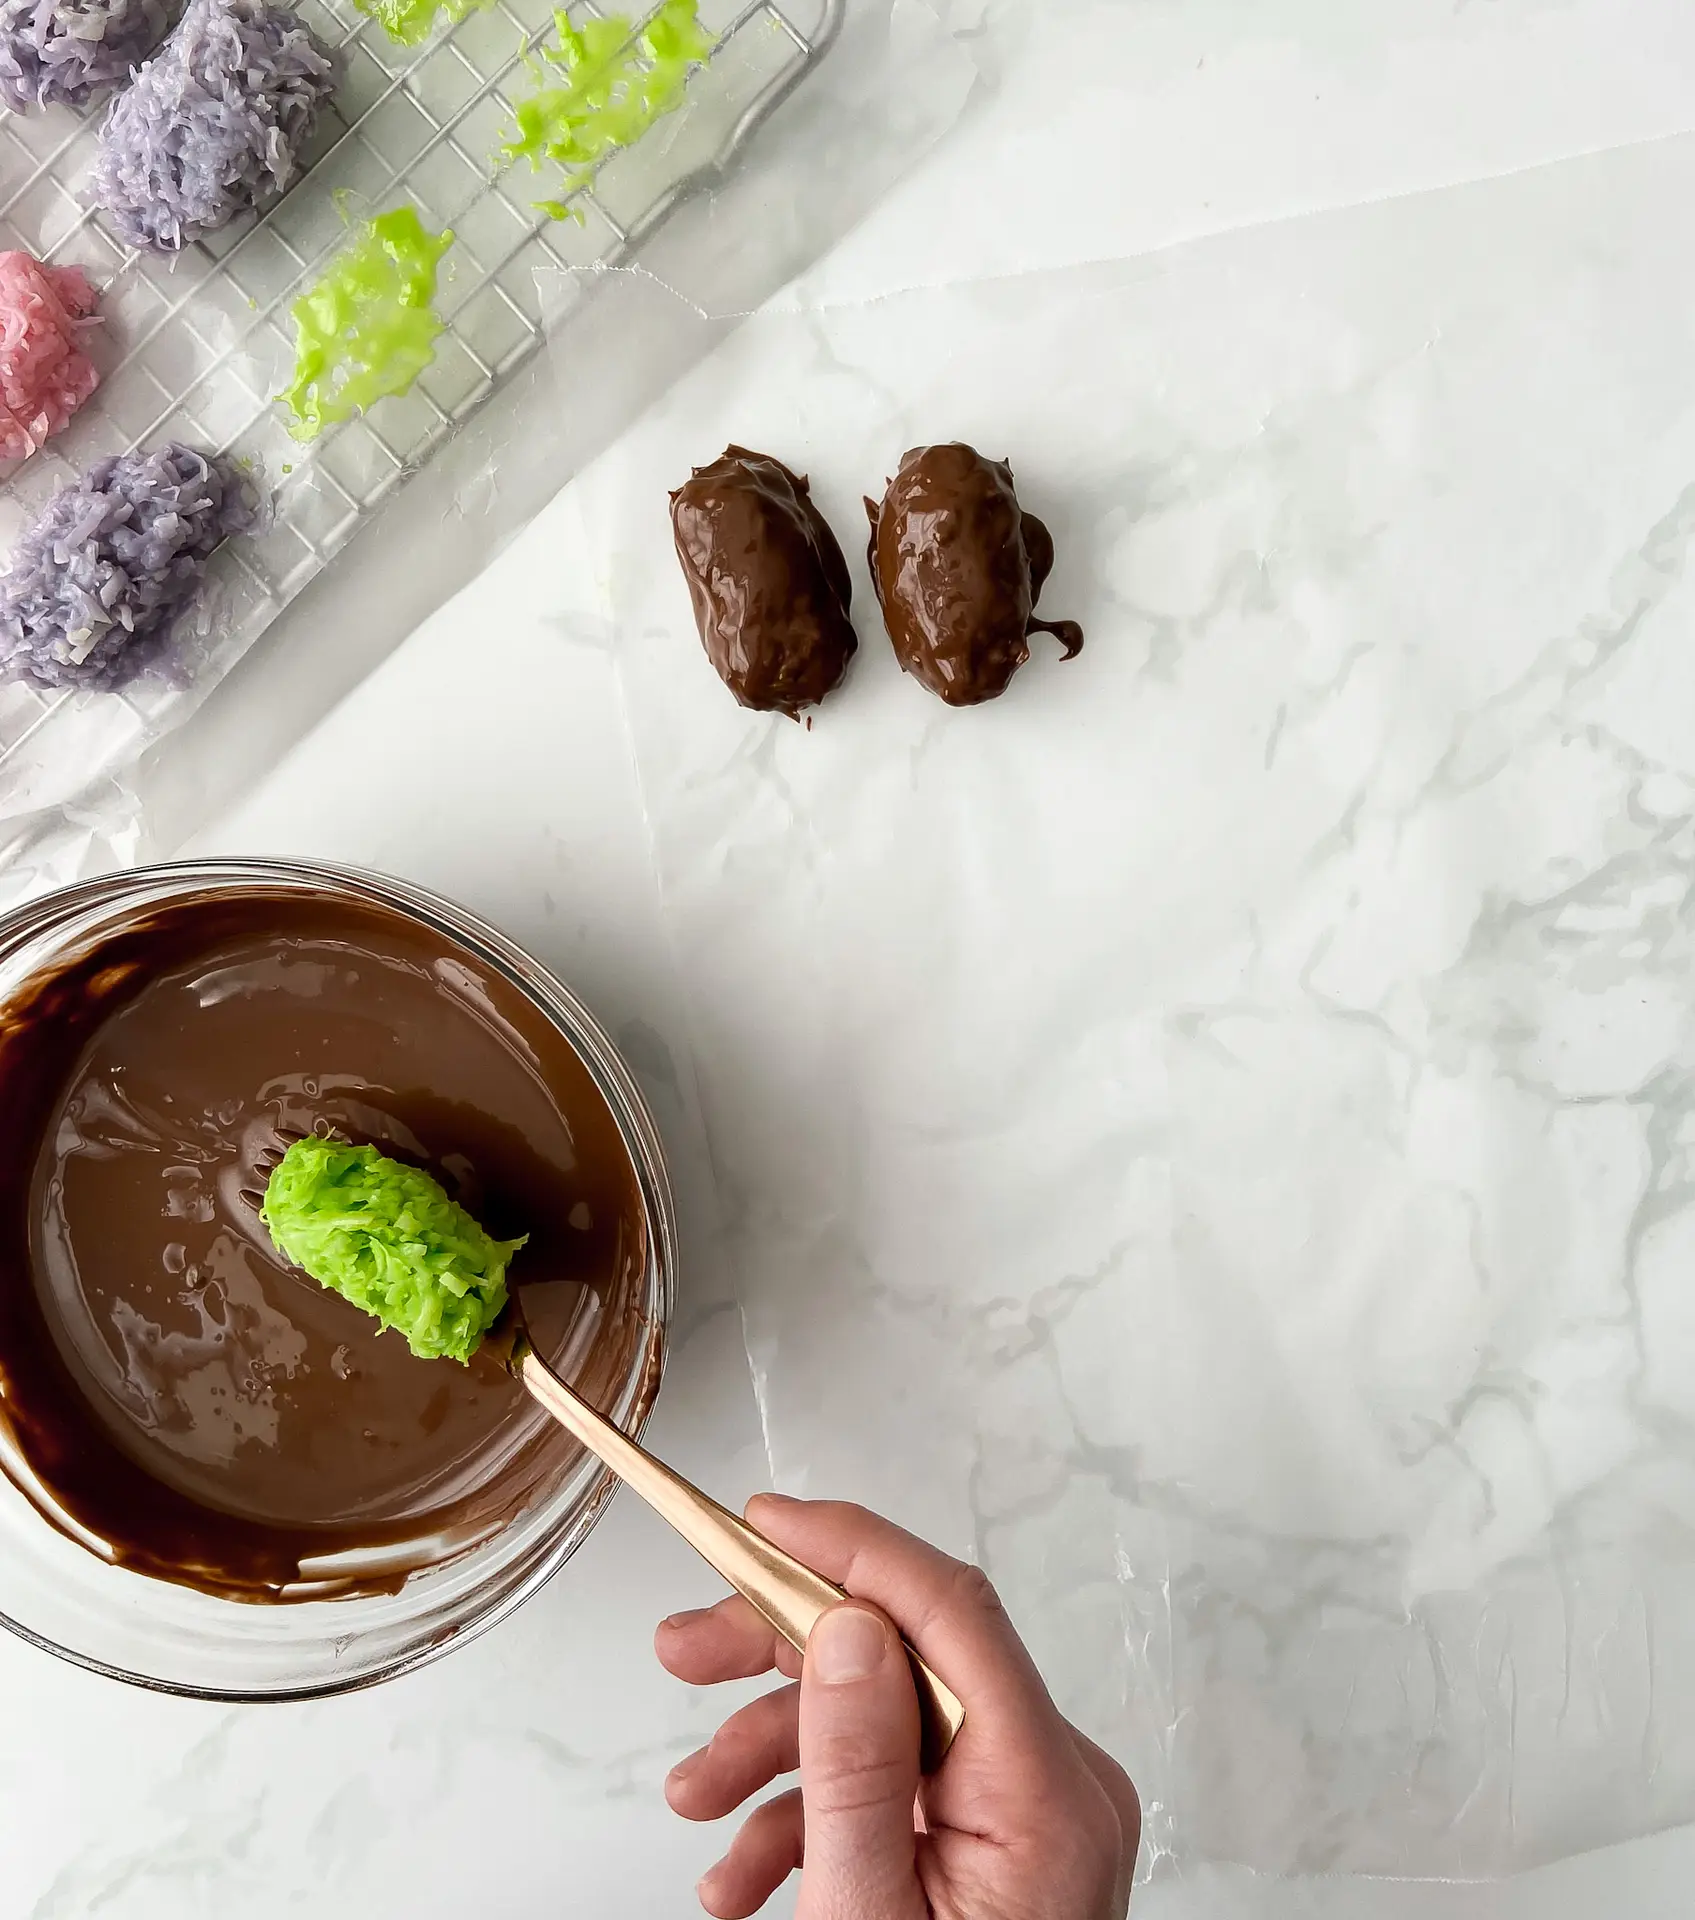
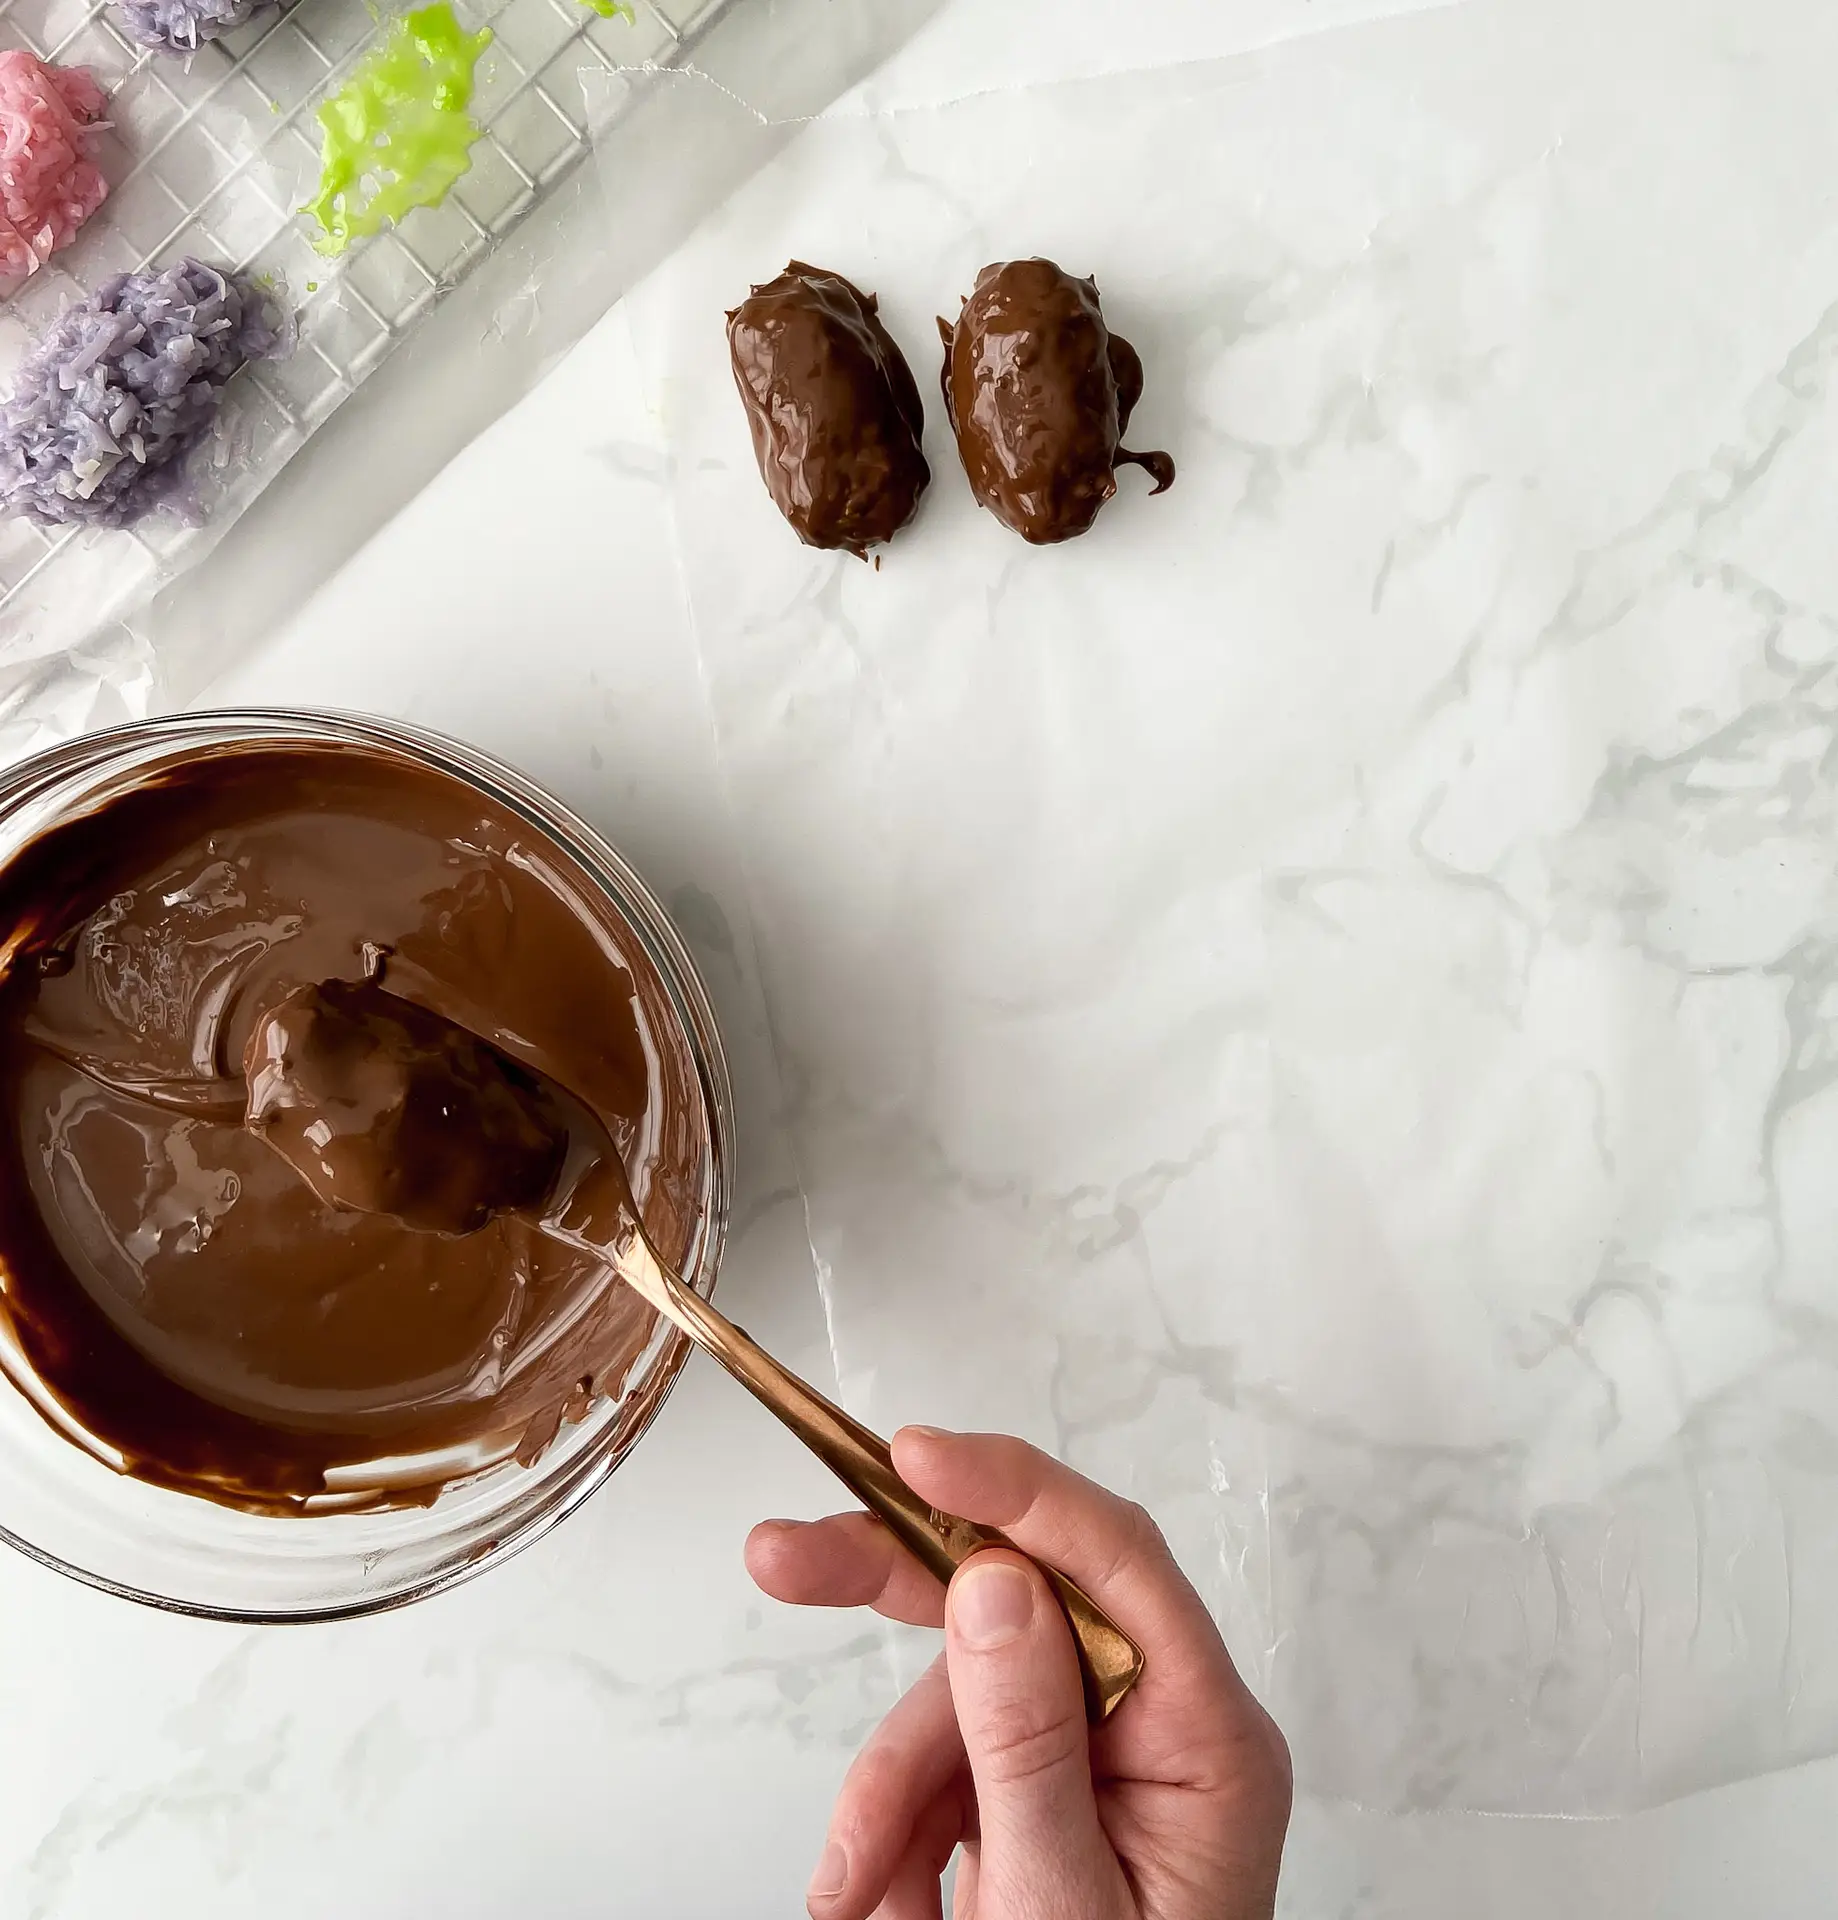
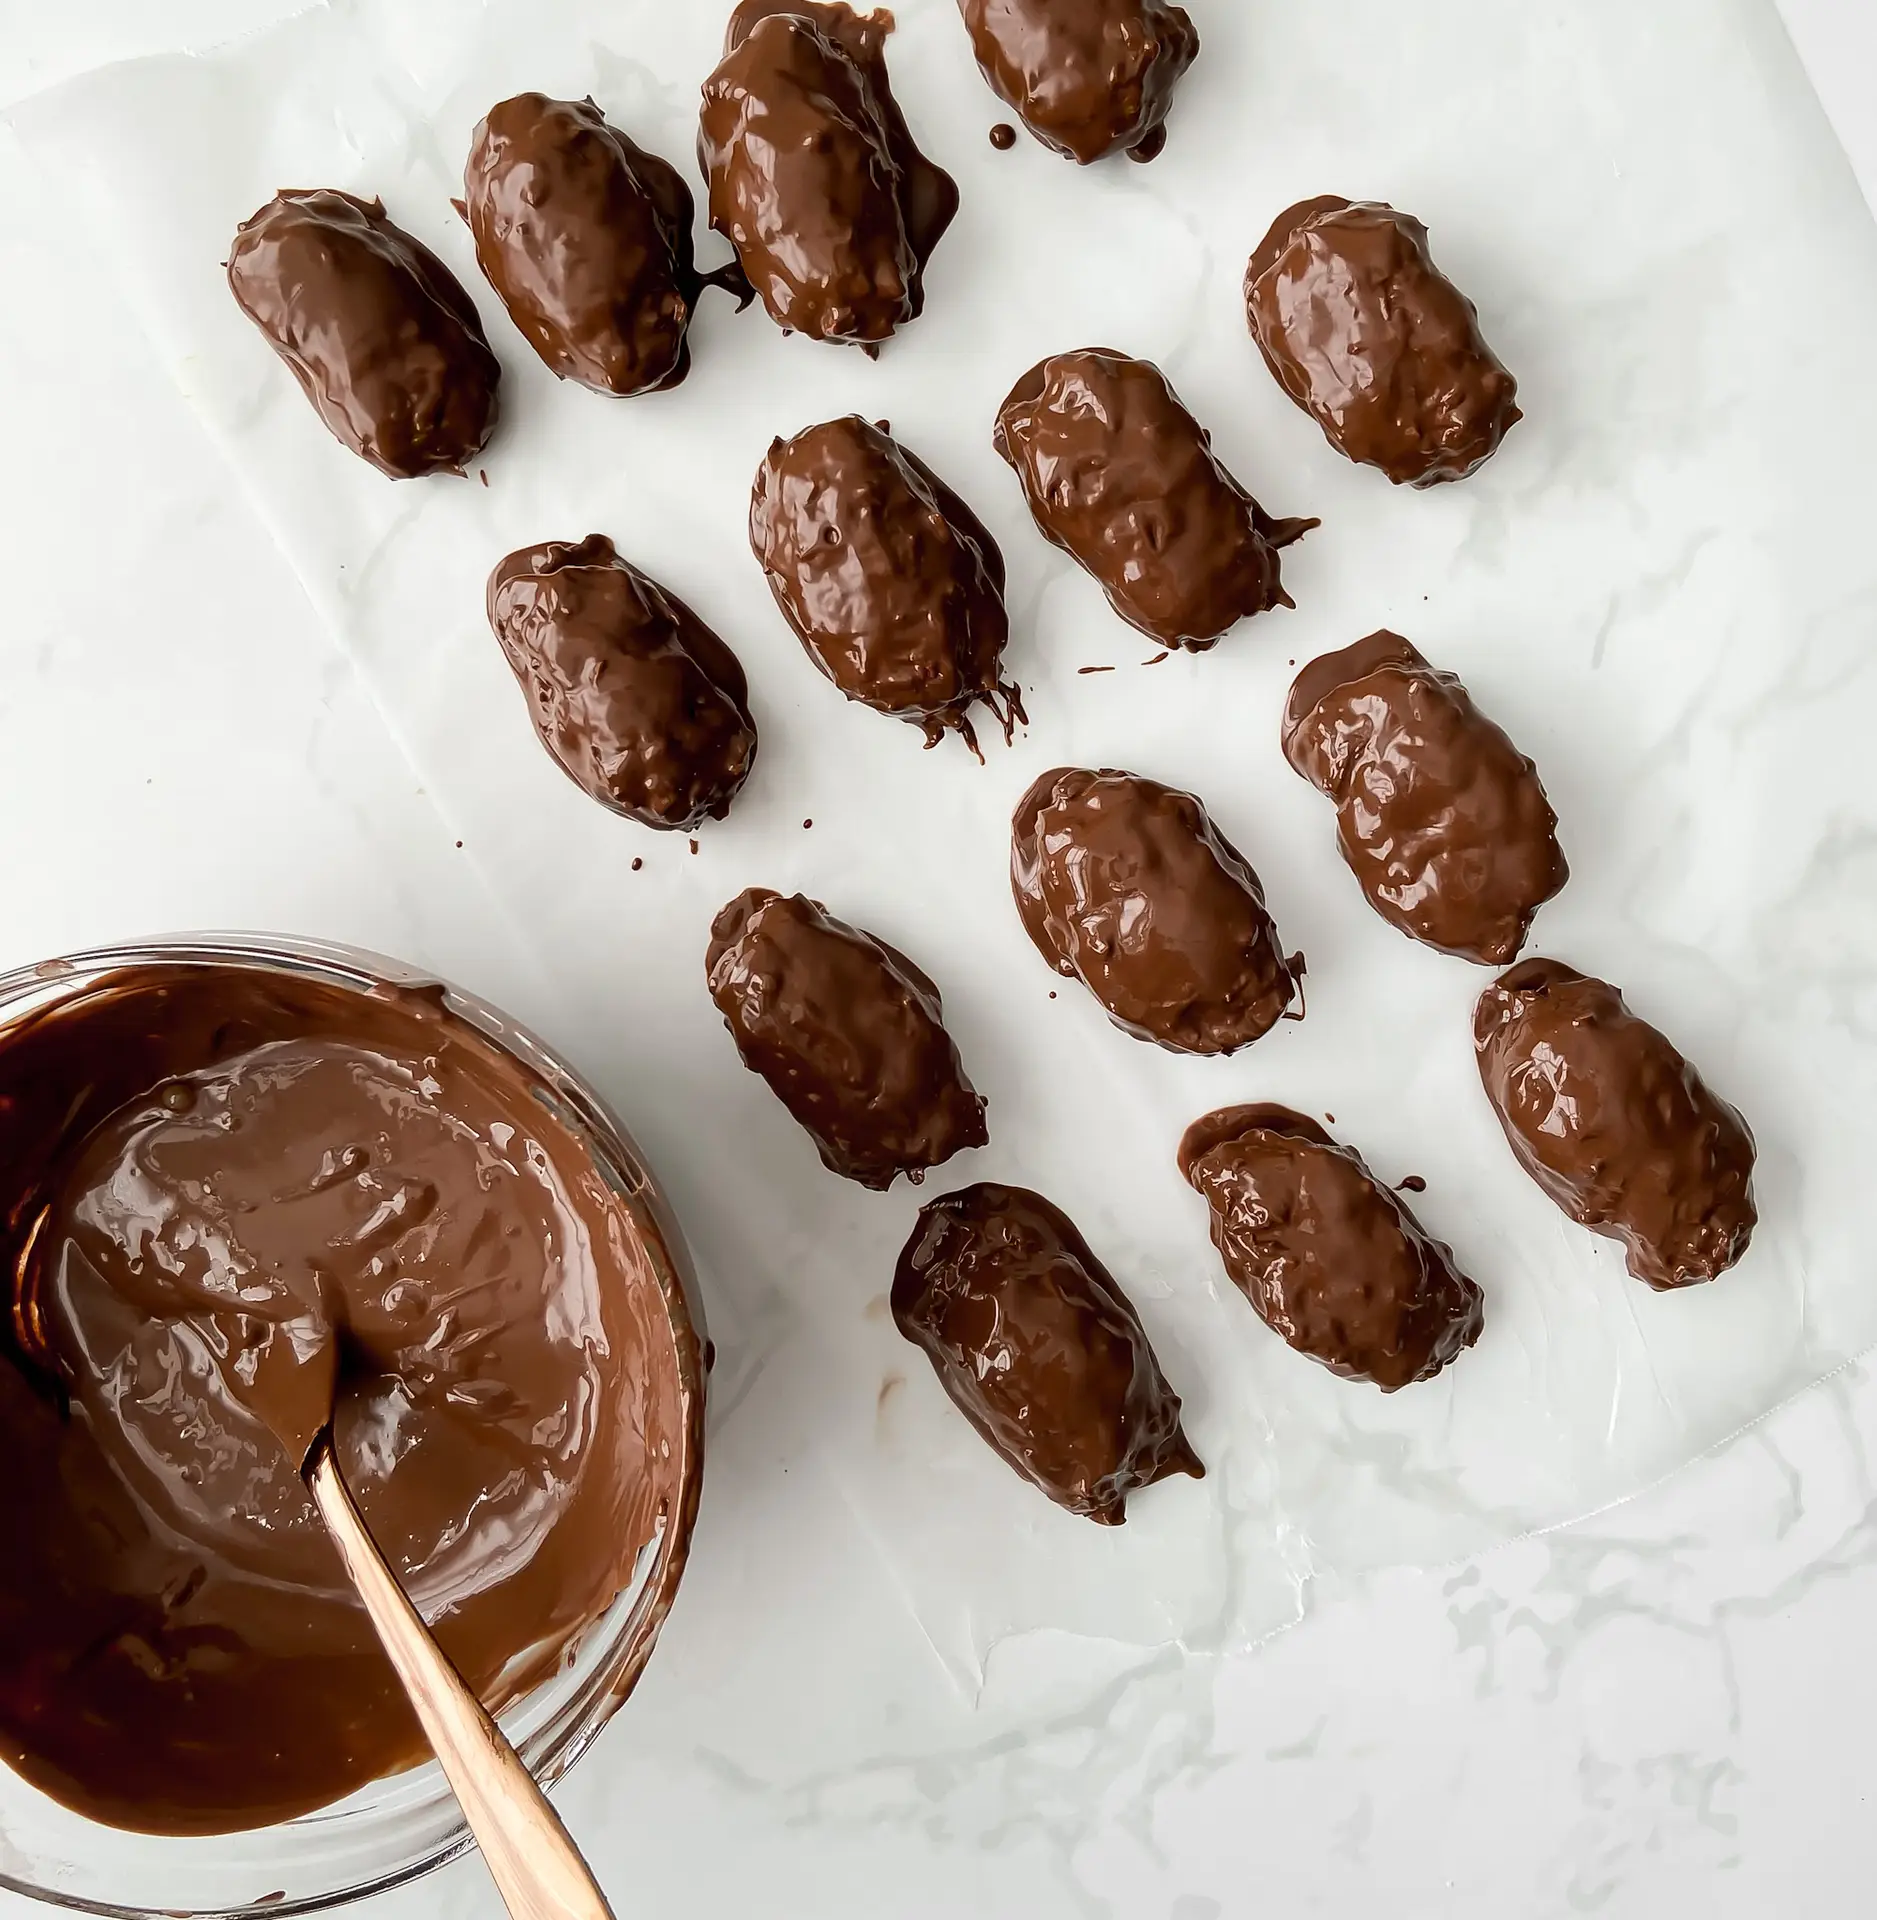
- Using a fork, dunk each frozen piece of your prepared coconut mixture. I give it one turn then pull up to let the residual chocolate drizzle back into the bowl.
- Place back on the sheet. Repeat for all pieces. Place back into the freezer for up to 15-30 minutes until chocolate is set. Enjoy!
- Store in an airtight container in the freezer. Good for 3 months.
Notes
Frequently Asked Questions
Can I use unsweetened coconut for Homemade Mounds Bars?
You can use unsweetened shredded coconut for Homemade Mounds Bars, but the flavor will be less like the traditional candy bar. Because the sweetened condensed milk provides significant moisture and sugar, using unsweetened coconut may result in a slightly drier texture. If using unsweetened flakes, you may need to add a touch of vanilla extract or extra condensed milk to maintain the desired creaminess.
Why is my chocolate coating for Mounds bars clumpy?
Chocolate coating for Mounds bars becomes clumpy if it is overheated or if moisture gets into the bowl, causing it to “seize.” To ensure a smooth, professional finish, melt the chocolate in short 30-second bursts and stir in 1–2 teaspoons of coconut oil. The oil thins the chocolate to a drizzle consistency, making it easier to coat the frozen coconut centers evenly.
What is the difference between a Mounds bar and an Almond Joy?
The main difference between a Mounds bar and an Almond Joy is that a Mounds bar features dark chocolate and no nuts, while an Almond Joy uses milk chocolate and includes whole almonds on top of the coconut center. This Homemade Mounds Bar recipe can easily be converted into an Almond Joy by adding an almond and using milk chocolate for the coating.
How long do Homemade Mounds Bars last in the freezer?
Homemade Mounds Bars can last up to 3 months when stored in an airtight container in the freezer. Because they are a no-bake dessert made with condensed milk and coconut, they hold their texture exceptionally well when frozen. For the best taste and to avoid freezer burn, ensure the container is tightly sealed or use a vacuum-seal bag for long-term storage.
More Dessert Recipes
Looking for more easy and comforting meals? Browse all recipes here:


