Halloween Dirt Cups with Oreos and Gummy Worms
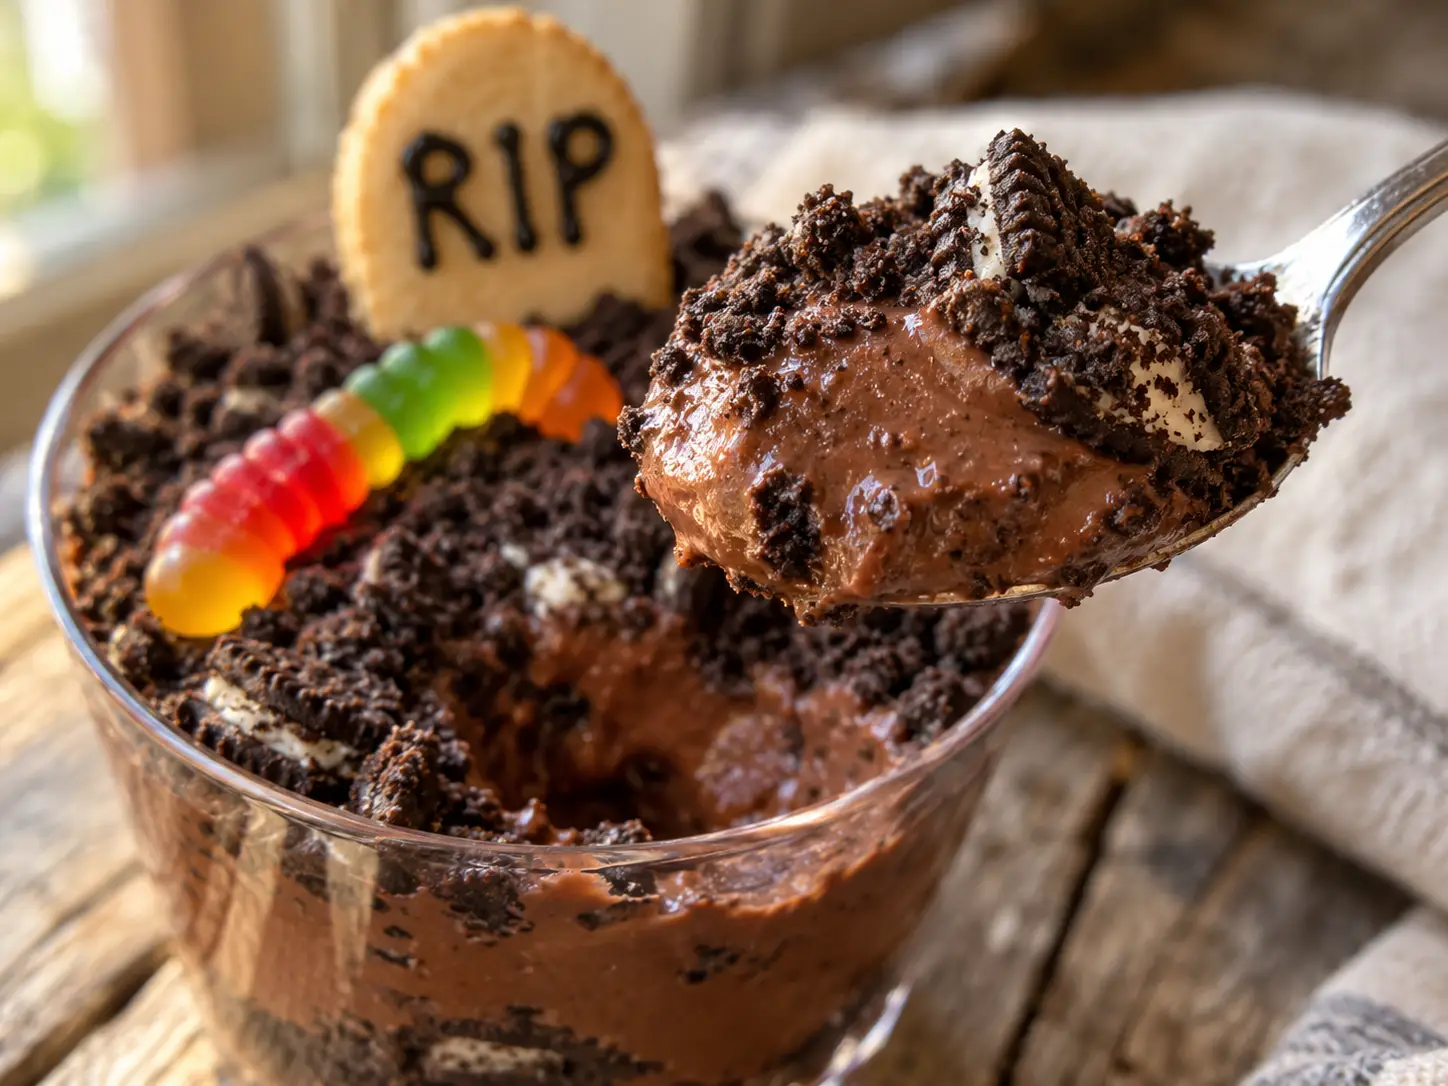
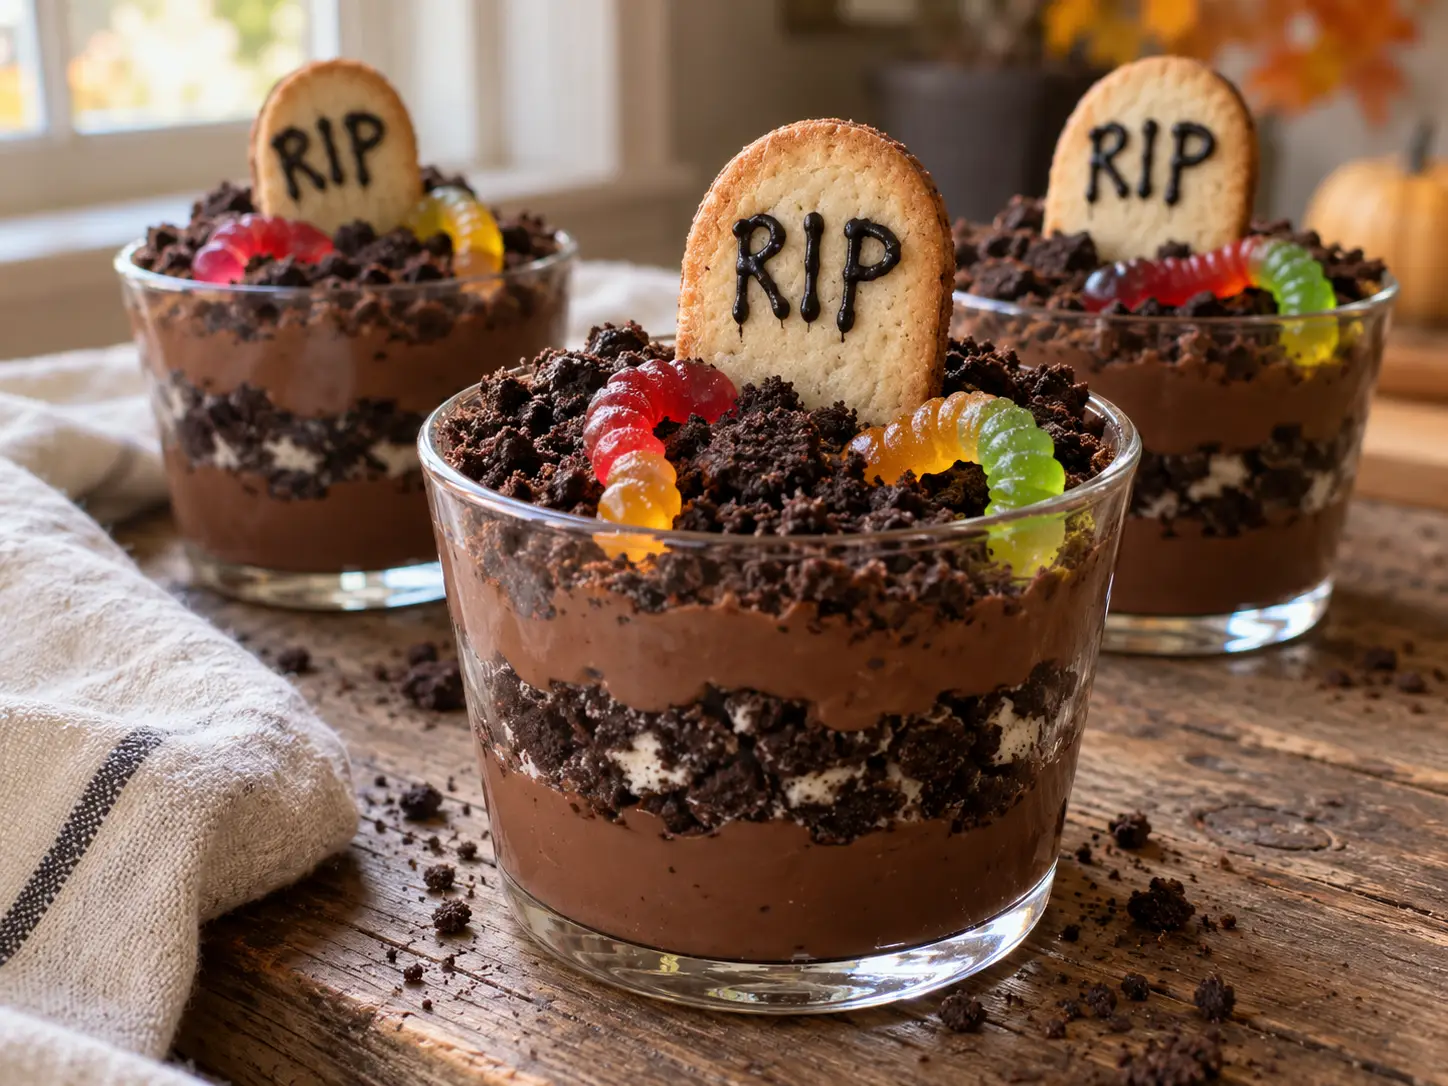
These Halloween graveyard dirt cups layer creamy chocolate pudding with crushed Oreos, colorful gummy worms, and cookie tombstones. They are an easy no-bake Halloween dessert you can portion ahead of time, keep chilled, and decorate just before your party.
There is something about a dessert that looks like a tiny graveyard but tastes like chocolate and cookies that makes Halloween feel extra fun. The pudding is smooth, the Oreo topping adds crunch, and the gummy worms bring that silly, spooky touch without needing a long list of decorations.
For a Halloween dessert table, I like the idea of giving everyone their own little cup. There is no cake to cut, no shared serving spoon to pass around, and no guessing how many servings are left. Set out the cups with small spoons, and dessert is ready.
The secret to a good dirt cup is paying attention to texture. Let the pudding set before adding the crumbs, keep the top layer of Oreos dry until serving time, and add the tombstones last so they stay upright. Those small steps make the difference between a cute dessert and a cup of soggy cookies.
Why You Will Love These Halloween Dirt Cups
- No baking required: Use instant chocolate pudding and store-bought cookies.
- Easy individual servings: Each guest gets a ready-to-eat dessert cup.
- Simple ingredients: The main layers are chocolate pudding, Oreos, gummy worms, and cookies.
- Make-ahead friendly: Prepare the pudding cups the day before and finish decorating before serving.
- Fun to decorate: Each graveyard can have its own crooked tombstone and wriggly worms.
- Easy to scale: Double the ingredients for a larger Halloween party.
This version keeps the pudding rich and chocolatey without cream cheese or whipped topping. The cookies and candy already bring plenty of sweetness, so a straightforward chocolate base works well.
What Are Graveyard Dirt Cups?
Graveyard dirt cups are a Halloween version of dirt pudding. Chocolate pudding becomes the base, crushed chocolate sandwich cookies look like soil, gummy worms peek out of the crumbs, and upright cookies act as tombstones.
Some dirt pudding recipes include whipped topping or a cream cheese mixture. This recipe uses plain chocolate pudding for a shorter ingredient list and a deeper chocolate flavor.
You may also see similar desserts called Halloween pudding cups, Oreo dirt cups, or dirt and worms dessert cups. Here, the cookie tombstones turn each serving into a tiny edible graveyard.
Ingredients for Halloween Graveyard Dirt Cups
Instant Chocolate Pudding
Use two 3.9-ounce boxes of regular instant chocolate pudding mix. Choose instant pudding rather than cook-and-serve for the method below.
Chocolate fudge instant pudding is another option if you prefer that flavor. Check the package size and directions, since different mixes may need different amounts of milk. This recipe is based on mixes that call for 2 cups of milk per box. Products – Heinz®
Cold Milk
You will need 4 cups of cold whole milk or 2% milk. Whole milk gives the pudding a richer taste, while 2% keeps it a little lighter.
Measure the milk before adding it. Too much liquid can make the pudding loose, which makes it harder for the cookie tombstones to stand.
Oreo Cookies
Use 24 regular Oreo cookies, including their cream filling. Crush them into mostly fine crumbs with a few small pieces left for texture.
Regular chocolate sandwich cookies give the topping a dark, soil-like color. You do not need to scrape out the filling or turn every crumb into powder.
Gummy Worms
Plan on two gummy worms per cup, or 24 worms total. Regular gummy worms give you bright colors and a chewy bite. Sour worms also work if you like a tart candy topping.
Add the worms shortly before serving. Long contact with wet pudding can change their texture.
Cookies for Tombstones
Choose 12 oval sandwich cookies, such as Milano-style cookies, or narrow rectangular butter cookies. A smooth, light-colored surface makes the lettering easier to see.
The cookie should be tall enough to show above the crumbs but small enough to fit inside the cup. Very wide or heavy cookies are more likely to lean or tip.
Decorating Icing
Use a small tube of black decorating icing with a fine writing tip. Write “RIP,” a tiny cross, or a simple squiggle on each cookie.
Melted chocolate piped through a small bag is another option. Whichever you choose, let the lettering firm up before moving the cookies.
Equipment You Will Need
- Large mixing bowl
- Whisk
- Measuring cup
- Food processor or zip-top bag and rolling pin
- Twelve clear 5- to 6-ounce food-safe cups
- Small spoon or piping bag for portioning
- Baking sheet or tray for moving the cups
- Small serving spoons
Clear cups show the chocolate and cookie layers. A wide opening also leaves room for the tombstone and gummy worms without squeezing everything together.
How to Make Halloween Dirt Cups
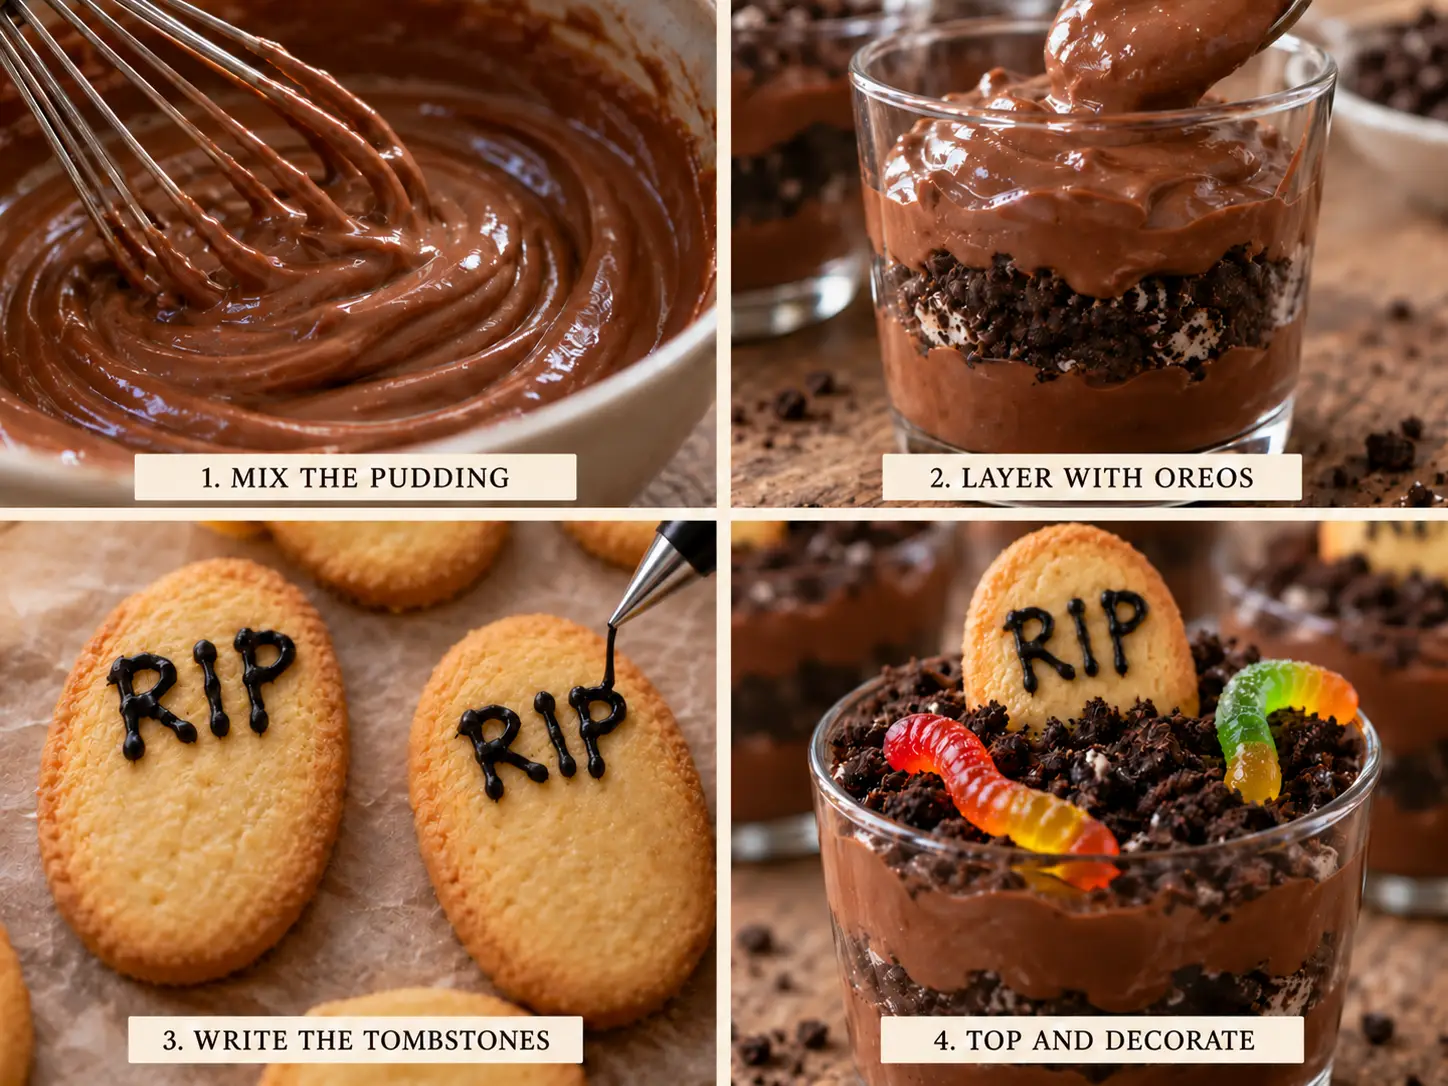
1. Make the Chocolate Pudding
Pour the cold milk into a large bowl and add both packages of instant pudding mix. Whisk for about 2 minutes, or follow the timing on your package, until the mixture is smooth.
Let it stand for about 5 minutes, or until thickened according to the package directions. The pudding should mound softly on a spoon instead of pouring like milk.
Scrape around the bottom of the bowl as you whisk so no dry pockets remain.
2. Crush the Oreos
Place the whole Oreos in a food processor and pulse until mostly fine. Alternatively, put them in a sealed zip-top bag and crush them with a rolling pin.
Leave a few small cookie pieces among the crumbs. That gives the topping a more natural dirt texture and a little extra crunch.
Divide the crumbs into two equal portions. One portion goes inside the cups, and the other stays dry for the top layer.
3. Portion the Pudding
Arrange the cups on a tray. Divide half the pudding among the 12 cups, add half the Oreo crumbs evenly, then divide the remaining pudding over that cookie layer.
Each cup gets approximately 1/3 cup of pudding in total. Divide the mixture evenly rather than filling the cups to the rim, since you need room for the topping and decorations.
The middle Oreo layer will soften slightly against the pudding. That is part of the dessert. The reserved top layer provides the fresh crunch.
4. Chill the Cups
Cover the pudding cups and refrigerate for at least 30 minutes. Keep the remaining Oreo crumbs in an airtight container at room temperature.
If making the cups ahead, refrigerate the covered bases overnight and save the top crumbs, worms, and tombstones for serving day.
5. Decorate the Cookie Tombstones
Lay the tombstone cookies flat on parchment paper. Write “RIP” or another small design near the upper half of each cookie.
Leave the lower section plain because it will sit inside the pudding. Allow the icing to firm up according to its package directions.
Short lettering is easier to read and leaves less chance of smudging. A slightly crooked design fits the Halloween theme perfectly.
6. Add the Dirt, Worms, and Tombstones
Just before serving, divide the reserved Oreo crumbs over the cups. Insert one cookie tombstone into each cup, pressing the bottom into the pudding for support.
Add two gummy worms per cup. Tuck one end beneath the crumbs and let the other end curl across the surface or over the edge.
Keep the decorated cups refrigerated until you are ready to set them out.
Tips for the Best Oreo Dirt Cups
Start with Properly Set Pudding
Runny pudding makes assembly messy and gives the tombstones less support. Use cold milk, measure it carefully, and follow the setting time on your pudding package.
Do not add more dry mix randomly if the pudding looks thin. First, check that you used instant pudding and gave it the full setting time.
Save the Top Crumbs Until Serving
Oreo crumbs soften when they touch pudding. That softer texture works inside the cup, but a fresh layer on top gives you a better balance of creamy and crunchy.
If you need to decorate everything early, the cups will still taste like chocolate and cookies. Expect a softer topping.
Keep the Tombstones Small Enough for the Cups
A tall, heavy cookie can pull to one side. Use a narrow cookie and insert it far enough that the pudding supports the base.
You can place it near the back of the cup so the gummy worms have room in front. Avoid resting all the cookie weight on the rim.
Leave Room at the Top
Overfilled cups spill crumbs when guests pick them up. Leave space for the dirt topping and decorations rather than packing the pudding to the very edge.
Use a Piping Bag for Tidier Layers
For a larger batch, spoon the pudding into a piping bag or a sturdy zip-top bag with one corner snipped off. Pipe it into the cups to keep the sides cleaner.
A spoon works just as well for a small batch. If pudding smears along the inside of a cup, wipe the exposed rim before adding the crumbs.
Make-Ahead Plan for a Halloween Party
The Day Before
Prepare the pudding, portion the cups with their middle cookie layer, cover, and refrigerate. Crush and reserve the topping crumbs in an airtight container.
Decorate the tombstone cookies. Once the icing has set, store them in a single layer in a covered container at room temperature, provided the icing package allows room-temperature storage.
Shortly Before Serving
Add the reserved Oreo topping, insert the tombstones, and arrange the gummy worms. Set the finished cups on a tray and return them to the refrigerator until guests are ready for dessert.
This schedule gets most of the work done early while keeping the toppings in better shape.
How to Serve Dirt Cups at Parties
Individual cups are handy for Halloween parties, movie nights, and dessert tables. Place a small spoon beside each cup or keep a container of spoons next to the serving tray.
For a bigger gathering, bring out a small tray at a time and leave the remaining cups in the refrigerator. Replace the tray with a fresh chilled batch as needed.
Keep these milk-based desserts chilled.
For transport, keep the covered pudding cups upright in a cooler with ice packs. Pack the dry crumbs, cookies, and worms separately, then decorate at your destination.
How Many Cups Should You Make?
Plan on one cup per guest when you are serving this portion size, then add a few extras if pudding is the main dessert.
| Servings | Instant pudding mix | Milk | Oreos | Gummy worms | Tombstone cookies |
|---|---|---|---|---|---|
| 12 | Two 3.9-ounce boxes | 4 cups | 24 | 24 | 12 |
| 24 | Four 3.9-ounce boxes | 8 cups | 48 | 48 | 24 |
| 36 | Six 3.9-ounce boxes | 12 cups | 72 | 72 | 36 |
For large batches, make the pudding in separate bowls so you can whisk each batch thoroughly. You will also need more decorating icing.
Recipe Variations
Use Homemade Chocolate Pudding
Replace the prepared instant pudding with approximately 4 cups of chilled homemade chocolate pudding. Choose a recipe that sets thick enough to spoon into cups and support the decorations.
Cool and refrigerate it according to that recipe before assembling. Warm pudding will soften the cookies faster.
Make Mini Dirt Cups
Divide the same batch among 24 small 3-ounce cups for a dessert table with several sweets. Use smaller tombstone cookies and one gummy worm per cup. You will need 24 tombstone cookies for that version.
Add Extra Halloween Decorations
Candy pumpkins, candy bones, or small chocolate shapes can join the graveyard. Keep the decorations light so they do not bury the pudding under a thick pile of candy.
Make Gluten-Free Dirt Cups
Use gluten-free chocolate sandwich cookies and gluten-free cookies for the tombstones. Check the pudding mix, gummy worms, and icing labels too. Changing the Oreos alone does not check every ingredient.
Make Dairy-Free Dirt Cups
Use a pudding mix that provides directions for your chosen dairy-free milk, or use a dairy-free homemade chocolate pudding recipe. Do not assume a straight milk swap will set correctly in every instant mix.
Check the cookies and icing as well. For a vegan version, also choose gelatin-free gummy worms.
Storage and Leftovers
Keep the pudding cups covered in the refrigerator. For the best texture, prepare the undecorated bases no more than 24 hours ahead and enjoy properly chilled leftovers within 2 days of making the pudding, or sooner if the pudding package directs.
That is a conservative plan for this assembled dessert, rather than a promise that every brand lasts the same amount of time. The Oreo layers will become softer as they sit.
Remove the tombstone cookies before covering decorated leftovers if they keep the lids from closing. Cookies that have already touched pudding will soften even when removed.
Freezing the finished cups is not recommended for texture. The pudding may separate after thawing, and the gummy worms and cookies will not return to their original texture.
More Halloween Recipes to Try
Build a Halloween menu with a savory snack, an easy main dish, and something sweet:
- Jalapeño Popper Mummy Bites: Cheesy jalapeño bites wrapped in crescent dough.
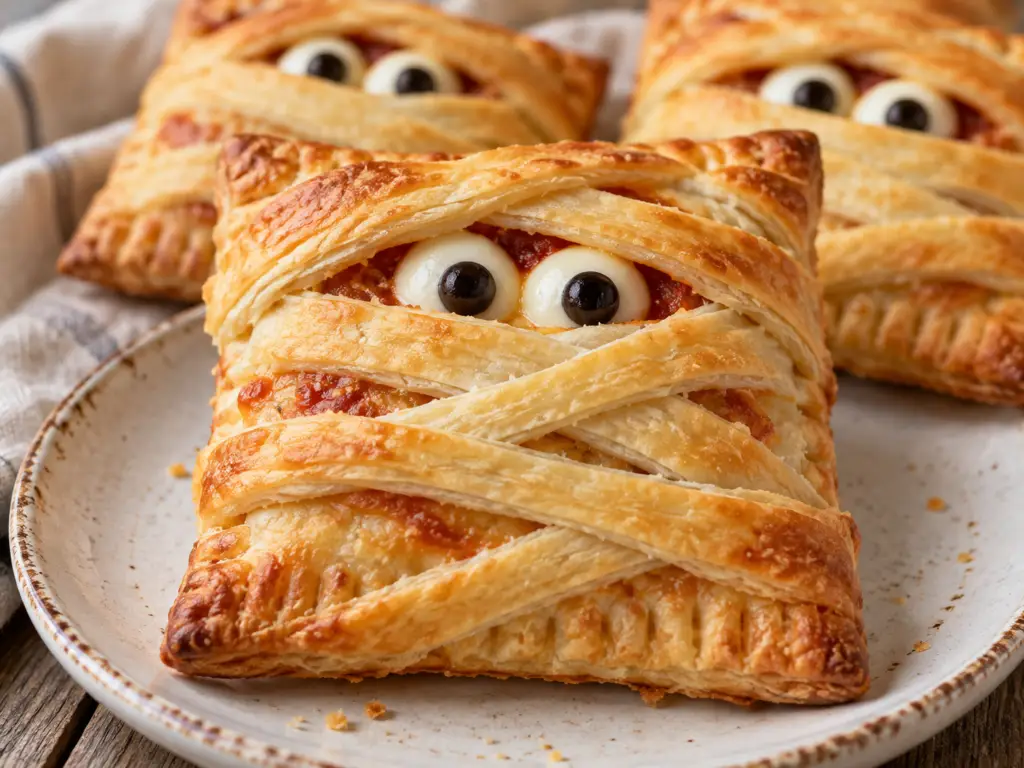
- Mummy Pizza Pockets: Individual pizza pockets with a spooky mummy finish.
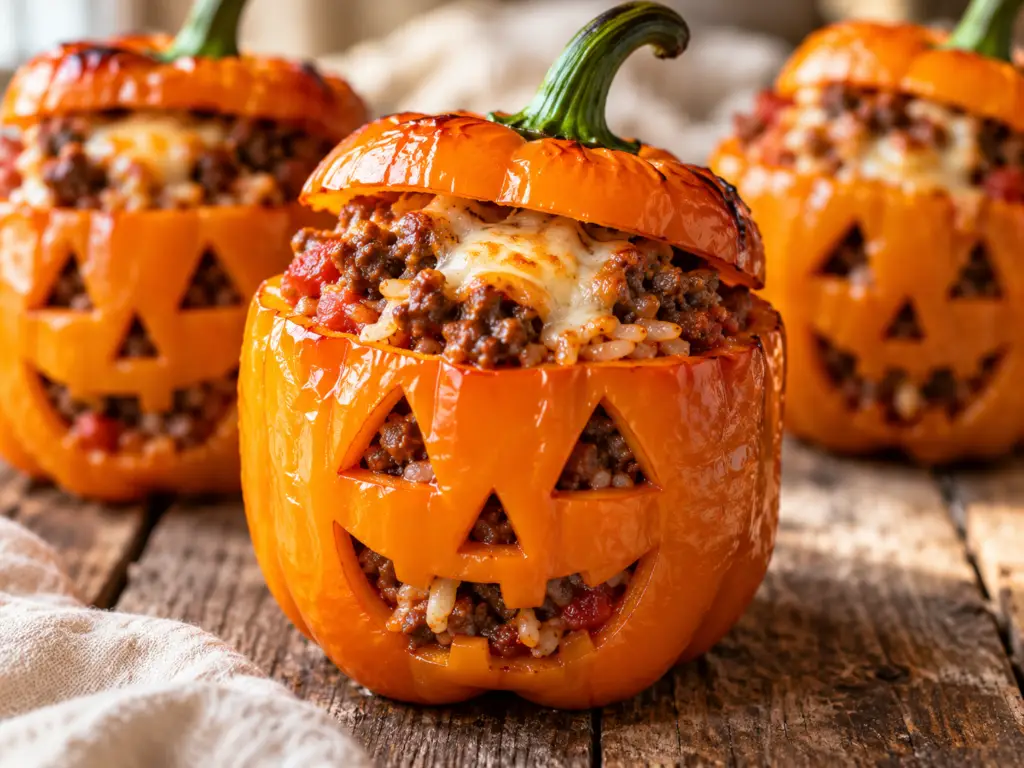
- Halloween Stuffed Peppers: Jack-o’-lantern peppers for a Halloween dinner.
- Halloween Chex Mix: A sweet and salty snack for the party table.
- Halloween Reese’s Cookies: A peanut butter and chocolate dessert to serve alongside the pudding cups.
Frequently Asked Questions
Can I make Halloween dirt cups the night before?
Yes. Assemble the pudding cups with the middle Oreo layer, cover, and refrigerate overnight. Store the reserved top crumbs and decorated cookies separately. Add them with the gummy worms shortly before serving.
Do I remove the cream filling from the Oreos?
No. Crush the whole cookies, including the filling. The filling adds sweetness and helps some crumbs form small clusters.
What cookies work best for tombstones?
Small oval sandwich cookies or narrow rectangular butter cookies work well. Choose cookies with enough flat surface for lettering and enough height to stand above the crumbs.
How do I keep cookie tombstones from falling over?
Let the pudding set and chill before decorating. Use a narrow cookie, insert its lower end into the pudding, and avoid cookies that are too tall or heavy for the cup.
Why is my chocolate pudding runny?
Common causes include too much milk, insufficient setting time, using cook-and-serve mix without cooking it, or using a milk substitute that does not work with the mix. Check the package directions and give the pudding its full setting time before assembling.
Can I use ready-made pudding cups?
Yes. Use approximately 4 cups of prepared chocolate pudding in total. Check each container’s volume, since store-bought pudding cups vary in size, and divide the pudding evenly among the serving cups.
Can I make these without whipped topping?
Yes. This recipe does not use whipped topping. The chocolate pudding makes the creamy base on its own.
Can I use cook-and-serve pudding?
Yes, but prepare it according to its own package directions and chill it fully before assembling. Do not use the instant-pudding method for cook-and-serve mix.
Can I use almond milk or oat milk?
Only if your pudding mix provides directions for that substitute, or you are using a homemade pudding recipe designed for it. Some instant mixes do not set properly with a straight dairy-free milk swap.
Will the Oreos get soggy?
The middle layer will soften against the pudding. Keep the topping crumbs separate until serving if you want a crisp top layer.
Can I make one large graveyard pudding dessert?
Yes. Layer the pudding and middle cookie crumbs in a shallow serving dish with room for the toppings. Chill, then add the remaining crumbs, gummy worms, and cookie tombstones before serving. Use a dish that holds at least 6 cups with extra headroom for decorating.
What size cups should I use?
Use 5- to 6-ounce cups for the 12-serving recipe. Each has approximately 1/3 cup of pudding plus cookie crumbs and decorations. For 24 smaller servings, use 3-ounce cups and smaller tombstone cookies.
How long can dirt cups sit out at a party?
Keep them chilled before serving. Discard cups after 1-2 hours.
Halloween Graveyard Dirt Cups Recipe
Ingredients
- 2 3.9-oz boxes of regular instant chocolate pudding mix
- 4 cups cold whole milk or 2% milk
- 24 regular Oreo cookies crushed with their filling
- 24 gummy worms
- 12 oval sandwich cookies or narrow rectangular butter cookies
- Black decorating icing with a fine writing tip as needed
 Get Recipe Ingredients
Instructions
- Whisk the cold milk and pudding mixes in a large bowl for about 2 minutes, or as directed on the package. Let stand for about 5 minutes, or until thickened according to the package directions.
- Crush the whole Oreos into mostly fine crumbs with a few small pieces. Divide the crumbs into two equal portions.
- Arrange 12 clear 5- to 6-ounce cups on a tray. Divide half the pudding among them, add half the cookie crumbs evenly, and cover with the remaining pudding. Each cup receives approximately 1/3 cup pudding in total.
- Cover the cups and refrigerate for at least 30 minutes. Store the remaining cookie crumbs airtight at room temperature.
- Write “RIP” or a small design on the upper half of each tombstone cookie with decorating icing. Let the lettering firm up according to the icing package directions.
- Shortly before serving, divide the reserved Oreo crumbs over the cups. Insert one tombstone cookie into each cup, pressing the bottom into the pudding.
- Add two gummy worms per cup, tucking one end under the crumbs. Keep refrigerated until serving.
Notes
Recipe Notes
- Use instant pudding for this method. Cook-and-serve pudding needs to be cooked and chilled separately.
- The milk amount is based on pudding packages that call for 2 cups per 3.9-ounce box. Follow your package if its directions differ.
- Make the covered pudding bases up to 24 hours ahead. Add the top crumbs, cookies, and worms close to serving time.
- Whole milk and 2% milk are the intended choices. For dairy-free milk, follow directions supplied for that milk and pudding combination.
- Portion evenly and leave room for the decorations. Cup capacity is larger than the amount of pudding in each serving.
Estimated Nutrition Per Serving
Based on 12 servings, using whole milk, regular Oreos, two gummy worms, one oval sandwich cookie, and a small amount of decorating icing per cup.- Calories: 340 kcal
- Total fat: 9 g
- Saturated fat: 4 g
- Carbohydrates: 63 g
- Total sugars: 43 g
- Fiber: 1 g
- Protein: 4 g
- Sodium: 350 mg