Easy Chocolate Covered Oreo
Chocolate covered Oreo’s are an easy no-bake dessert made by dipping Oreo cookies in melted chocolate and letting them set until smooth and glossy. They’re simple, customizable, and perfect for holidays, parties, or edible gifts.
This recipe is beginner-friendly and only requires a few ingredients, making it one of the easiest desserts you can make at home.
If you love easy no-bake treats, try these Peanut Butter Protein Balls
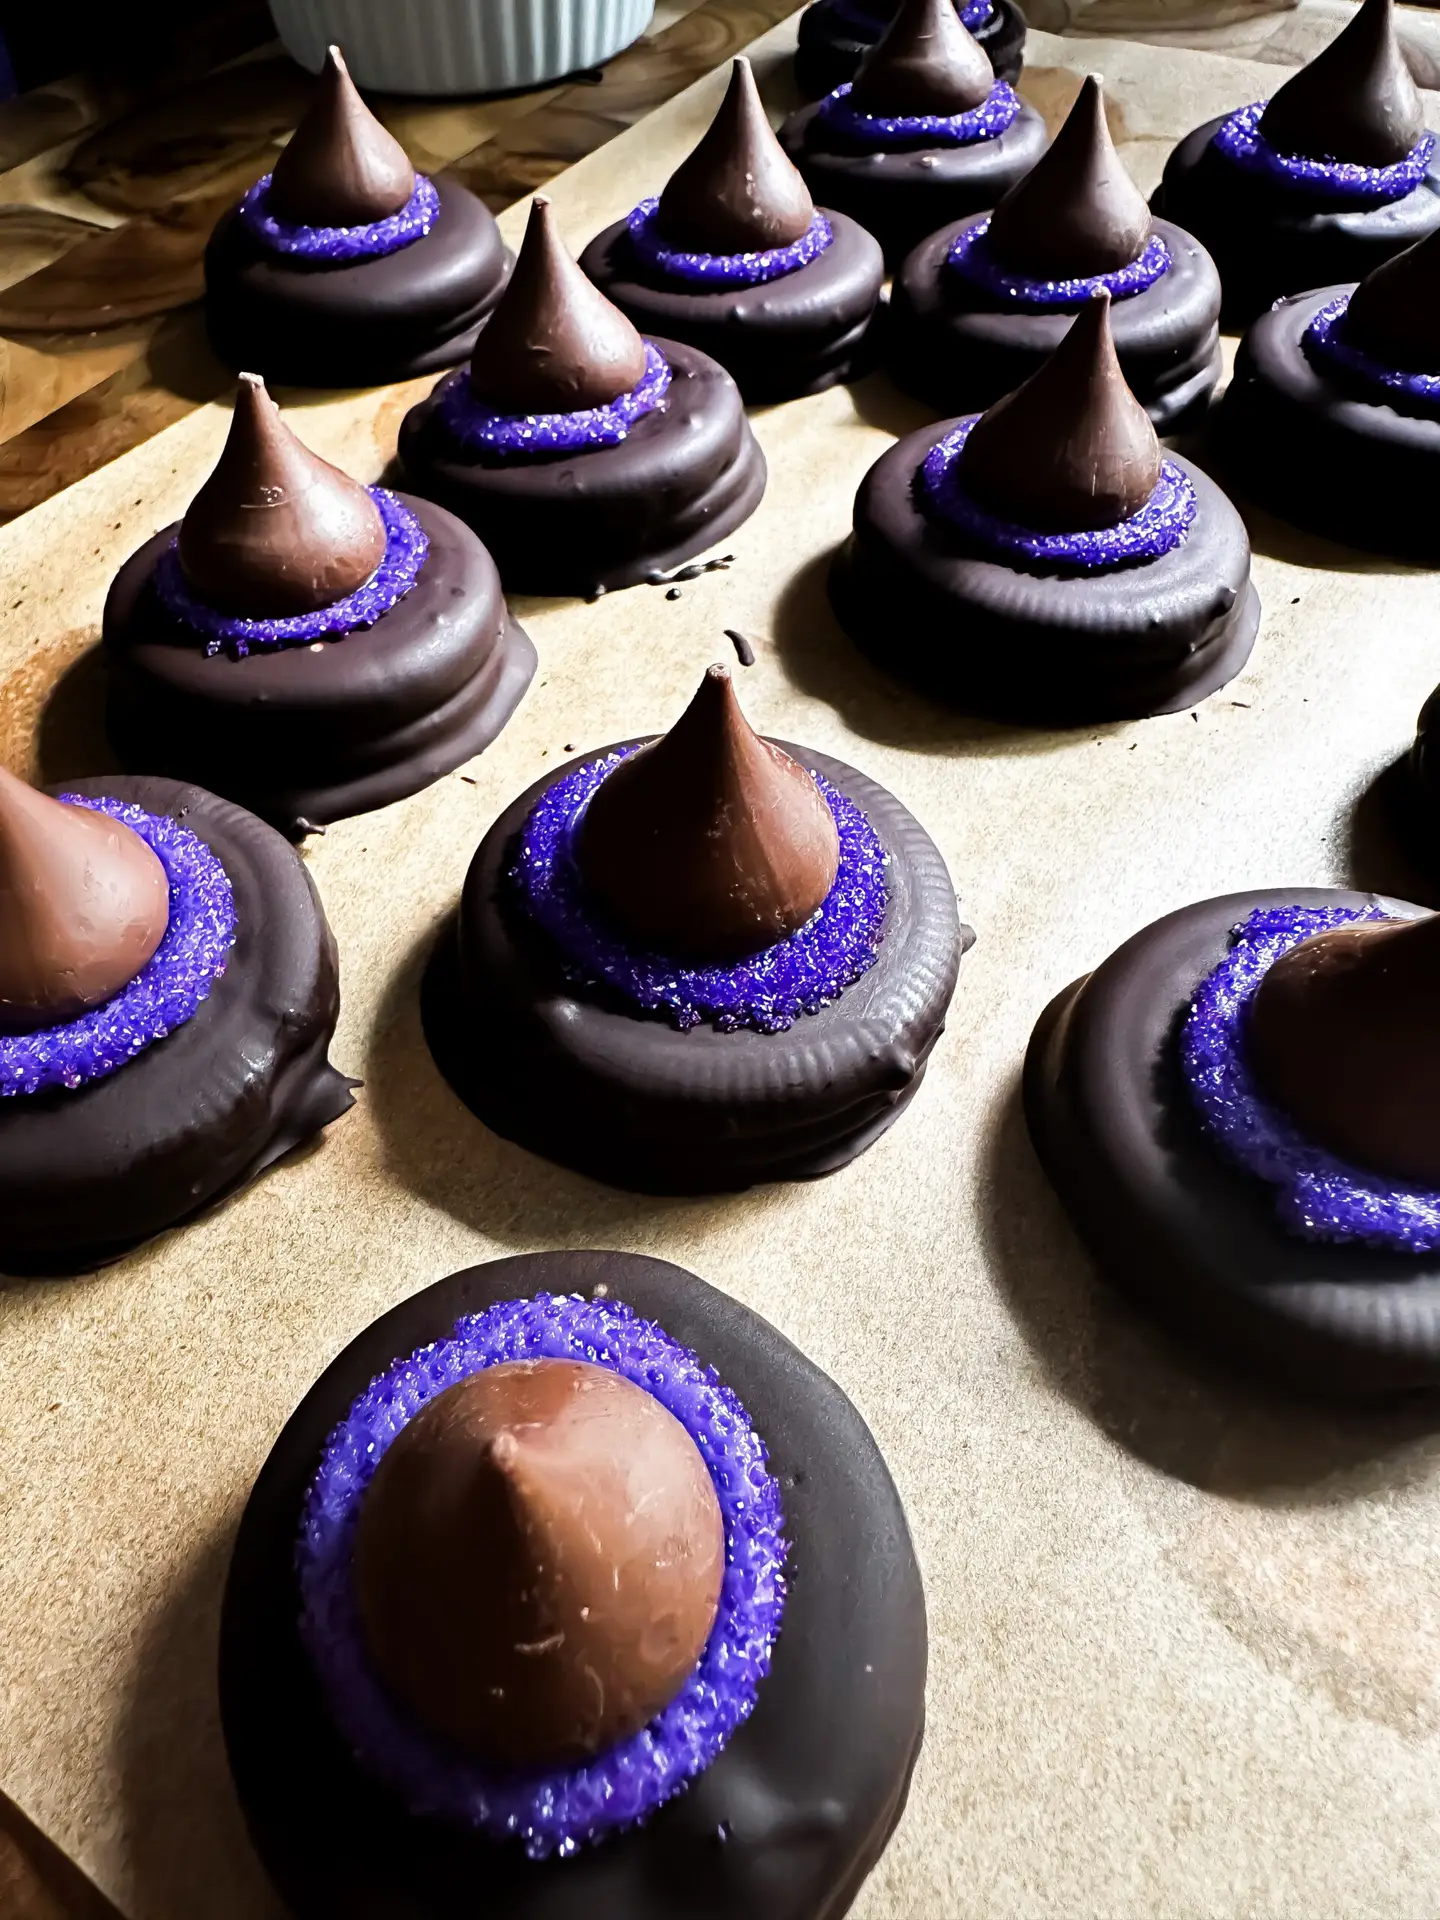
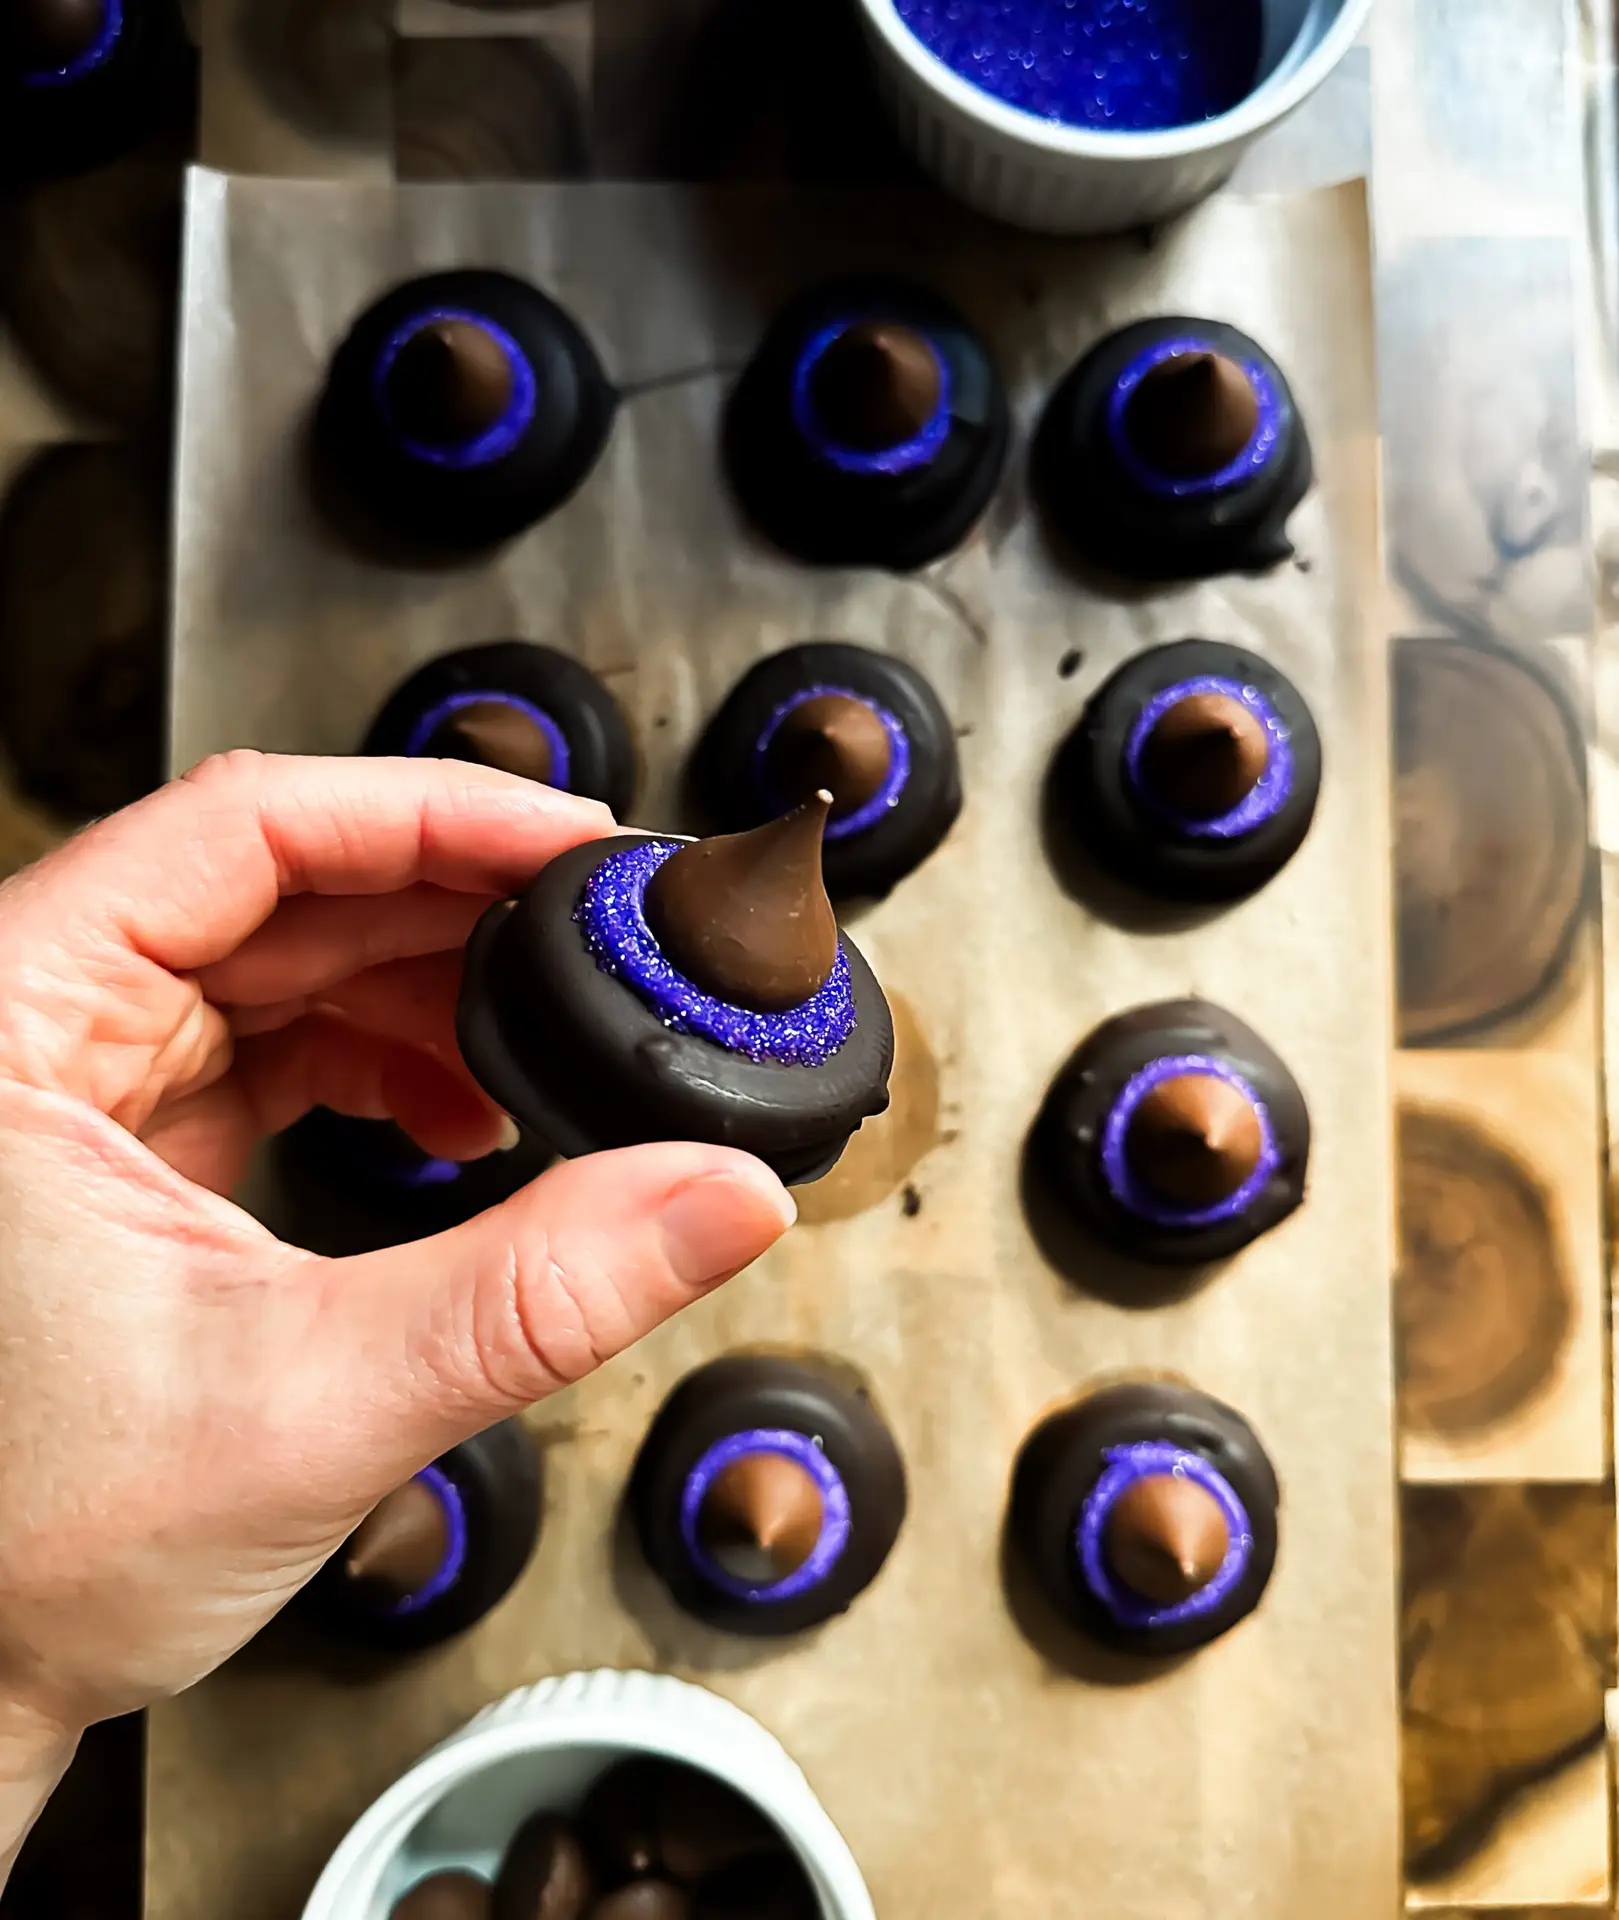
If you’re searching for easy no-bake Halloween cookies that look adorable and taste incredible, these Chocolate Covered Oreo Witch Hat Cookies are pure magic. Made with classic Oreos dipped in rich 70% bittersweet chocolate, topped with purple frosting, shimmering sprinkles, and a Hershey’s Kiss, these little hats are the sweetest spell you’ll cast this spooky season.
Perfect for Halloween parties, classroom treats, or spooky movie nights, these cookies are both kid-friendly and eye-catching—no cauldron required.
Why You'll Love This Easy Chocolate Covered Oreo
- No baking required
- Ready in under 30 minutes
- Only 2–4 simple ingredients
- Perfect for holidays and gifting
- Easy to customize with toppings
For another easy dessert, try these Chocolate Peanut Butter Swirl Fudge
Key Ingredients You'll Need
1 package of Oreo cookies (regular or double-stuffed)
8 oz 70% bittersweet chocolate, chopped or use chocolate melting wafers
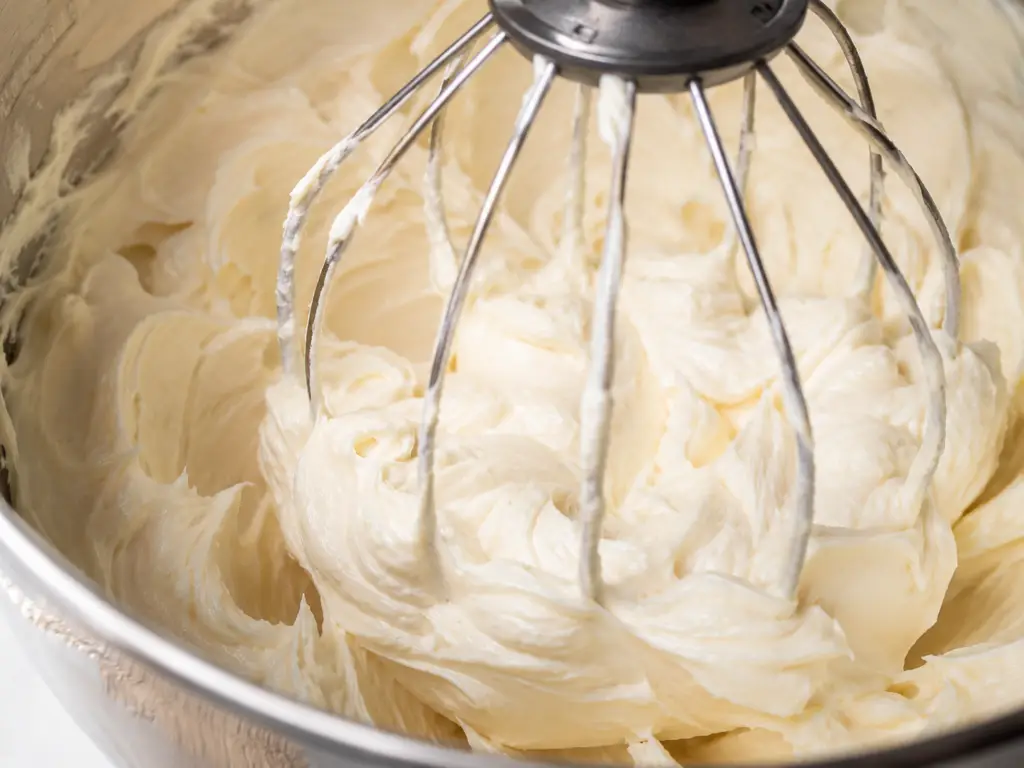
Purple writing frosting (or homemade tinted royal icing)
Purple sprinkles or sanding sugar
Hershey’s Kisses, unwrapped
How to Make Easy Chocolate Covered Oreo
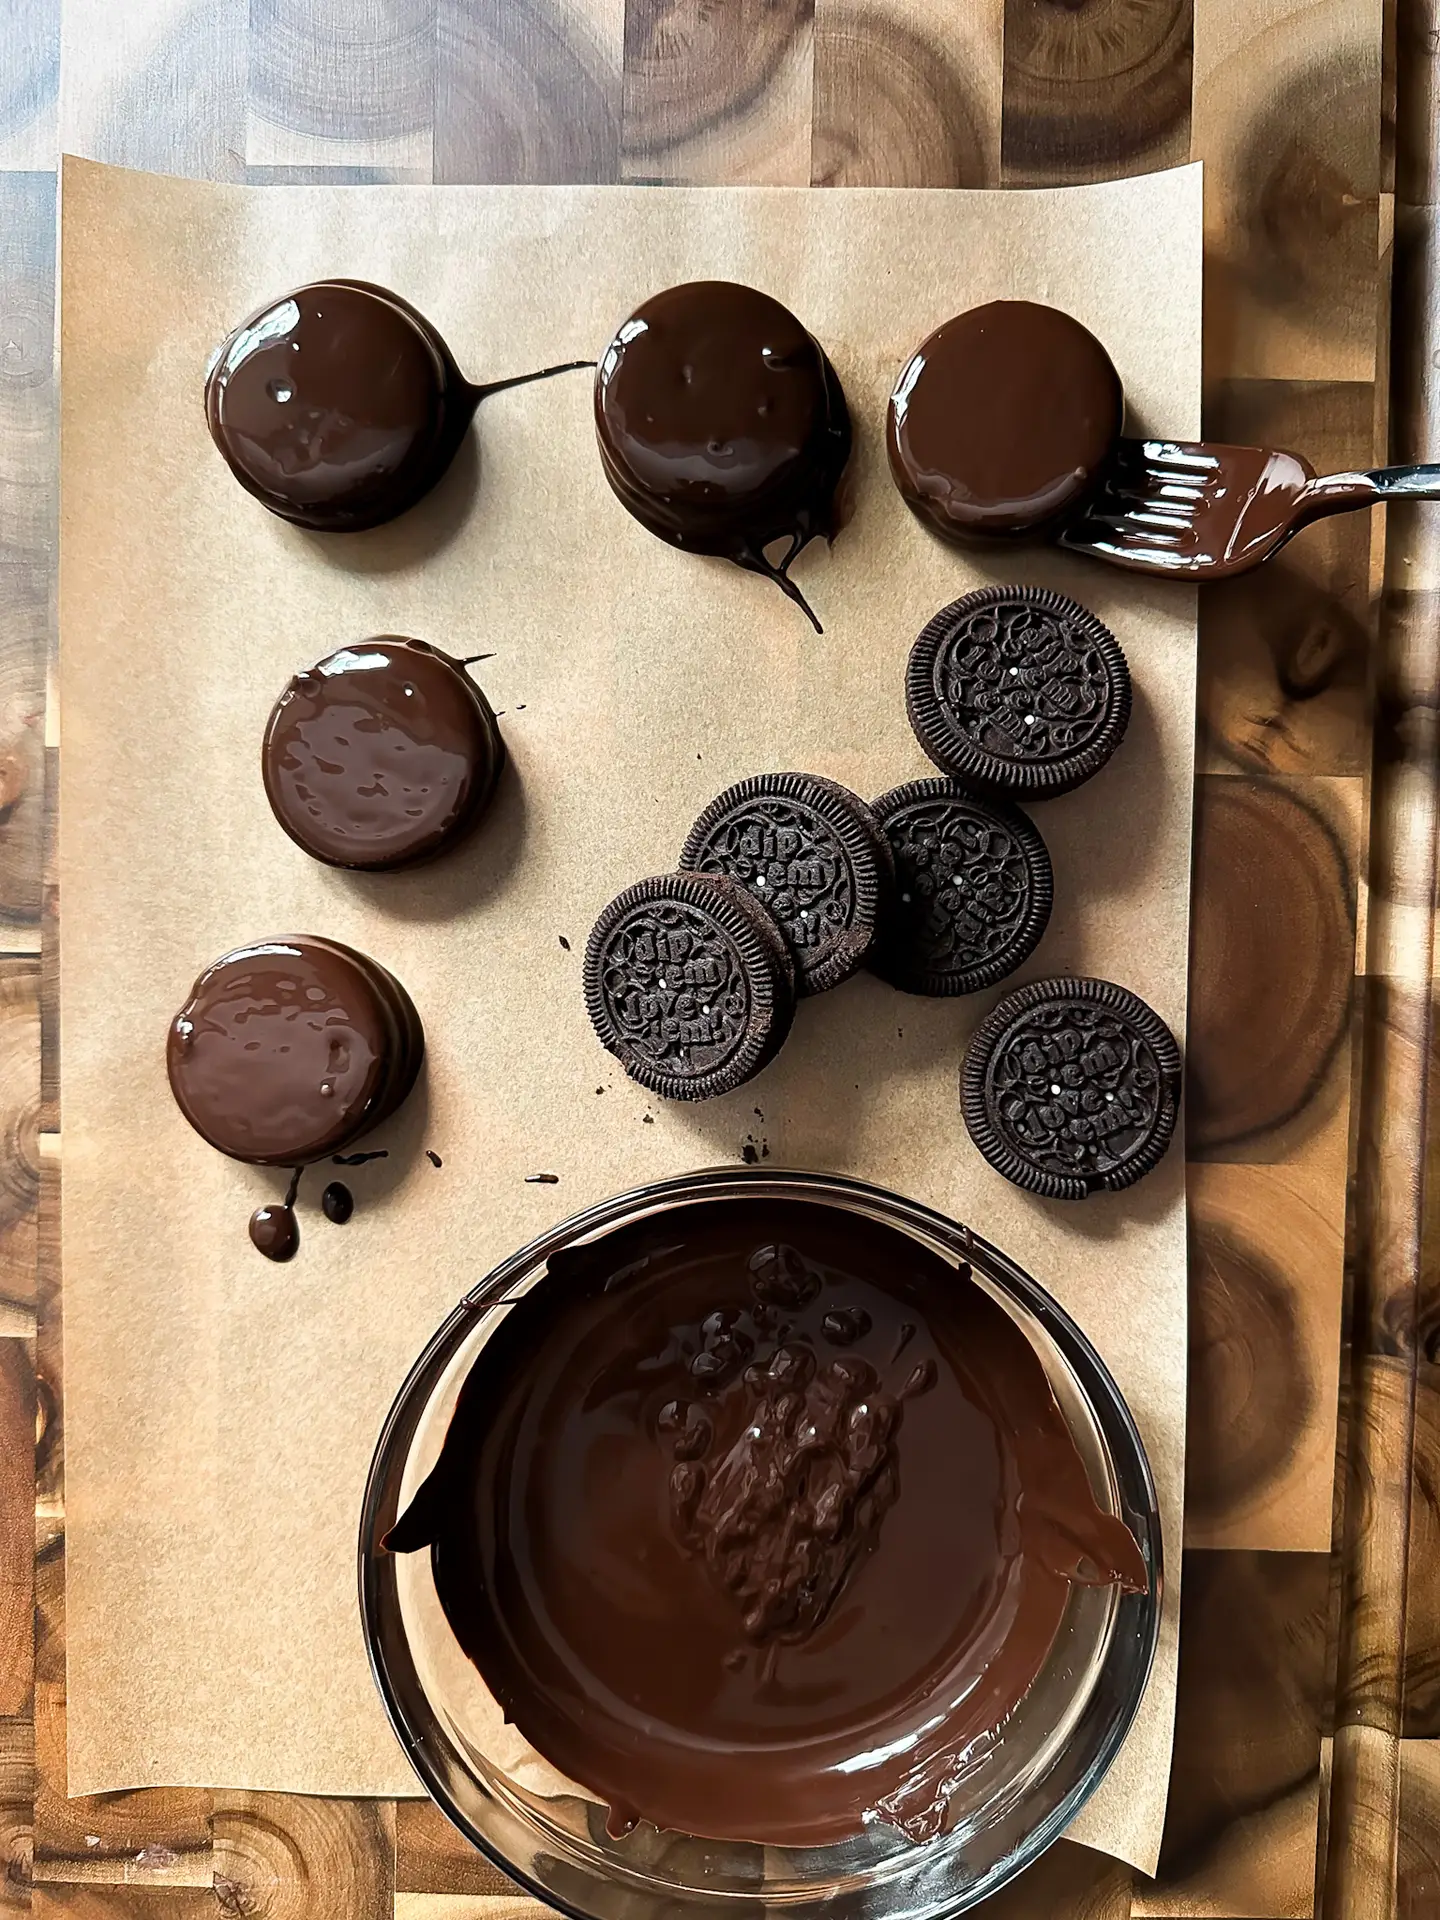
Step 1: Melt the chocolate
In a microwave-safe bowl, melt bittersweet chocolate in 30-second bursts, stirring in between until smooth and glossy.
Step 2: Dip the Oreos
Line a baking pan with parchment paper. Dip each Oreo into the melted chocolate using a fork, letting excess chocolate drip off before placing it on the lined tray.
Step 3: Chill until firm
Refrigerate for about 10–15 minutes, or until the chocolate coating is completely set.
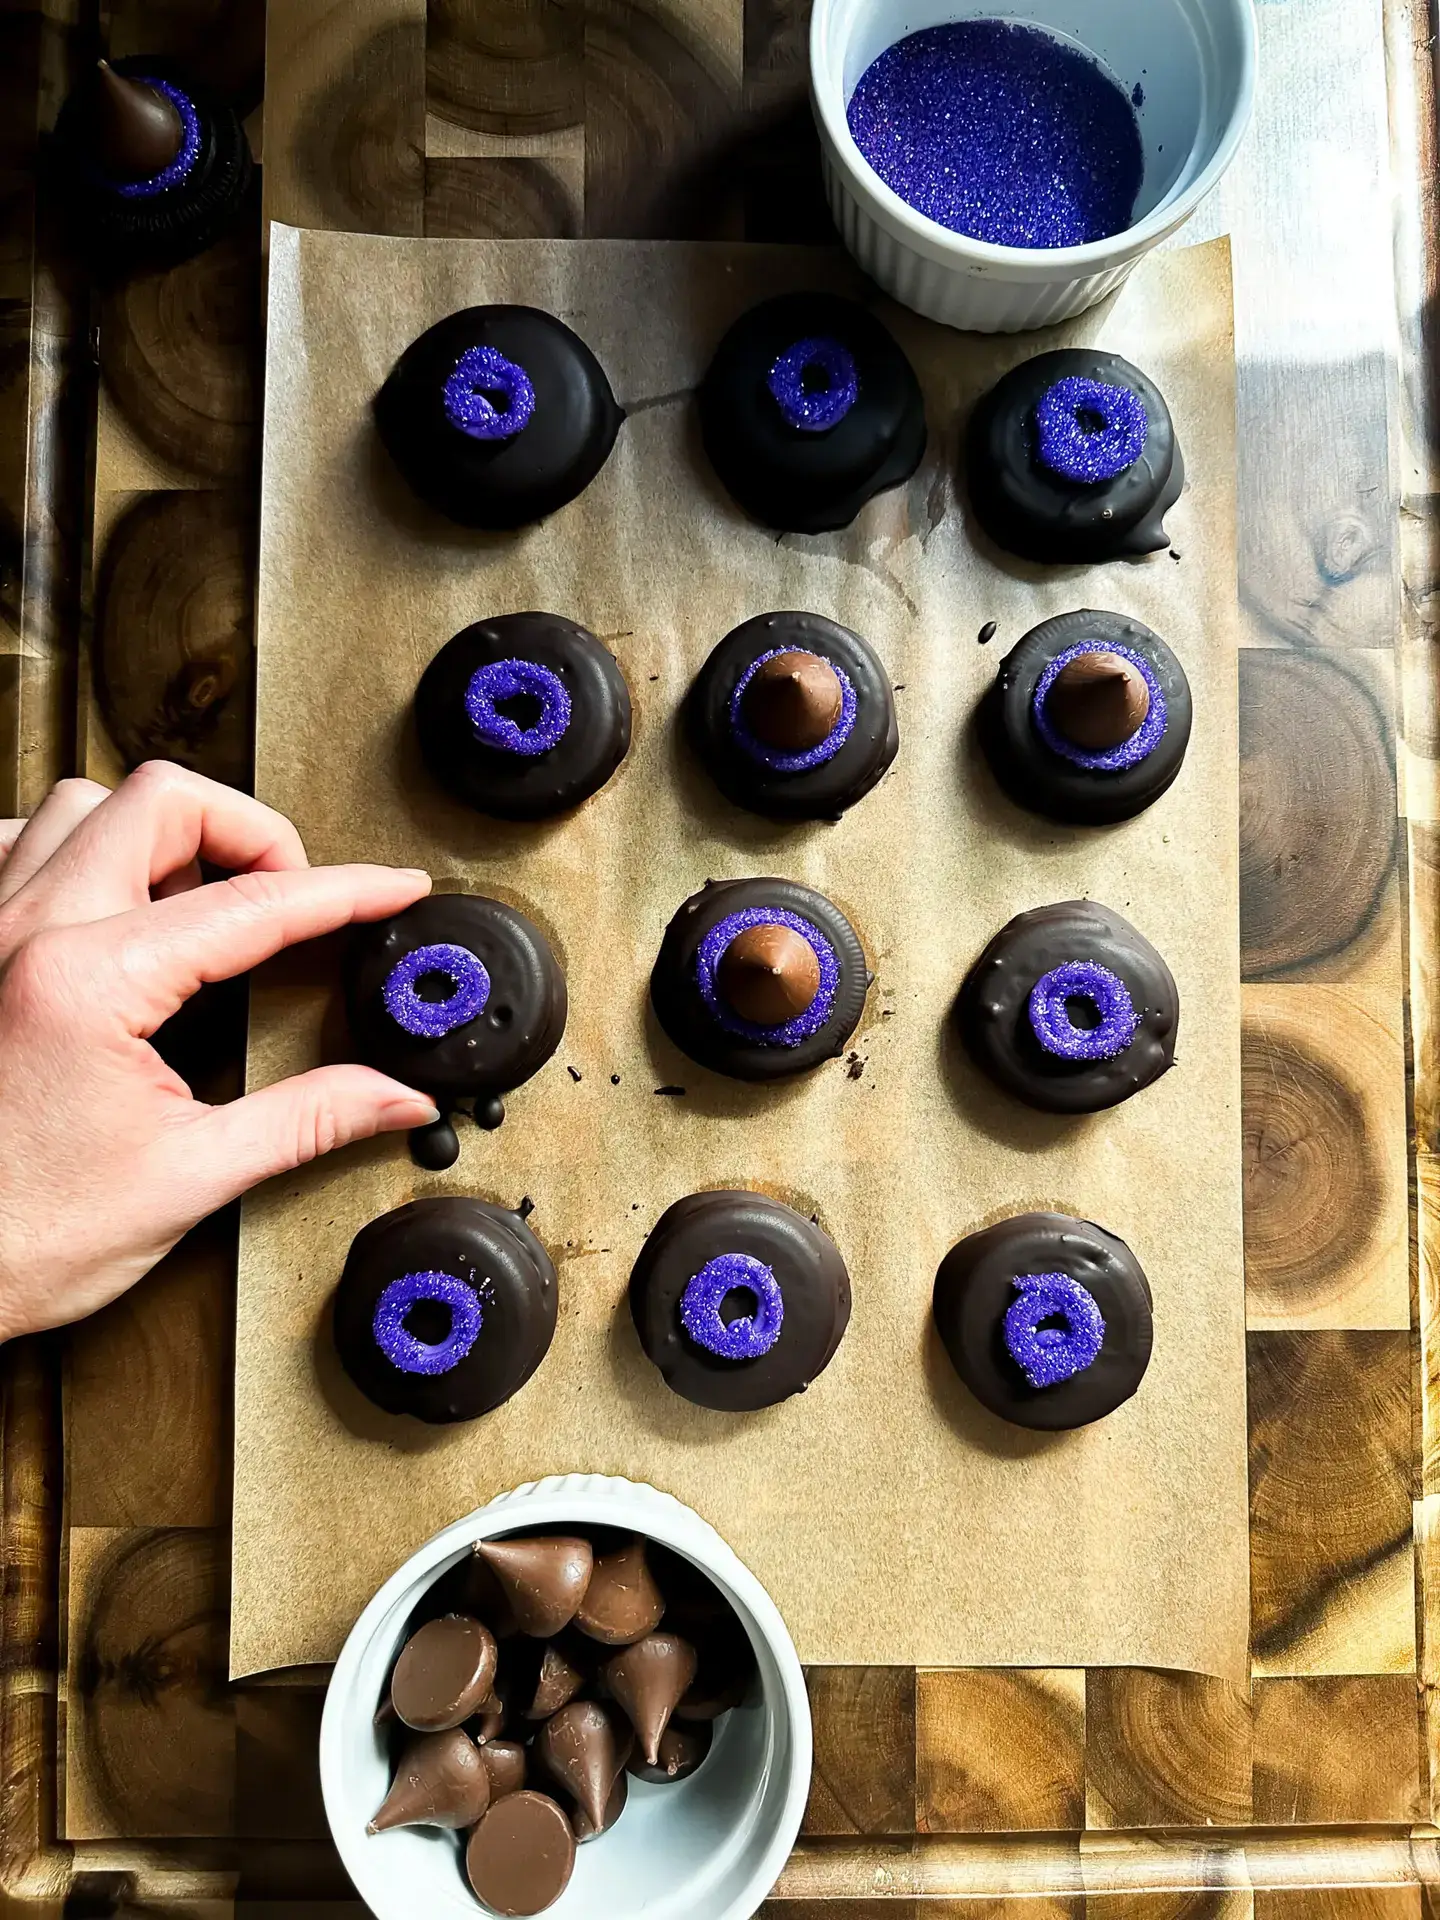
Step 4: Decorate the hats
Pipe a small ring of purple frosting in the center of each coated Oreo. Sprinkle on purple sanding sugar or sprinkles, then add a small dot of icing on top.
Step 5: Add the hat tip
Press a Hershey’s Kiss gently into the center of the frosting to form the perfect witch hat shape.
Step 6: Chill again (optional)
For extra firmness, chill another 5 minutes before serving.
Shortcut Tip: If you’re feeling lazy, short on time, or just want a quick treat, skip the chocolate coating altogether! Simply decorate the top of each Oreo with your purple frosting, add a little shimmer with sprinkles, and finish with a Hershey’s Kiss. You’ll still get that festive witch hat look without waiting for the chocolate to set — perfect for last-minute parties, classroom snacks, or when you need a fun Halloween dessert in a flash.
Stacie’s Tricks & Tips
Use high-quality chocolate: 70% bittersweet adds a rich flavor that balances the sweetness of Oreos and frosting.
Work in batches: If your chocolate starts to thicken, microwave for 10 seconds to re-melt.
Add sparkle: Use metallic or neon sprinkles for an extra spooky shimmer.
Make ahead: These cookies store perfectly in an airtight container in the fridge for up to 5 days.
Party idea: Wrap them in cellophane bags with orange ribbons for fun Halloween party favors!
Be sure to save this recipe to your Pinterest Halloween dessert board. These Reese’s Bat Brownie Cookies are sure to be a hit at any spooky event.
Nutrition Facts (Per Cookie)
| Calories | Fat | Carbs | Sugar | Protein |
|---|---|---|---|---|
| 190 | 10g | 25g | 18g | 2g |
(Values may vary slightly based on ingredients and coating thickness.)
Fun Serving Ideas & Halloween Gift Packaging
These Chocolate Covered Oreo Witch Hat Cookies aren’t just cute for parties — they make the perfect Halloween gifts too! Serve them on a spooky dessert platter surrounded by candy corn, chocolate bark, or pumpkin cupcakes for a full Halloween dessert table that looks straight out of a Pinterest board. For gifting, let the cookies chill until fully set, then wrap each one in a small cellophane bag tied with an orange, purple, or black ribbon. Add a festive tag that says “Witch, please — enjoy this treat!” for a fun personal touch. They also look adorable tucked inside Halloween gift baskets, trick-or-treat bags, or as take-home favors from a party. Whether you’re packaging them for friends, classmates, or neighbors, these witch hat cookies are sure to cast a sweet spell on anyone who receives them.
Don’t forget to tag your creations with @SugarFaceBakes and share how you make your s’mores bars unique — from dark chocolate drizzle to peanut butter swirls!
Frequently Asked Questions
Can I use chocolate chips for chocolate covered Oreos?
Yes, chocolate covered Oreos can be made with chocolate chips, but adding 1–2 teaspoons of coconut oil helps them melt smoother and coat more evenly. Chocolate chips are designed to hold shape, so thinning them improves the texture.
How long do chocolate covered Oreos last in the fridge?
Chocolate covered Oreos last up to 1 week in the refrigerator when stored in an airtight container. Let them come to room temperature before serving for the best texture.
Can I freeze chocolate covered Oreos?
Yes, chocolate covered Oreos can be frozen for up to 2 months. Store them in a sealed container and thaw at room temperature for about 30 minutes before serving.
Can I make chocolate covered Oreos ahead of time?
Yes, chocolate covered Oreos are perfect for making ahead. Prepare them up to 3 days in advance and store them in a cool, dry place or refrigerator.
Why is my chocolate coating uneven?
Chocolate covered Oreos can look uneven if the chocolate is too thick. Add a small amount of coconut oil and stir until smooth before dipping.
More Dessert Recipes
Looking for more easy and comforting meals? Browse all recipes here:


