Why You’ll Love This Eggless Bread Recipe
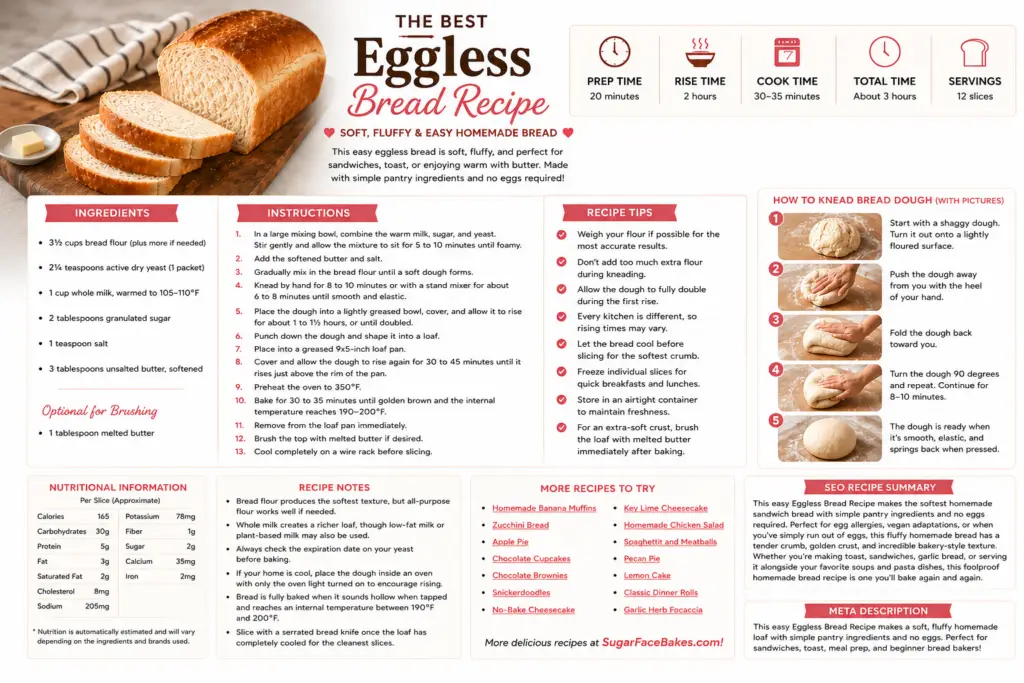
This homemade loaf has become one of my favorite bread recipes because it’s incredibly reliable and produces soft bakery-style bread every time.
You’ll love this recipe because:
- No eggs required
- Soft and fluffy texture
- Perfect for sandwiches
- Great for toast
- Freezes beautifully
- Beginner friendly
- Uses simple pantry staples
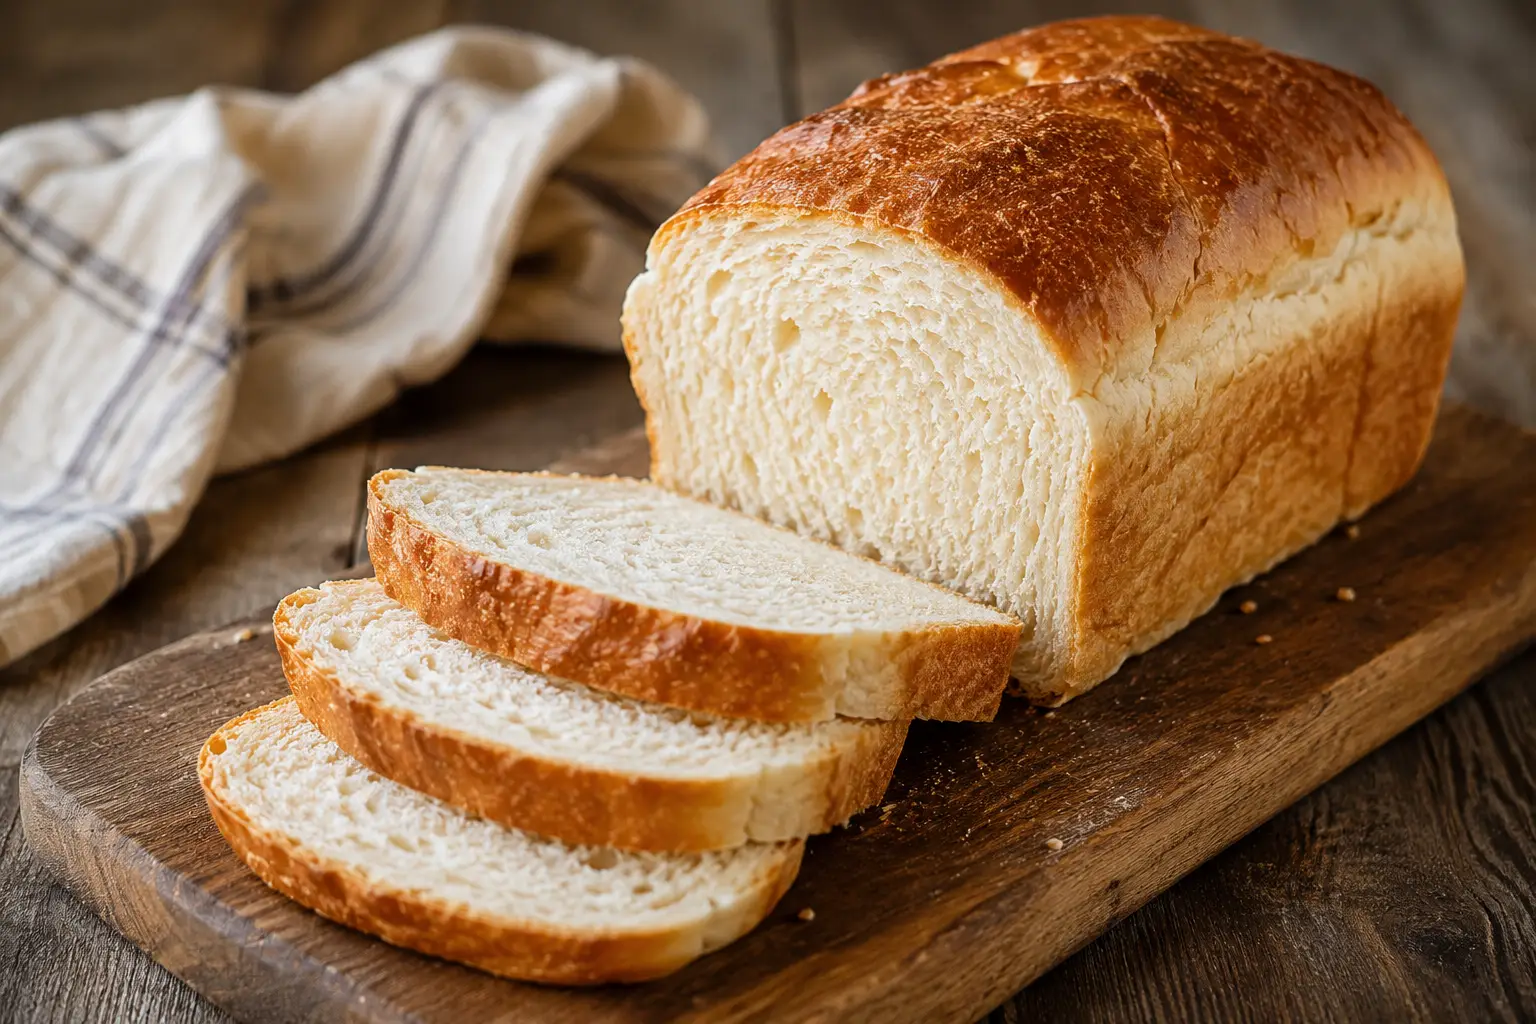
- Light golden crust
- Easy to customize with herbs, cheese, or seeds
- Better than store-bought bread
Once you bake your own loaf, it’s hard to go back to grocery store sandwich bread.
What Makes Bread Rise Without Eggs?
Many people assume eggs are what make bread fluffy, but yeast is actually responsible for the rise.
Eggs mainly provide richness, moisture, and color. Since this recipe relies on active dry yeast for structure and lift, you still get a beautifully airy loaf without using a single egg.
Milk and butter help create a soft, tender crumb while proper kneading develops gluten, giving the bread its chewy yet fluffy texture.
The result is a loaf that’s every bit as delicious as traditional homemade white bread.
Ingredients You’ll Need
One of my favorite things about this recipe is that every ingredient serves an important purpose.
Bread flour contains more protein than all-purpose flour, creating stronger gluten development and giving your loaf a wonderful chewy texture with excellent rise.
You can substitute all-purpose flour if needed, but bread flour produces the softest bakery-style loaf.
Yeast is what creates the airy texture and helps the dough rise.
Make sure your yeast is fresh for the best results.
Warm milk activates the yeast while adding richness and softness to the finished bread.
The milk should feel warm to the touch, about 105-110°F, but not hot enough to kill the yeast.
A small amount of sugar feeds the yeast during the first rise while adding just a hint of sweetness.
Butter creates a tender crumb and adds rich homemade flavor.
Use softened butter so it incorporates easily into the dough.
Salt balances the flavor and strengthens the gluten structure for better texture.
Don’t skip it.
Equipment You’ll Need
Having the right tools makes homemade bread much easier.
- 9×5-inch loaf pan
- Large mixing bowl
- Measuring cups and spoons
- Stand mixer with dough hook (optional)
- Kitchen towel
- Cooling rack
- Instant-read thermometer (helpful but optional)
Ingredient Tips for Success
A few simple tips make all the difference when baking homemade bread.
- Use fresh yeast.
- Warm—not hot—milk works best.
- Measure flour using the spoon-and-level method.
- Knead until the dough becomes smooth and elastic.
- Allow enough rising time.
- Don’t rush the proofing process.
- Bake until the loaf reaches an internal temperature of about 190–200°F.
Can I Make This Bread Dairy-Free?
Absolutely.
Simply substitute:
- Unsweetened oat milk
- Almond milk
- Soy milk
Replace the butter with:
- Vegan butter
- Plant-based baking sticks
The bread remains soft, fluffy, and delicious while becoming completely dairy-free.
Homemade Bread Is Easier Than You Think
If homemade bread has always seemed intimidating, this recipe is the perfect place to start. Bread baking is less about perfection and more about patience. Give the dough time to rise, avoid adding too much flour, and trust the process. Before long, you’ll have a beautiful golden loaf cooling on your countertop that tastes even better than it looks.
How to Make the Best Eggless Bread
Making homemade bread is easier than you might think. Follow these simple steps, and you’ll have a soft, fluffy loaf that’s perfect for sandwiches, toast, or enjoying warm with butter.
- Step 1: Activate the Yeast
In a large mixing bowl or the bowl of a stand mixer, combine the warm milk, sugar, and active dry yeast. Stir gently and let the mixture sit for 5 to 10 minutes until it becomes foamy on top.
If your yeast doesn’t foam, it’s likely expired or the milk was too hot or too cool. Start over with fresh yeast for the best rise.
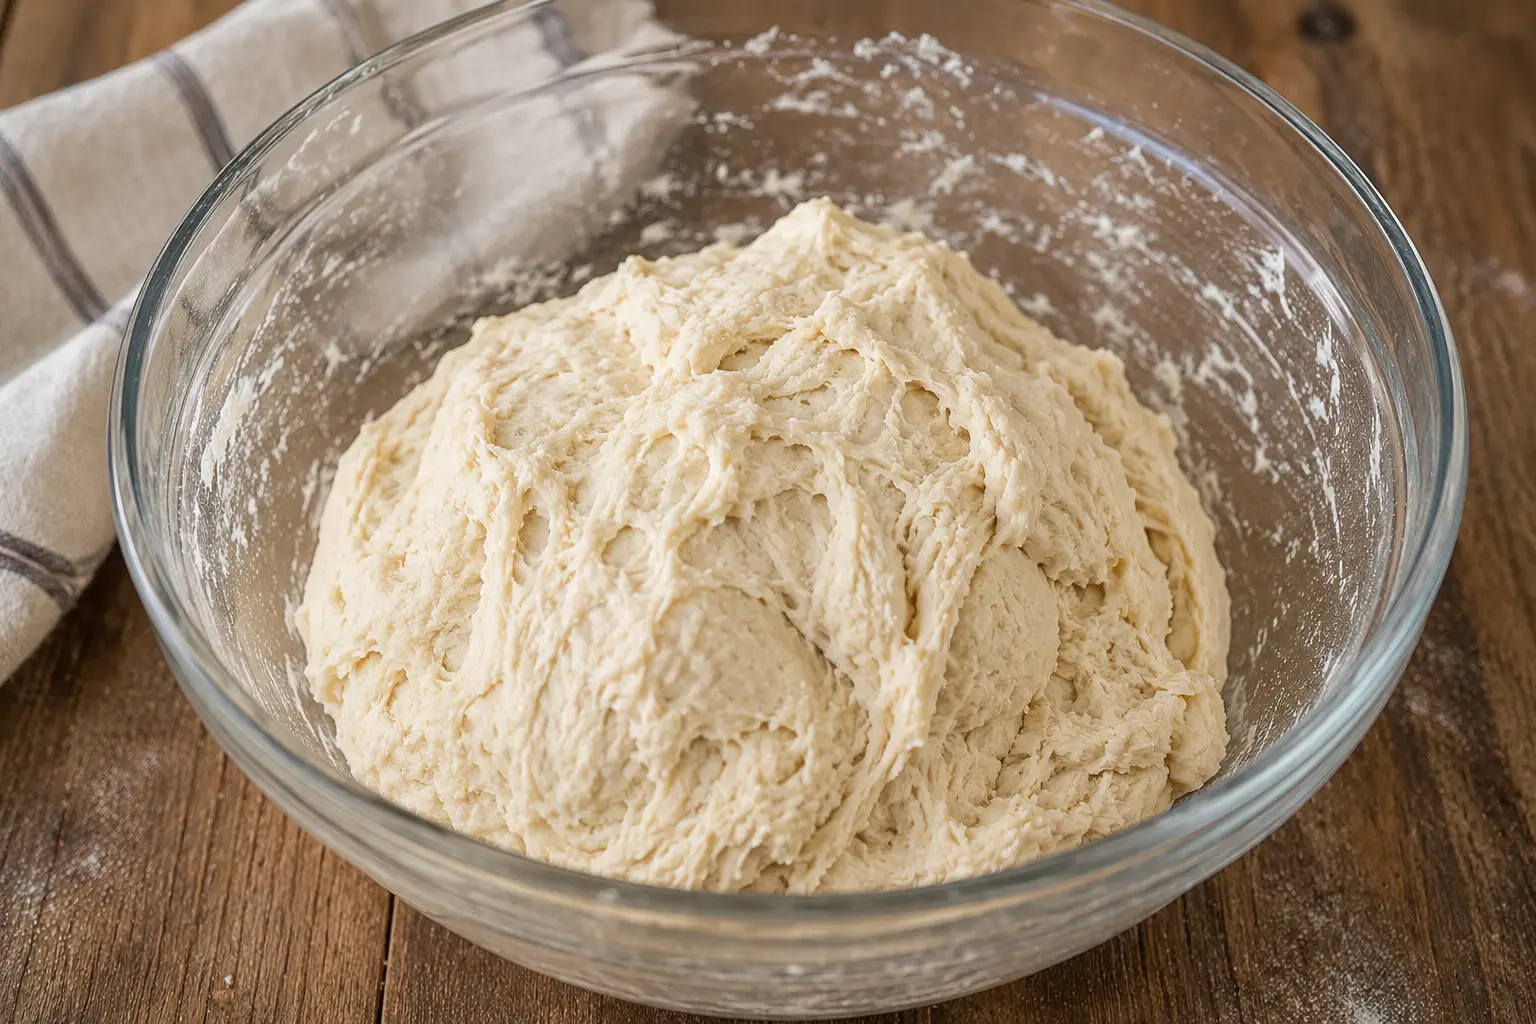
Add the softened butter, salt, and about half of the bread flour. Mix until combined, then gradually add the remaining flour until a shaggy dough forms.
The dough should be soft and slightly tacky but not overly sticky.
Knead by hand for 8 to 10 minutes or with a stand mixer fitted with a dough hook for 6 to 8 minutes.
The dough is ready when it’s smooth, elastic, and springs back when gently pressed.
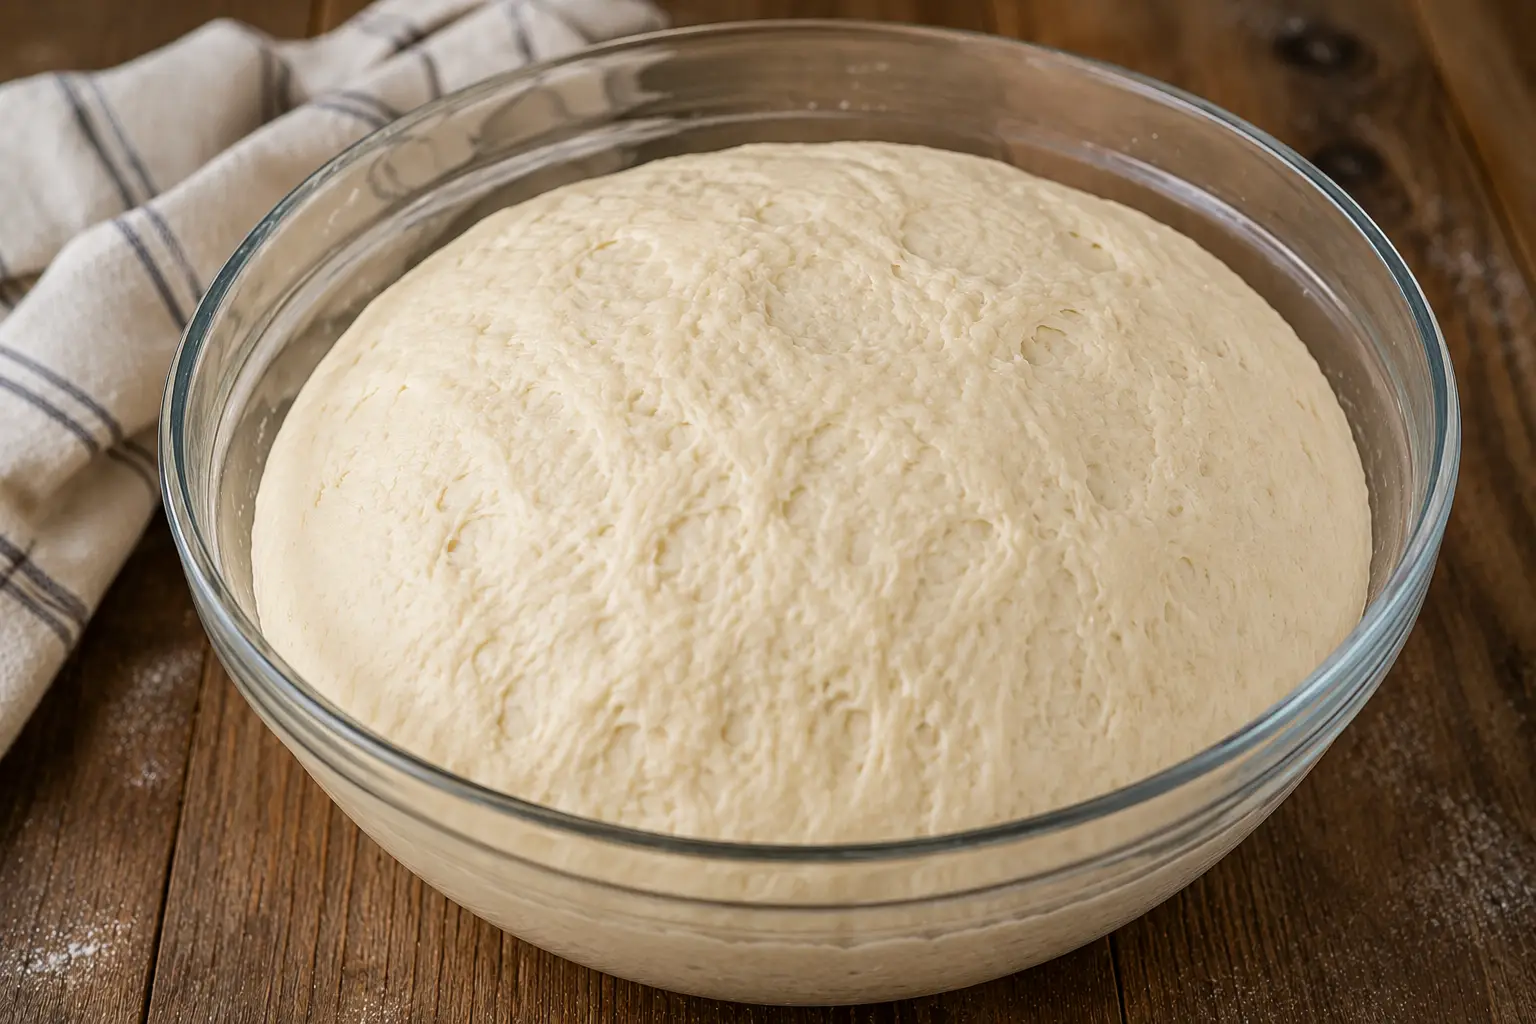
Place the dough into a lightly greased bowl and turn it once so all sides are lightly coated.
Cover with a clean kitchen towel or plastic wrap and let it rise in a warm place for about 1 to 1½ hours, or until doubled in size.
The exact time depends on the temperature of your kitchen.
Gently punch down the dough to release the air.
Turn it onto a lightly floured surface and shape it into a rectangle about the length of your loaf pan.
Roll the dough tightly into a log, pinching the seam closed before placing it seam-side down into a greased 9×5-inch loaf pan.
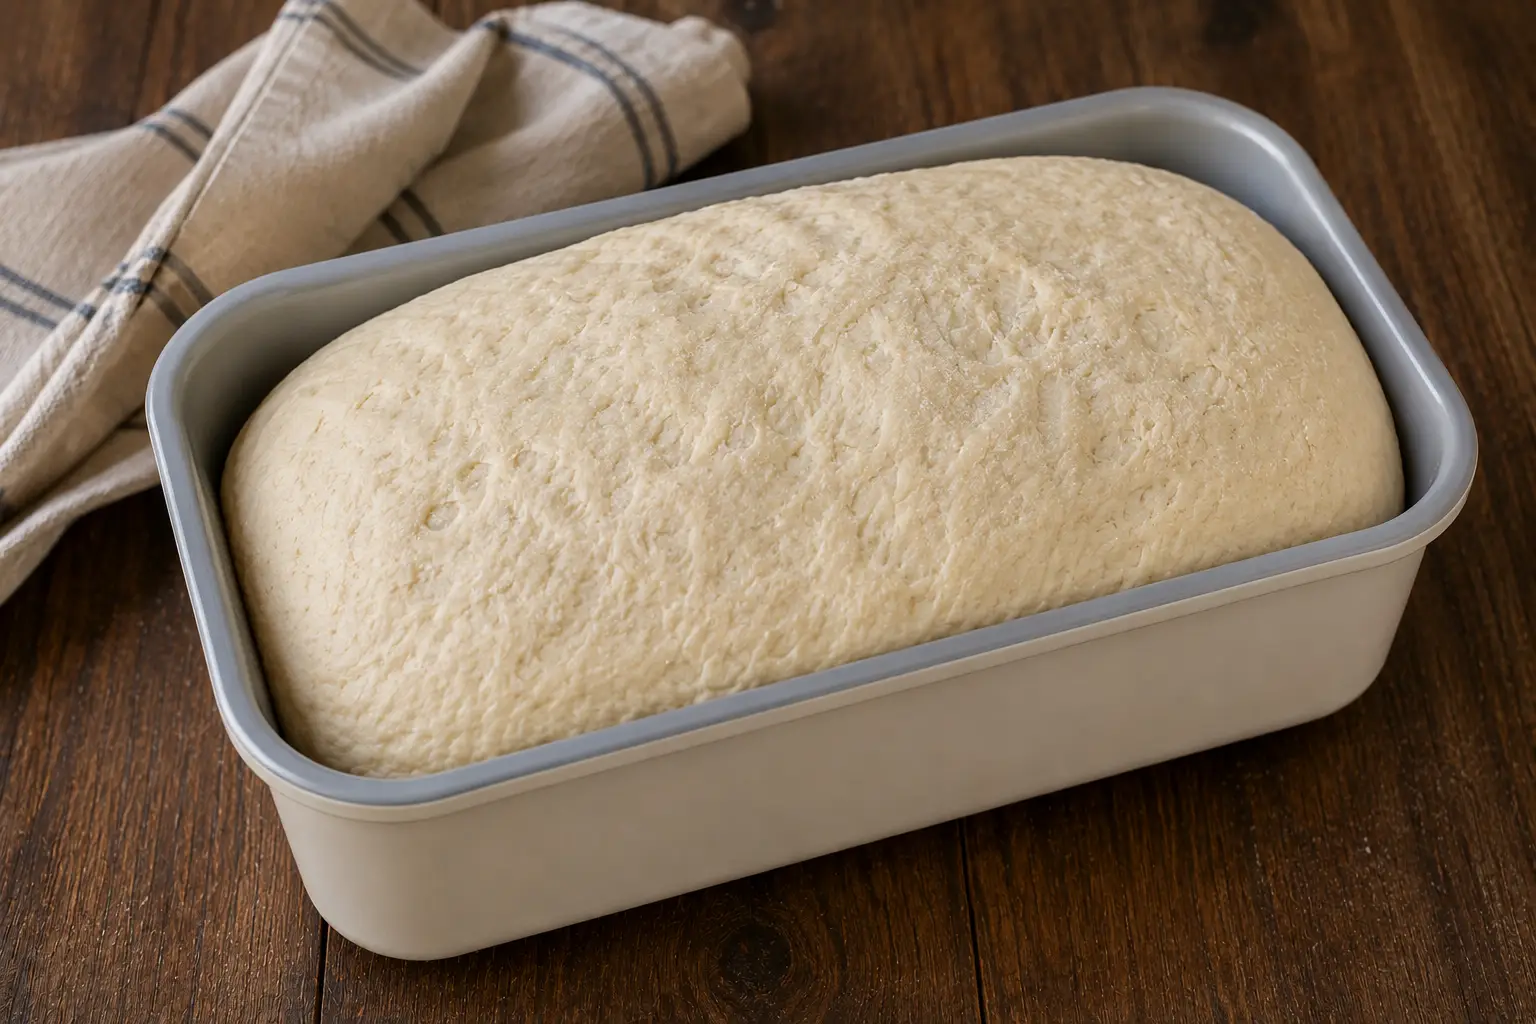
Cover the pan loosely and allow the dough to rise again for 30 to 45 minutes.
The dough should rise about 1 inch above the rim of the pan.
Don’t let it overproof, or the loaf may collapse during baking.
Preheat your oven to 350°F.
Bake for 30 to 35 minutes, or until the top is beautifully golden brown and the loaf sounds hollow when tapped.
For the most accurate doneness, use an instant-read thermometer. The center should register between 190°F and 200°F.
Remove the bread from the pan immediately and transfer it to a wire rack.
Allow it to cool completely before slicing to help the crumb finish setting.
It may be tempting to cut into it while it’s warm, but waiting gives you cleaner slices and the best texture.
Tips for Soft Homemade Bread
A few simple techniques can make a huge difference in the texture of your bread.
- Use bread flour for the softest, chewiest loaf.
- Warm your milk to about 105–110°F to properly activate the yeast.
- Measure flour carefully using the spoon-and-level method.
- Knead until the dough is smooth and elastic.
- Let the dough fully double during the first rise.
- Avoid adding extra flour unless the dough is excessively sticky.
- Brush the hot loaf with melted butter after baking for an extra soft crust.
- Cool completely before slicing.
Common Mistakes to Avoid
Even experienced bakers occasionally run into bread issues. Here’s how to avoid the most common problems.
Using Water or Milk That’s Too Hot
Liquid that’s too hot can kill the yeast before it has a chance to work.
Aim for warm, not hot.
Adding Too Much Flour
Too much flour creates a dense, dry loaf.
The dough should feel soft and slightly tacky.
Under Kneading
Proper kneading develops gluten, which gives bread its structure.
If the dough tears easily, continue kneading for a few more minutes.
Not Allowing Enough Rise Time
Yeast works on its own schedule.
If your kitchen is cool, the dough may simply need more time.
Overproofing
If the dough rises too long during the second proof, it may collapse while baking.
Bake once the dough rises just above the rim of the loaf pan.
Delicious Variations
This basic eggless bread recipe is incredibly versatile.
Try one of these easy variations.
Honey Eggless Bread
Replace the sugar with honey for a slightly sweeter loaf.
Whole Wheat Bread
Substitute half of the bread flour with whole wheat flour for extra fiber and a hearty texture.
Garlic Herb Bread
Mix dried oregano, parsley, garlic powder, and Italian seasoning into the dough before kneading.
Cheese Bread
Fold shredded cheddar, mozzarella, or Parmesan into the dough during the final few minutes of kneading.
Seeded Sandwich Bread
Sprinkle sesame seeds, poppy seeds, flaxseed, or everything bagel seasoning over the loaf before baking.
Cinnamon Raisin Bread
Add cinnamon and raisins to create a delicious breakfast loaf.
Storage Instructions
Homemade bread stays fresh surprisingly well when stored properly.
Keep the loaf tightly wrapped or stored in an airtight container at room temperature for up to 4 days.
Avoid refrigerating bread, as it tends to dry out more quickly.
How to Freeze Homemade Bread
This recipe freezes beautifully.
Wrap the completely cooled loaf tightly in plastic wrap followed by aluminum foil, then place it inside a freezer-safe bag.
Freeze for up to 3 months.
You can also freeze individual slices between pieces of parchment paper, making it easy to grab exactly what you need.
Allow the bread to thaw at room temperature or toast slices directly from frozen.
Can I Make This Dough Ahead of Time?
Yes!
After kneading, cover the dough tightly and refrigerate it overnight for the first rise.
The next day, let it sit at room temperature for about 30 to 45 minutes before shaping the loaf.
This slow rise develops even more flavor and fits easily into a busy schedule.
My Favorite Ways to Serve Eggless Bread
Fresh homemade bread is incredibly versatile.
I love serving it:
- Toasted with butter and homemade jam
- As sandwich bread for lunches
- Alongside hearty soups and chili
- With pasta dinners
- For grilled cheese sandwiches
- As garlic bread
- With avocado toast
- For breakfast with peanut butter and sliced bananas
- Dipped into olive oil and herbs
- Warm with a drizzle of honey
No matter how you serve it, this loaf has the perfect balance of a soft interior and a lightly golden crust that makes every slice irresistible.
More Bread Recipes and Baking Recipes to Try
If you loved this homemade eggless bread recipe, here are a few more reader-favorite recipes from Sugar Face Bakes that are perfect for filling your kitchen with the smell of fresh baking.
Before You Go
Once you bake your first loaf of homemade eggless bread, you’ll wonder why you ever bought sandwich bread from the store. This recipe is incredibly simple, made with pantry staples, and creates a loaf that’s soft, fluffy, and perfect for everything from breakfast toast to hearty sandwiches.
Whether you’re baking because of an egg allergy, dietary preference, or simply because your refrigerator is empty, this loaf delivers amazing results every single time.
The soft crumb, lightly golden crust, and homemade flavor make this one of those recipes you’ll keep coming back to again and again. I hope it becomes a favorite in your kitchen just like it has in mine.