Skillet Chocolate Lava Cake
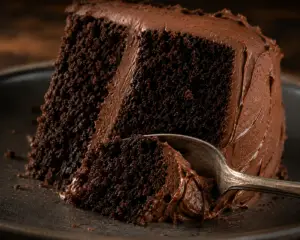
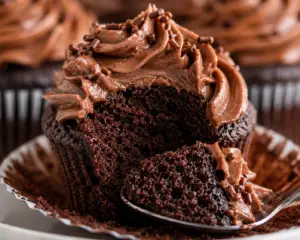
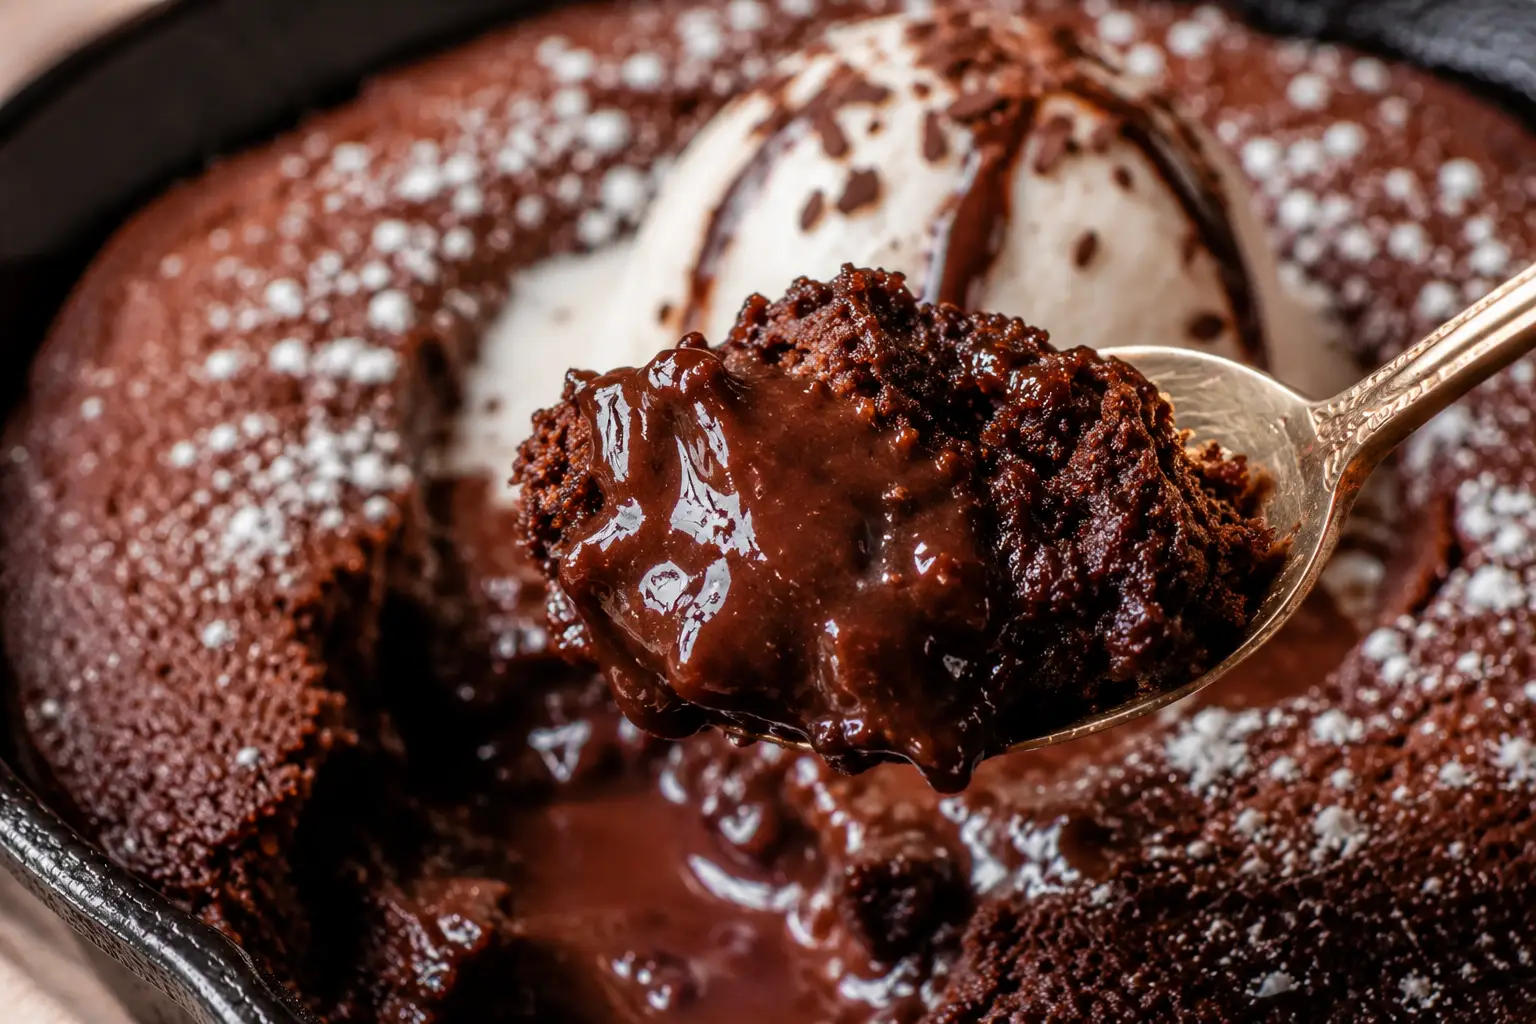
This Skillet Chocolate Lava Cake is rich, decadent, and filled with a warm molten chocolate center. Made in one cast iron skillet with simple ingredients, this easy chocolate dessert is perfect for date nights, holidays, birthdays, or whenever you’re craving an unforgettable homemade chocolate treat. Drizzle extra chocolate sauce for a decadent touch! See the third photo 😉
The Best Skillet Chocolate Lava Cake
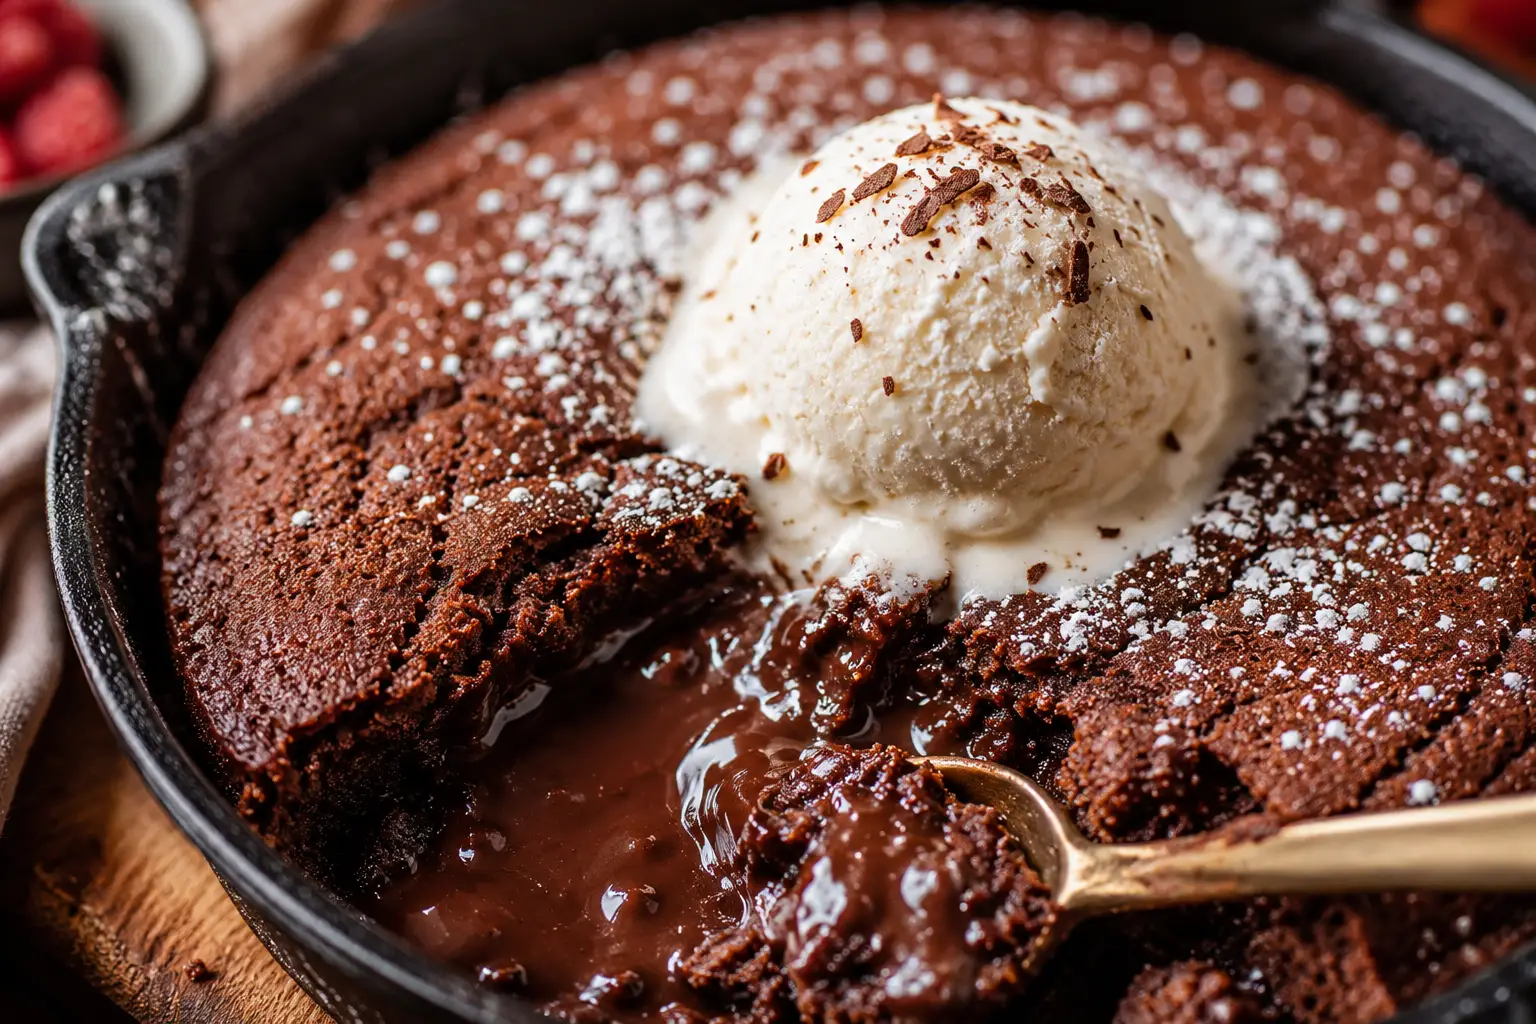
There are chocolate desserts, and then there’s Skillet Chocolate Lava Cake—the kind of dessert that stops conversations after the very first bite. Imagine cutting into a warm chocolate cake only to reveal a silky river of molten chocolate flowing from the center. Top it with a scoop of vanilla ice cream, watch it slowly melt into the warm cake, and you’ve got a bakery-worthy dessert that’s surprisingly easy to make at home.
Unlike traditional individual molten lava cakes baked in ramekins, this skillet version is designed for sharing. It bakes beautifully in an 8-inch oven-safe skillet, creating crispy, chewy edges while the center stays irresistibly soft, gooey, and rich. It’s the perfect centerpiece for family dinners, date nights, birthdays, Valentine’s Day, holiday celebrations, or simply those evenings when only chocolate will do.
The best part? This recipe uses simple pantry staples you probably already have in your kitchen. There’s no complicated technique or fancy equipment required—just quality chocolate, butter, eggs, sugar, cocoa powder, flour, and a little patience while it bakes to molten perfection.
After testing multiple baking temperatures, chocolate ratios, and baking times, this version delivers exactly what everyone hopes for when they hear the words “lava cake”: crisp edges, a delicate cake exterior, and a luxurious molten chocolate center that pours onto your plate with every spoonful.
Whether you’re an experienced baker or trying homemade lava cake for the very first time, this recipe walks you through every step with professional tips that make success nearly foolproof.
If you’re searching for the best skillet chocolate lava cake recipe, easy molten chocolate cake, cast iron chocolate dessert, or one-pan chocolate dessert, you’ve found the recipe you’ll come back to again and again.
Why You’ll Love This Skillet Chocolate Lava Cake
This isn’t just another chocolate cake. Every ingredient and technique has been carefully chosen to create bakery-quality results at home.
You’ll love this recipe because:
• Rich, intensely chocolatey flavor
• Warm molten chocolate center
• Bakes in one skillet
• Crispy edges with an ultra-soft middle
• Ready in under 35 minutes
• No mixer required
• Easy enough for beginners
• Perfect for sharing
• Beautiful enough for entertaining
• Made with pantry staples
• Customizable with different chocolates and mix-ins
• Incredible with vanilla ice cream, whipped cream, or fresh berries
• Restaurant-quality dessert for a fraction of the cost
It looks impressive enough for guests but is simple enough to make on a weeknight.
What Makes This Recipe Different?
Many lava cake recipes rely on underbaking the batter and hoping for the best. The result is often either raw cake or fully baked cake with no molten center.
This recipe focuses on creating the perfect balance between structure and flow.
Here’s what makes it stand out:
High-quality chocolate
Using real chocolate bars instead of only cocoa powder creates a smoother, richer molten center with incredible depth of flavor.
Dutch-process cocoa
Adding Dutch-process cocoa intensifies the chocolate flavor while creating an exceptionally dark, luxurious cake.
Espresso powder
A small amount of espresso powder doesn’t make the dessert taste like coffee—it simply enhances the chocolate, making every bite richer and more complex.
The perfect baking temperature
A moderate oven temperature allows the edges to set while keeping the center soft and flowing.
One skillet presentation
Instead of individual ramekins, this version creates a rustic bakery-style dessert that’s perfect for serving directly from the skillet.
Simple ingredients
No specialty ingredients or complicated techniques—just classic baking staples working together beautifully.
A Brief History of Chocolate Lava Cake
Chocolate lava cake may feel like a timeless dessert, but it’s actually a relatively modern culinary creation.
The dessert became famous during the late 1980s and early 1990s when chefs began serving individual chocolate cakes with warm liquid centers. While several chefs have claimed to invent it, one of the most well-known stories credits French chef Michel Bras, who developed a chocolate cake featuring a frozen chocolate center that melted during baking. Around the same time, chef Jean-Georges Vongerichten famously served an underbaked chocolate cake after accidentally removing it from the oven too early. Guests loved the molten center, and the dessert quickly became a restaurant sensation.
Today, molten chocolate cake appears on menus worldwide and has become one of the most beloved chocolate desserts ever created.
This skillet version takes inspiration from those elegant restaurant desserts while making the process approachable for home bakers. Rather than baking individual portions, the entire dessert comes together in one oven-safe skillet, creating crisp caramelized edges and a luxurious molten center that everyone can dig into together.
It’s comfort food, bakery-quality dessert, and impressive entertaining—all in one pan.
Ingredients You’ll Need
One of the reasons this recipe works so well is that every ingredient has a specific purpose. Together, they create the signature balance of rich chocolate flavor, tender cake, and a perfectly molten center.
- Unsalted Butter
Butter adds richness while helping create a tender crumb. Using unsalted butter allows you to control the amount of salt in the recipe.
For even deeper flavor, try browning the butter first. Brown butter adds subtle notes of toasted caramel and hazelnuts that pair beautifully with dark chocolate.
- High-Quality Dark Chocolate
The chocolate is the star of the show.
Choose chocolate between 60% and 72% cacao for the best balance of sweetness and richness.
Chocolate baking bars melt much more smoothly than standard chocolate chips because they contain fewer stabilizers.
If possible, chop the chocolate into small, even pieces so it melts quickly and evenly.
- Dutch-Process Cocoa Powder
Dutch cocoa creates a darker color and smoother chocolate flavor than natural cocoa powder.
It also contributes to the rich bakery-style appearance people expect from lava cake.
- Espresso Powder
This is one of the biggest secrets professional bakers use.
Just one teaspoon enhances chocolate without adding coffee flavor.
Don’t skip it if you can help it.
- Granulated Sugar
Sugar provides sweetness while helping develop the delicate crust around the edges of the cake.
It also contributes to the molten texture inside.
- Eggs
Eggs provide structure while still allowing the center to remain soft.
Using room-temperature eggs helps everything mix together more smoothly.
Extra yolks increase richness and help create that silky lava-like center.
They’re one of the keys to achieving restaurant-quality texture.
- Vanilla Extract
Pure vanilla rounds out the chocolate flavor and adds warmth.
Use real vanilla extract whenever possible.
A small amount of flour gives the cake enough structure to hold together while still allowing the center to remain molten.
Too much flour creates a traditional chocolate cake instead of lava cake.
- Fine Sea Salt
Salt balances sweetness while making the chocolate flavor more pronounced.
Never underestimate how much difference a small amount of salt can make.
Choosing the Best Chocolate
Not all chocolate produces the same results.
For the richest lava cake, choose chocolate that melts smoothly and contains cocoa butter rather than vegetable oils.
Some excellent options include:
• Semisweet baking chocolate
• Bittersweet chocolate
• Dark chocolate bars
• Premium baking wafers
Avoid chocolate candy bars with fillings or excessive additives, as they won’t melt properly.
The better your chocolate tastes on its own, the better your finished dessert will taste.
The Best Skillet to Use
An 8-inch oven-safe skillet is the ideal size for this recipe.
Cast iron is the traditional choice because it retains heat beautifully, helping create caramelized edges while maintaining a soft center.
A ceramic-coated oven-safe skillet, like my favorite Caraway skillet, is another fantastic option because it distributes heat evenly and releases the cake effortlessly without sticking.
If using cast iron, lightly butter the skillet before adding the batter.
If using ceramic nonstick cookware, a thin coating of butter is still recommended for the best flavor and easiest serving.
Kitchen Equipment
You won’t need any complicated equipment for this recipe.
Gather:
• 8-inch oven-safe skillet
• Medium mixing bowl
• Large mixing bowl
• Rubber spatula
• Whisk
• Microwave-safe bowl or double boiler
• Measuring cups
• Measuring spoons
• Cooling rack
• Ice cream scoop for serving
The Secret to the Perfect Molten Center
One of the biggest questions bakers have is:
“How do restaurants make the center stay molten?”
The answer isn’t raw batter.
It’s balance.
A perfectly baked lava cake has:
• Set edges
• A delicate cake exterior
• Thick, flowing chocolate center
That happens because the cake is removed from the oven while the center is still slightly underbaked—but not raw.
Carryover cooking continues for several minutes after the skillet comes out of the oven, finishing the outside while preserving the molten middle.
The difference between perfect lava cake and overbaked chocolate cake can be as little as one or two minutes, so keep a close eye on it during the final few minutes of baking.
Pro Tips Before You Bake
These simple techniques will dramatically improve your results.
Bring ingredients to room temperature. Eggs incorporate more easily into the batter, creating a smoother texture.
Use chopped chocolate instead of chips. Baking chocolate melts more evenly and produces a silkier center.
Don’t overmix. Once the flour is added, stir only until combined to keep the cake tender.
Measure flour correctly. Spoon it into the measuring cup and level it off with a knife instead of scooping directly from the bag.
Watch the bake time carefully. The center should still jiggle slightly when the skillet comes out of the oven.
Serve immediately. Lava cake is at its absolute best within 5–10 minutes of baking while the center is still warm and flowing.
How to Make Skillet Chocolate Lava Cake
Making chocolate lava cake is much easier than most people think. The secret isn’t complicated baking techniques—it’s understanding when to stop baking.
The edges should be fully set while the center remains slightly underdone. As the cake rests for a few minutes after coming out of the oven, residual heat finishes cooking the outside while preserving the molten center.
Once you’ve made this recipe a time or two, you’ll know exactly what your oven needs for perfect results every single time.
Step 1: Prepare the Oven and Skillet
Preheat your oven to 400°F (204°C).
Generously butter an 8-inch oven-safe skillet, making sure to coat the bottom and sides. This not only prevents sticking but also helps create beautifully caramelized edges.
If you’re using a ceramic-coated skillet, you won’t need much butter, but a light coating still adds wonderful flavor.
Step 2: Melt the Chocolate
Combine the butter and chopped dark chocolate in a microwave-safe bowl.
Microwave in 20-second intervals, stirring well between each round, until completely smooth.
You can also use a double boiler if you prefer.
Allow the mixture to cool for about five minutes before adding the eggs.
If it’s too hot, it can partially cook the eggs.
Step 3: Whisk the Wet Ingredients
In a large bowl, whisk together:
- Eggs
- Egg yolks
- Granulated sugar
- Vanilla extract
Whisk until the mixture becomes lighter in color and slightly thickened.
You don’t need a mixer.
Just about one minute of whisking by hand creates plenty of structure.
Step 4: Combine Everything
Slowly whisk the cooled chocolate mixture into the egg mixture.
Once combined, gently fold in:
- Dutch-process cocoa powder
- Espresso powder
- Flour
- Salt
Mix only until no dry streaks remain.
Overmixing develops gluten, which creates a tougher cake.
Step 5: Bake
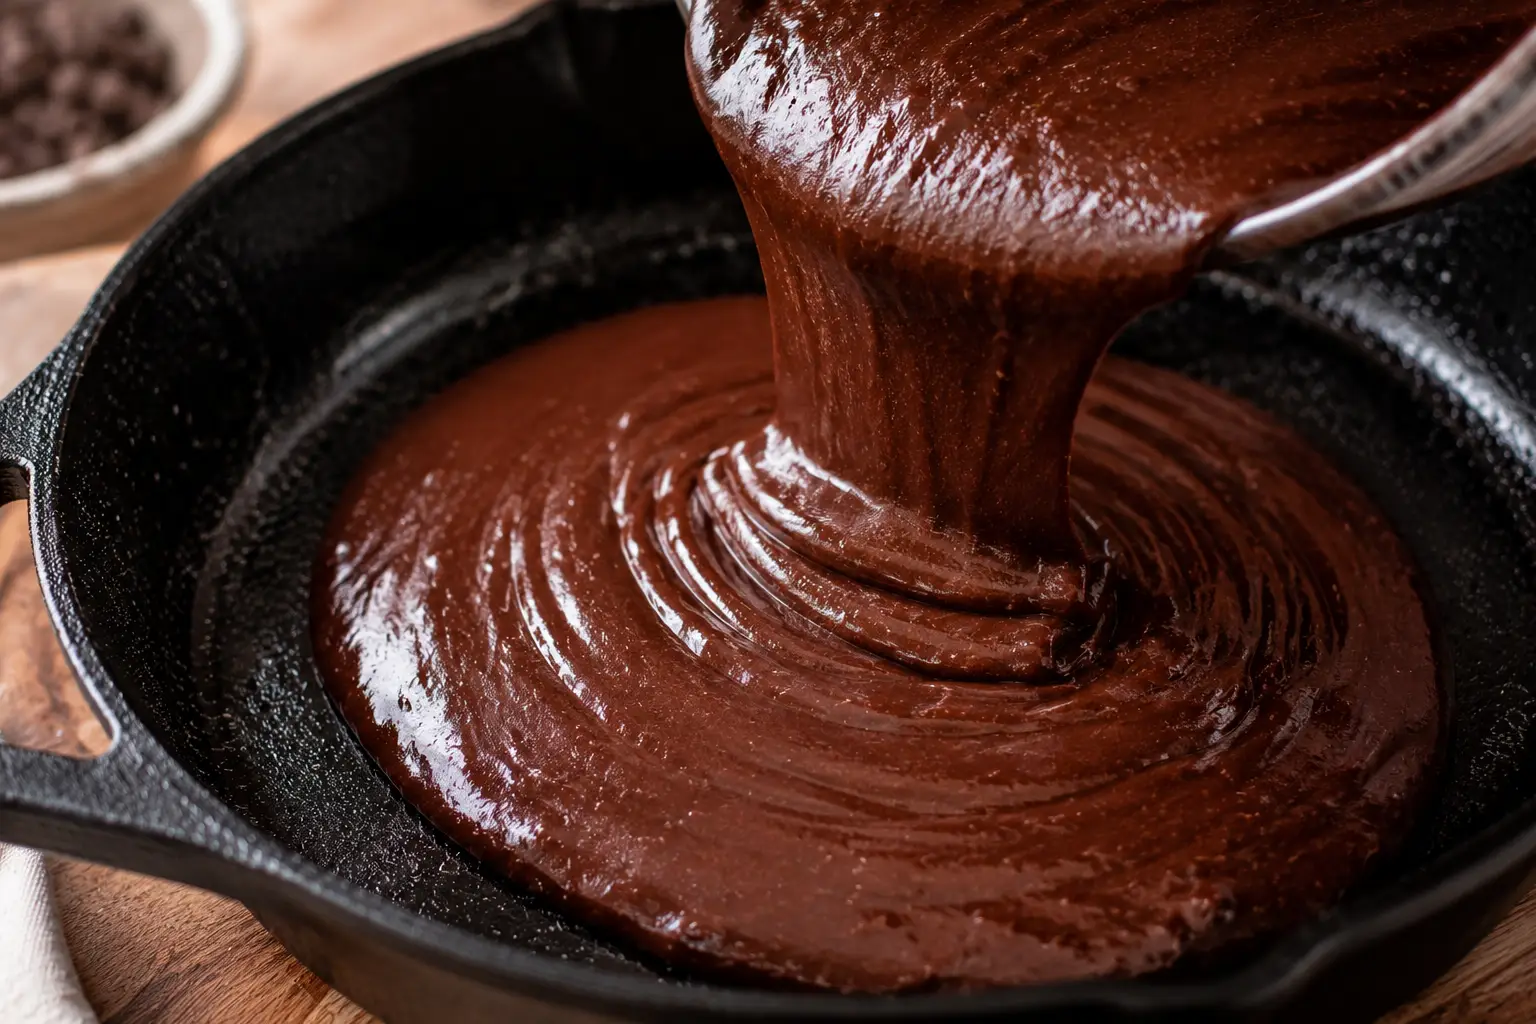
Spread the batter evenly into your prepared skillet.
Bake for approximately 17–21 minutes depending on your oven.
You’ll know it’s ready when:
- The edges appear puffed and set.
- The center still jiggles slightly.
- The top looks mostly baked but still glossy in the middle.
Don’t wait until the center looks completely done.
That’s the biggest mistake people make.
Step 6: Rest
Allow the cake to rest for 5 minutes.
This brief resting period lets the edges finish setting while keeping the middle molten.
Serve immediately while still warm.
The Best Toppings
A warm lava cake becomes even more irresistible with the right toppings.
Some favorites include:
- Vanilla bean ice cream
- Homemade whipped cream
- Fresh raspberries
- Strawberries
- Chocolate curls
- Powdered sugar
- Toasted pecans
- Toasted hazelnuts
- Salted caramel sauce
- Chocolate ganache
- Hot fudge
- Flaky sea salt
- Fresh mint
- Espresso whipped cream
The contrast between warm cake and cold ice cream is hard to beat.
Delicious Flavor Variations
Once you’ve mastered the classic version, try these fun twists.
Salted Caramel Lava Cake
Add several spoonfuls of thick caramel sauce into the center before baking.
Peanut Butter Chocolate Lava Cake
Drop a spoonful of creamy peanut butter into the middle.
Nutella Lava Cake
Replace part of the chocolate center with Nutella.
Raspberry Chocolate Lava Cake
Add fresh raspberries throughout the batter or spoon raspberry preserves into the center.
Mocha Lava Cake
Increase the espresso powder slightly for a richer coffee flavor.
Mexican Chocolate Lava Cake
Add cinnamon and a tiny pinch of cayenne for warmth.
Orange Chocolate Lava Cake
Mix orange zest into the batter for a sophisticated flavor.
Dark Chocolate Sea Salt
Finish with flaky sea salt immediately before serving.
Common Mistakes to Avoid
Chocolate lava cake is forgiving, but a few mistakes can affect the final texture.
- Overbaking
This is the number one reason lava cakes fail.
An extra two minutes can turn molten cake into regular chocolate cake.
- Using Low-Quality Chocolate
Since chocolate is the primary flavor, quality matters.
Choose baking chocolate instead of inexpensive chocolate chips whenever possible.
- Overmixing
Too much mixing develops gluten, creating a dense cake instead of a soft one.
- Cold Ingredients
Room-temperature eggs combine much more smoothly with melted chocolate.
- Skipping the Rest
Five minutes is enough.
This allows the cake to finish setting without losing the molten center.
Expert Tips for Bakery-Style Results
Professional bakers rely on little details that make a huge difference.
Use a kitchen scale whenever possible for consistent measurements.
Chop chocolate into evenly sized pieces so it melts uniformly.
Use room-temperature eggs.
Always preheat the oven completely before baking.
Bake on the center oven rack.
Use an oven thermometer if your oven tends to run hot or cold.
Serve immediately.
Warm plates help keep the lava center flowing longer.
Don’t be afraid of slightly underbaking.
The cake continues cooking after it leaves the oven.
How to Tell When It’s Done
The cake should not look completely baked.
Instead, look for these visual cues.
The edges have pulled slightly away from the skillet.
The outside feels set when lightly touched.
The center jiggles like soft pudding.
The top remains slightly shiny in the middle.
These are signs you’ve achieved the perfect molten center.
Can I Make It Ahead?
Absolutely.
Prepare the batter up to one day ahead.
Cover tightly and refrigerate.
When ready to bake, allow the batter to sit at room temperature for about 20 minutes.
Bake as directed.
You may need an additional minute if the batter is still cool.
Storage
Although lava cake is best enjoyed fresh, leftovers can still be delicious.
Store covered in the refrigerator for up to 3 days.
Reheat individual servings in the microwave for 15–20 seconds.
The center won’t be as molten as freshly baked, but it will still be rich and fudgy.
Freezing Instructions
Freeze the fully baked cake after cooling completely.
Wrap tightly in plastic wrap followed by aluminum foil.
Freeze for up to 2 months.
Thaw overnight in the refrigerator.
Warm gently in a 300°F oven for about 10 minutes.
Can I Double the Recipe?
Yes.
Bake it in a 10- or 12-inch skillet instead.
The baking time may increase by several minutes.
Watch the center carefully rather than relying solely on time.
What to Serve with Chocolate Lava Cake
This dessert pairs beautifully with:
- Vanilla bean ice cream
- Fresh berries
- Coffee
- Espresso
- Cold milk
- Hot chocolate
- Homemade whipped cream
- Chocolate-covered strawberries
- Raspberry coulis
- Salted caramel sauce
It’s also a stunning dessert for holidays, anniversaries, birthdays, dinner parties, and Valentine’s Day.
Expert Tips
✔ Use high-quality baking chocolate instead of chocolate chips.
✔ Chop chocolate finely so it melts evenly.
✔ Always use room-temperature eggs.
✔ Don’t overmix after adding the flour.
✔ Bake on the center oven rack.
✔ Pull the skillet from the oven while the center still jiggles.
✔ Rest only five minutes before serving.
✔ Serve immediately for the ultimate molten center.
Recipe Variations
Salted Caramel Lava Cake
Drop 3–4 tablespoons of thick caramel sauce into the center before baking.
Peanut Butter Lava Cake
Swirl creamy peanut butter into the middle of the batter.
Nutella Lava Cake
Add several spoonfuls of Nutella throughout the center.
Raspberry Chocolate Lava Cake
Add fresh raspberries or raspberry preserves to the center.
Mocha Lava Cake
Increase espresso powder to 2 teaspoons.
Orange Chocolate Lava Cake
Add one tablespoon fresh orange zest.
Mexican Chocolate Lava Cake
Add:
- ½ teaspoon cinnamon
- tiny pinch cayenne pepper
Storage
Cover leftovers tightly.
Refrigerate for up to 3 days.
Reheating
Microwave individual servings for 15–20 seconds.
Or warm in a 300°F oven for about 8 minutes.
Freezing
Wrap cooled cake tightly in plastic wrap followed by foil.
Freeze up to 2 months.
Thaw overnight in the refrigerator.
Warm before serving.
Make Ahead
Prepare the batter one day ahead.
Cover tightly.
Refrigerate.
Allow to sit at room temperature for about 20 minutes before baking.
Recipe Tips at a Glance
✔ Use quality chocolate.
✔ Dutch cocoa creates deeper flavor.
✔ Espresso enhances chocolate.
✔ Don’t overmix.
✔ Don’t overbake.
✔ Serve immediately.
✔ Add flaky sea salt for contrast.
✔ Pair with vanilla bean ice cream.
✔ Brown the butter for gourmet flavor.
✔ Warm plates help keep the lava center molten longer.
Serving Suggestions
This skillet chocolate lava cake is absolutely irresistible served with:
- Vanilla bean ice cream
- Fresh whipped cream
- Chocolate ganache
- Espresso
- Coffee
- Cold milk
- Fresh raspberries
- Fresh strawberries
- Blackberry compote
- Salted caramel
- Toasted pecans
- Toasted hazelnuts
For an extra-special presentation, serve the skillet on a wooden trivet and let everyone scoop directly from the pan while it’s still warm. The contrast between the crisp edges, molten chocolate center, and melting ice cream makes every bite unforgettable.
More Chocolate Recipes You’ll Love
If you’re as chocolate obsessed as I am, don’t stop with this skillet lava cake! Here are a few more reader favorites from my blog that are perfect for every dessert craving:
Skillet Chocolate Cake
Ingredients
- 8 oz high-quality dark chocolate (226 g), (60–70% cacao), finely chopped
- ½ cup unsalted butter (113g)
- 2 tbsp Dutch-process cocoa powder
- 1 tsp espresso powder
- ¾ tsp granulated sugar (150g)
- 2 large eggs room temperature
- 2 large egg yolks room temperature
- 2 tsp pure vanilla extract
- ½ tsp salt
- ½ cup all-purpose flour (63g) or gluten-free flour
 Get Recipe Ingredients
Instructions
- Preheat the oven to 400°F (204°C). Generously butter an 8-inch oven-safe skillet, making sure the bottom and sides are evenly coated. Set aside.
- Place the chopped chocolate and butter into a microwave-safe bowl. Microwave in 20-second intervals, stirring after each interval until completely melted and smooth.
- Alternatively, melt using a double boiler. Allow the mixture to cool for about 5 minutes.
- In a large mixing bowl, whisk together granulated sugar, egg yolks, and vanilla extract.
- Whisk for about one minute until the mixture becomes lighter in color.
- Slowly pour the cooled chocolate mixture into the egg mixture while whisking continuously. Mix until completely smooth.
- Add flour, cocoa powder, espresso powder, and sea salt. Using a rubber spatula, gently fold everything together until no dry flour remains. Do not overmix.
- Pour the batter into the prepared skillet. Spread evenly using an offset spatula or the back of a spoon. Lightly tap the skillet on the countertop once or twice to remove large air bubbles.
- Bake for 17–21 minutes. The edges should look fully baked while the center still has a gentle jiggle.
- The middle should remain glossy. Do not overbake.
- Remove from the oven. Allow the skillet to rest for exactly 5 minutes. This finishes cooking the edges while keeping the center molten.
- Top with vanilla ice cream, berries, chocolate curls, or whipped cream.
- Serve immediately while the center is warm and flowing.
Notes
Nutritional Information (Approximate Per Serving)
Serving Size: 1 of 6 servings| Nutrient | Amount |
|---|---|
| Calories | 485 |
| Total Fat | 31g |
| Saturated Fat | 18g |
| Unsaturated Fat | 11g |
| Trans Fat | 0g |
| Cholesterol | 152mg |
| Sodium | 220mg |
| Carbohydrates | 46g |
| Fiber | 4g |
| Sugar | 34g |
| Protein | 7g |
Frequently Asked Questions
Can I make chocolate lava cakes in advance?
Yes, absolutely! You can prepare the batter, pour it into the prepped ramekins, cover them with plastic wrap, and refrigerate for up to 24 hours. When ready to serve, bake directly from the fridge, adding 1 to 2 extra minutes to the total bake time.
Can I use a muffin tin if I don't have ramekins?
Yes! If you don’t have individual 6-ounce ramekins, grease and dust 6 cups of a standard muffin tin. Bake at 425°F for 8–10 minutes, let stand for 1 minute, then gently run a butter knife around the edges and invert onto a tray or plate.
What is the best way to serve lava cake?
Lava cake is best served piping hot right out of the oven! The classic presentation is topped with a dusting of confectioners’ sugar, a scoop of cold vanilla bean ice cream, and a handful of fresh tart berries (like raspberries or strawberries) to cut through the rich chocolate.
How should I store and reheat leftovers?
Store baked leftover lava cakes in an airtight container in the refrigerator for up to 3 days. Reheat individual cakes in the microwave for 10–15 seconds to warm the center back up (though the core may be slightly less liquid than when fresh).
Can I freeze chocolate lava cakes?
Yes! You can freeze unbaked ramekins wrapped tightly in plastic for up to 3 months. Bake directly from frozen at 425°F for 15–17 minutes. You can also freeze baked cakes, thawing them overnight in the fridge and warming before serving.
More Dessert Recipes
Looking for more easy and comforting meals? Browse all recipes here: