Rainbow Buttercream Frosting

Facebook
X
LinkedIn
Pinterest
Email
Print
Threads

Rainbow Buttercream frosting used to look intimidating until I discovered the simple “cling wrap” method. Whether you’re baking for a unicorn party or just want to brighten up a birthday cake, this technique ensures clean, vibrant color swirls without the mess. It’s the ultimate trick for professional-looking desserts at home.

rainbow buttercream frosting technique — Sugar Face Bakes

Why You'll Love This Rainbow Buttercream Frosting

  • No Mess: No more muddy colors mixing inside the piping bag.

  • Vibrant Colors: Learn why gel food coloring is the secret to neon shades.

  • Make Ahead: You can prep your color logs in advance for easy decorating later.

Key Ingredients You'll Need

  • Vanilla Buttercream: Use my Perfect Unicorn Cakes  as your base.

  • Gel Food Coloring: Unlike liquid drops, gel won’t thin out your frosting.

  • Cling Wrap: The essential tool for the “log” method.

  • Large Piping Bag & 1M Tip: This specific tip creates the best “rainbow mane” effect.

How to Make Rainbow Buttercream Frosting

  • We will first cream the softened butter and vanilla extract together. This will help create a smooth texture.

  • Next, we add the powdered sugar and the milk. Powdered sugar is tricky when liquid is involved.

  • We can always add more liquid but you can’t take out.

  •  

    You would have to use more powdered sugar if the mixture gets too thin. Start with 2 tablespoons and then add from there. It is okay to add more sugar and milk if you want more frosting but understand the butter is there to ensure your buttercream is creamy.

  • By adding too much powdered sugar and milk you will increase the chance that your buttercream will harden faster. Which, is fine, you just need to work quickly and be sure to leave the cake out hours before the party. We can get in detail later!

Gel Colors

  • There are many type of coloring liquids out there, I stick to the gel colors by Betty Crocker. I am trustworthy every time and they are conveniently in stock in the baking aisle in your local grocery store. You can add in as much color as you like.
  • Start small with a few drops and then add as you go until you reach your desire color. The colors range from pastel to neon! So fun! This is one reason I want my buttercream thick for piping, to make sure when I add the gel that the mixture won’t become too liquidity.
  • As you mix the color, the buttercream will loosen up just a bit. A
  • fter you make your basic buttercream, separate about 1 cup of buttercream into each of the bowls with their individual colors.
  • Mix them and then let’s move to the next step.

Cling Wrap, Large Piping Bag, 1M Tip

  • For the next steps you will tear off a 15-in (eyeball this) piece of cling wrap. Note: not the cling wrap labeled “press n’ seal.” A
  • fter that, add about 3 tablespoons of each color in a long line. You will want them close to each other, for the next time.
  • Bring one end of the wrap to meet the other side of the wrap, press to let the air out were the red and purple match up.
  • Fold the met ends back over towards the rolled edge to make a log shape.
  • Add your 1M piping tip to your piping bag and cut the end to expose halfway up the tip.
  • Cut one end of the wrapped frosting then place your wrapped frosting in the piping bag. Twist at the top and pipe away.
  • For the rosettes, you will start at the center and make one loop around the center to create a rose.

Watch the video to see how to make rainbow buttercream frosting for cakes! It takes practice and you will get the hang of it!

Baking Tips & Tricks, Cake, Desserts rainbow buttercream frosting Butter |Food Coloring |Milk |Powdered Sugar |Vanilla Extract

How To Make Rainbow Buttercream Frosting For Cakes

Simple, color frosting to pipe!
Prep Time 6 minutes
Course Dessert
Servings 1 3 layer cake

Ingredients
  

  • 8 sticks unsalted butter
  • 4 tablespoons vanilla extract
  • 12 cups powdered sugar
  • 8 tablespoons milk or heavy whipping cream
  • Food colorings

Instructions
 

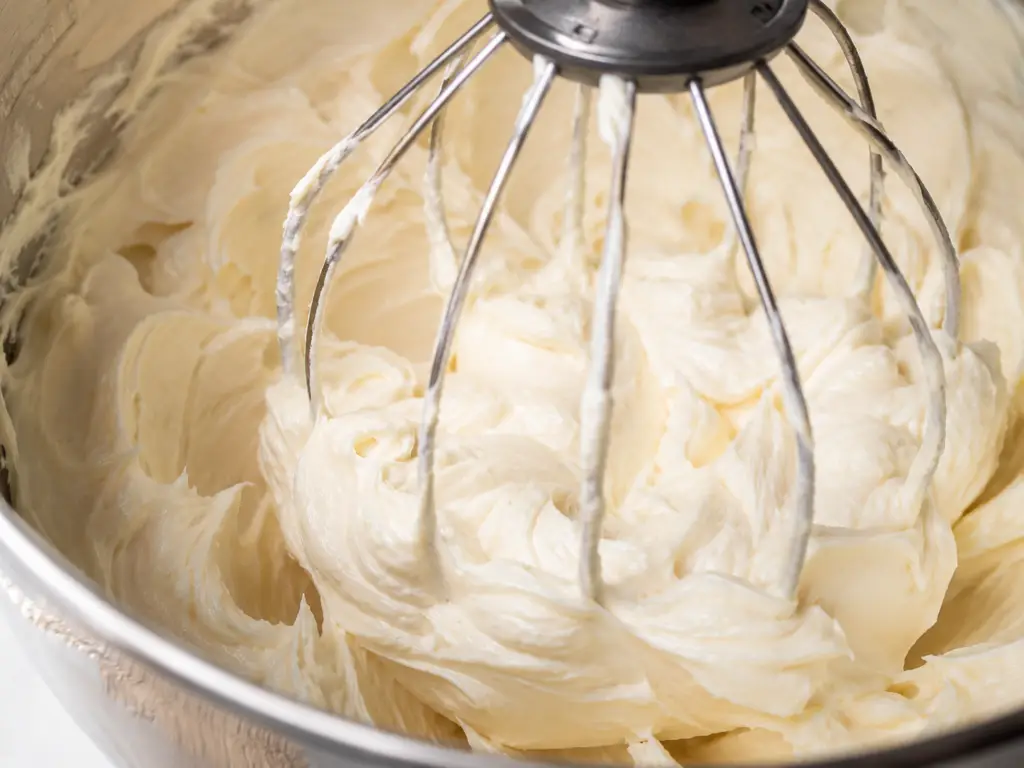
  • In a large standing mixer, mix 4 sticks butter, 2 tablespoons vanilla extract until creamy on medium speed.
  • On low speed, add 6 cups powdered sugar and 4 tablespoons milk. Mix until combined. If you want it thicker, add more powdered sugar. If it becomes too thick, add 1/4 teaspoons milk as needed.
  • Frost your cake layers and then add the remaining butter and vanilla extract to the existing frosting. Mix until combined.
  • Next, add remaining powder sugar and milk. Blend until combined completely.
  • In separate bowls, add colorings of choice. Add 3/4 cup or so to each bowl so you have equal amounts. Then, distribute any leftlover frosting among each bowl. Mix the frostings together one by one.
  • Working in two batches, cut off a 15-inch piece of cling wrap. (video is there for visuals) add long lines of colors next to one another. Grab one end of the cling wrap and folder over to the other end of the wrap. Press air out and then drape the folded cling wrap back over the frosting to make a log.
  • Prepare your piping bag with the 1M tip, cutting off the plastic tip so the metal piping tip is exposed.
  • Cut off one end of the cling wrap and stuff in the piping bag. Pipe away!
Keyword buttercream, cake, frosting, piping cake, piping tips, rainbow, rainbow frosting

Frequently Asked Questions

Can I use liquid food coloring for rainbow frosting?

For Rainbow Buttercream Frosting, I recommend gel colors. Liquid food coloring can make the frosting too runny, causing the colors to bleed together instead of staying in distinct stripes.

The Wilton 1M or 2D tips are best for Rainbow Buttercream Frosting. They create a wide, textured surface that shows off every color in the swirl.

No, the cling wrap is a single-use tool for the Rainbow Buttercream Frosting technique. Once the bag is empty, simply pull the plastic out and discard it for easy cleanup.

More Dessert Recipes

Picture of Stacie

Stacie

Hello out there! My name is Stacie. I am a home baker whose guilty pleasure is home made food and desserts. My blog is for the non-pro, home-baker/home-cook, experienced baker/cook, lover of desserts, and the desire to create delicious food right from home.
Nothing is better than a homemade meal or dessert made from scratch, except the reward when the whole dish is devoured by your guests. Questions, comments, idea are all welcomed as we grow together!

Most LATEST Recipe

overhead shot of ground beef vegetable soup in dutch oven with fresh vegetables and herbs

Ground Beef Vegetable Soup

clean stainless steel pan on stove ready for cooking after deep cleaning

How to Clean Stainless Steel Pans (The Right Way): Restore Shine, Remove Burnt Residue & Make Them Look Brand New Again

Cheesy baked spaghetti with ground beef in a casserole dish with melted mozzarella and rich tomato sauce

Classic Baked Spaghetti with Ground Beef

Close-up of cheesy Mexican stuffed peppers with ground beef, beans, and fresh toppings

Mexican Stuffed Peppers with Ground Beef (Easy, Flavor-Packed, and Oven-Baked)

Close-up of creamy buffalo chicken dip with melted cheese and shredded chicken being scooped with a tortilla chip, topped with green onions

Best Buffalo Chicken Dip Recipe

Buffalo chicken pizza slice close-up

Chicken Wing Pizza